Website powered by

I get by with a little help from my friends!

General / 13 January 2018

Unreal Update 004: Screenshots

The past few days have basically been endless small tweaks that most people would never notice but in the end, generally, help set the scene, or at least the confidence for the artist to discuss it.

Quick Note: If you guys haven't yet be sure to find a way to send artstation your thanks. Much like the endless tweaks we all create as artists that never see the light of day, artstations work often goes unnoticed. The crew is phenomenal and to be able to have a platform where I can not only teach, but learn from others, it's a great blessing to have.

Segwaying into my next point ALWAYS POST YOUR WORK FOR FEEDBACK!

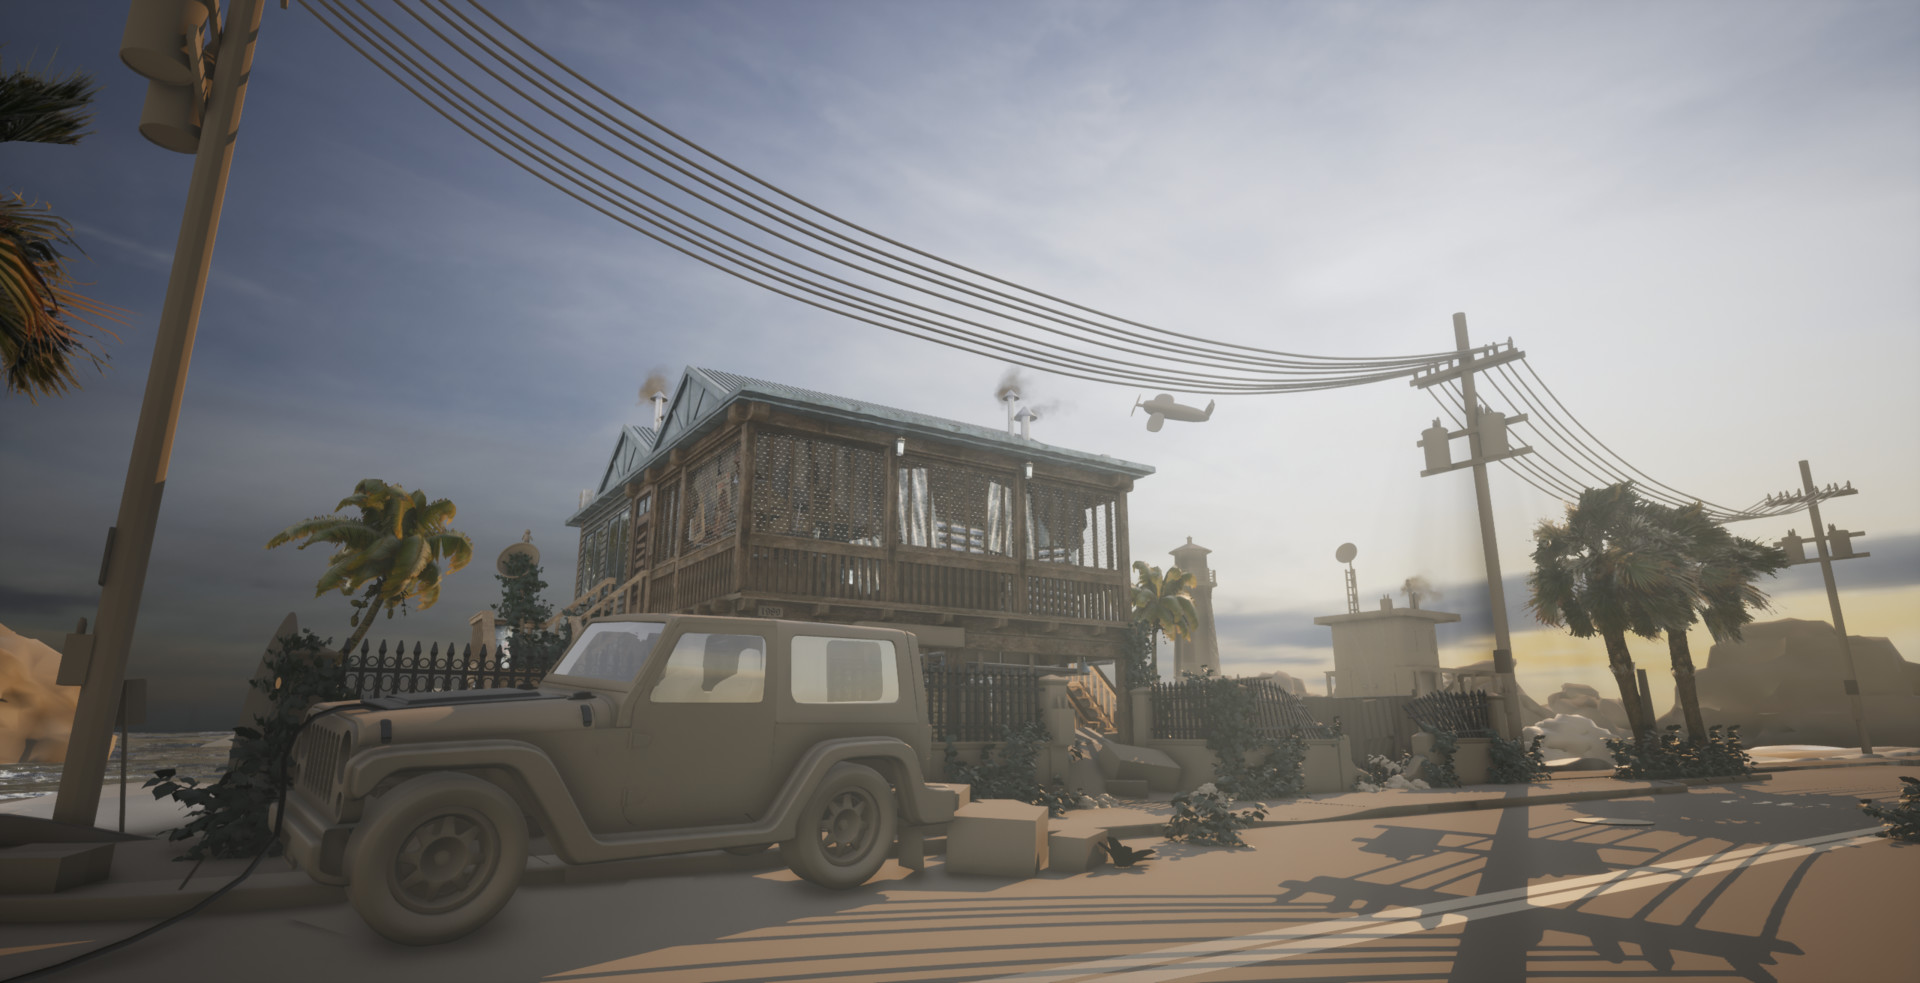
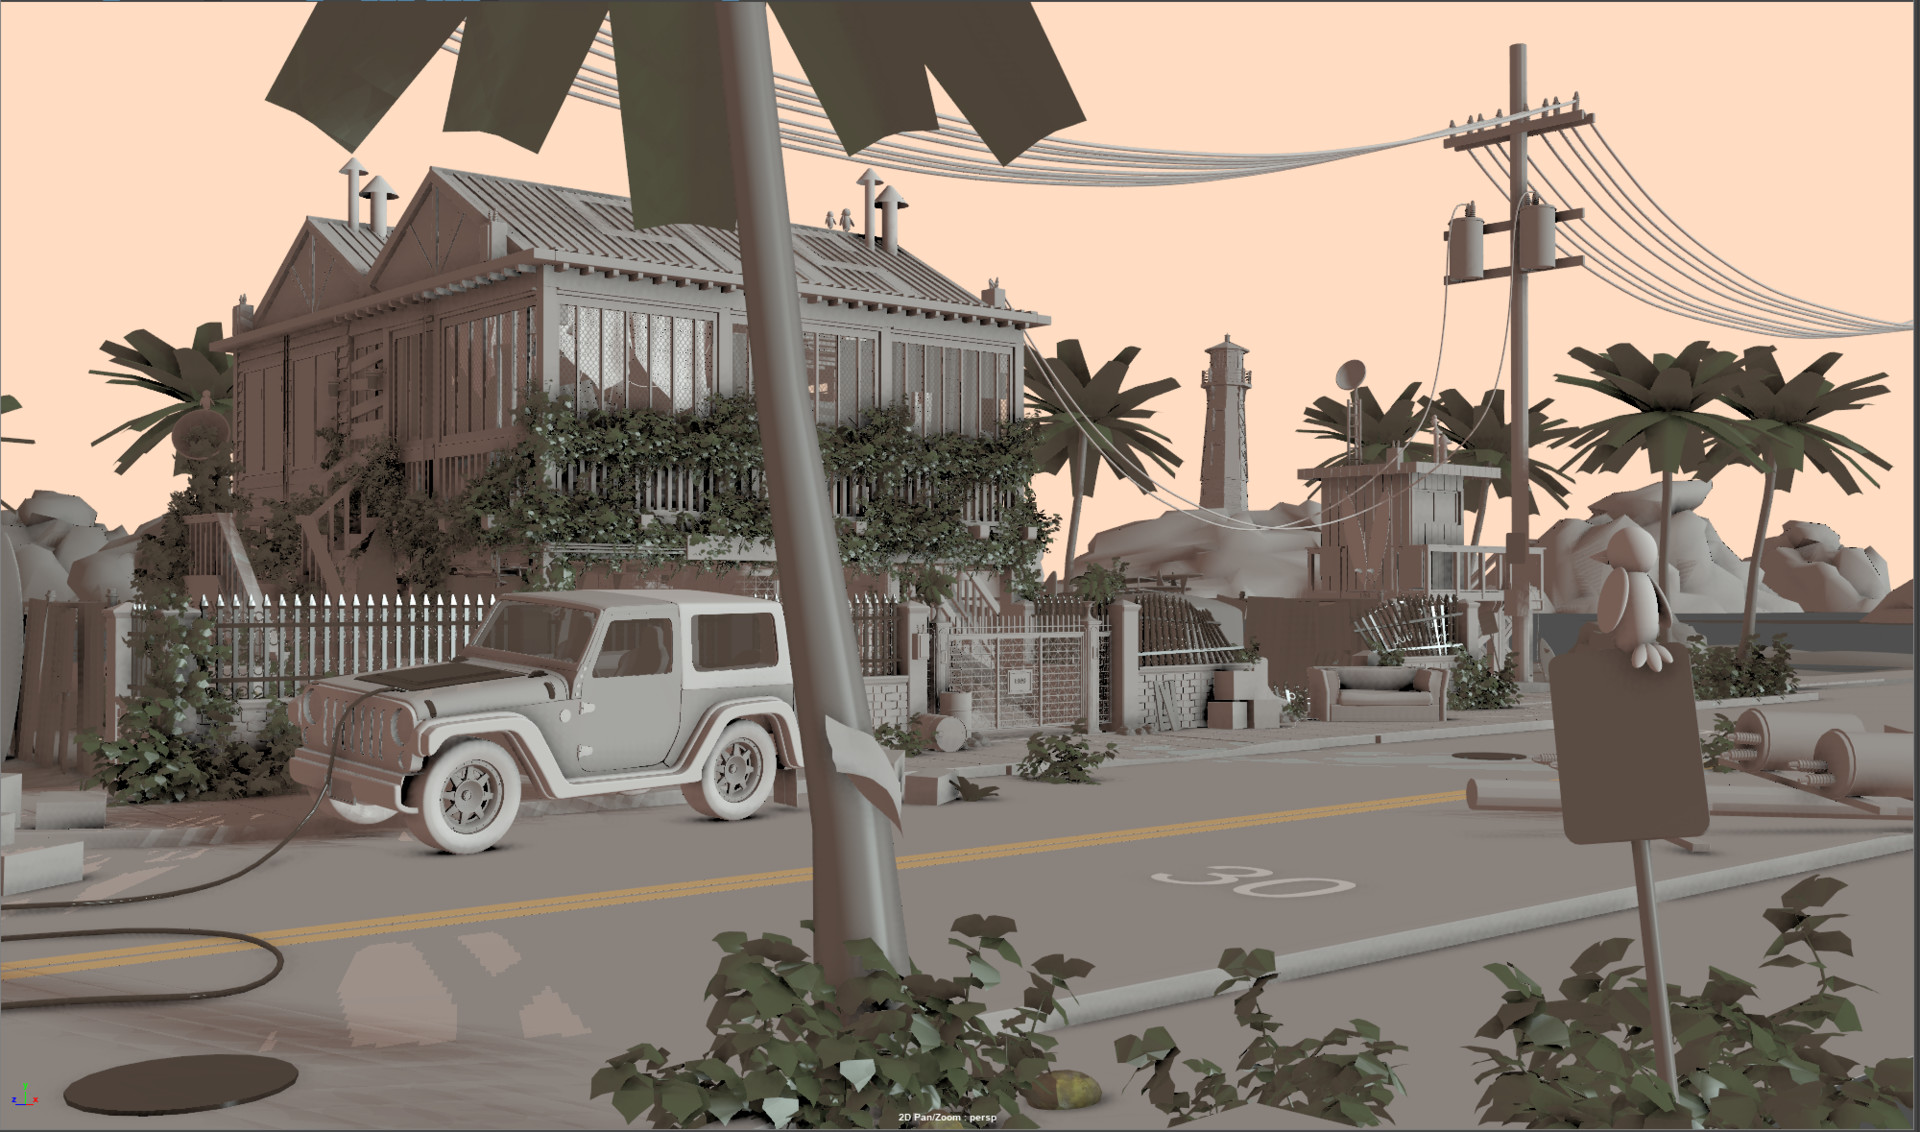
Short Story: A few days ago I had realized that I had been working tirelessly on this project for the past 7 weeks or so at about 12 hours a day, on top of moving, re-enrolling in school, apartment hunting and the like. You can see just how quickly a project, a person, and everything can quickly spiral out of control. I was really burnt out and had just heavily tweaked the lighting and it was U-G-L-Y man. It actually made me really dislike the project and I had to step away for a day. Although others seemed to like the piece, it was a situation of standards meeting expectations I believe. I had a creative vision for this cool project I had invested the last 7 weeks of my life into. Long story short, I was given some excellent critiques about how to better frame my piece compositionally. I was able to use those cool ideas to give me the confidence to steamroll into some small propping and then really adjust the lighting and big picture elements that I was frustrated at previously. Now, a few days later I am much happier with the current progress and feel that this piece finally for the first time in a very long while has risen to meet my standards as an artist currently. Of course, as with all experiences in life we can grow and improve our standards, and so I will continue to do so, but with that said, this is one happy kiddo.

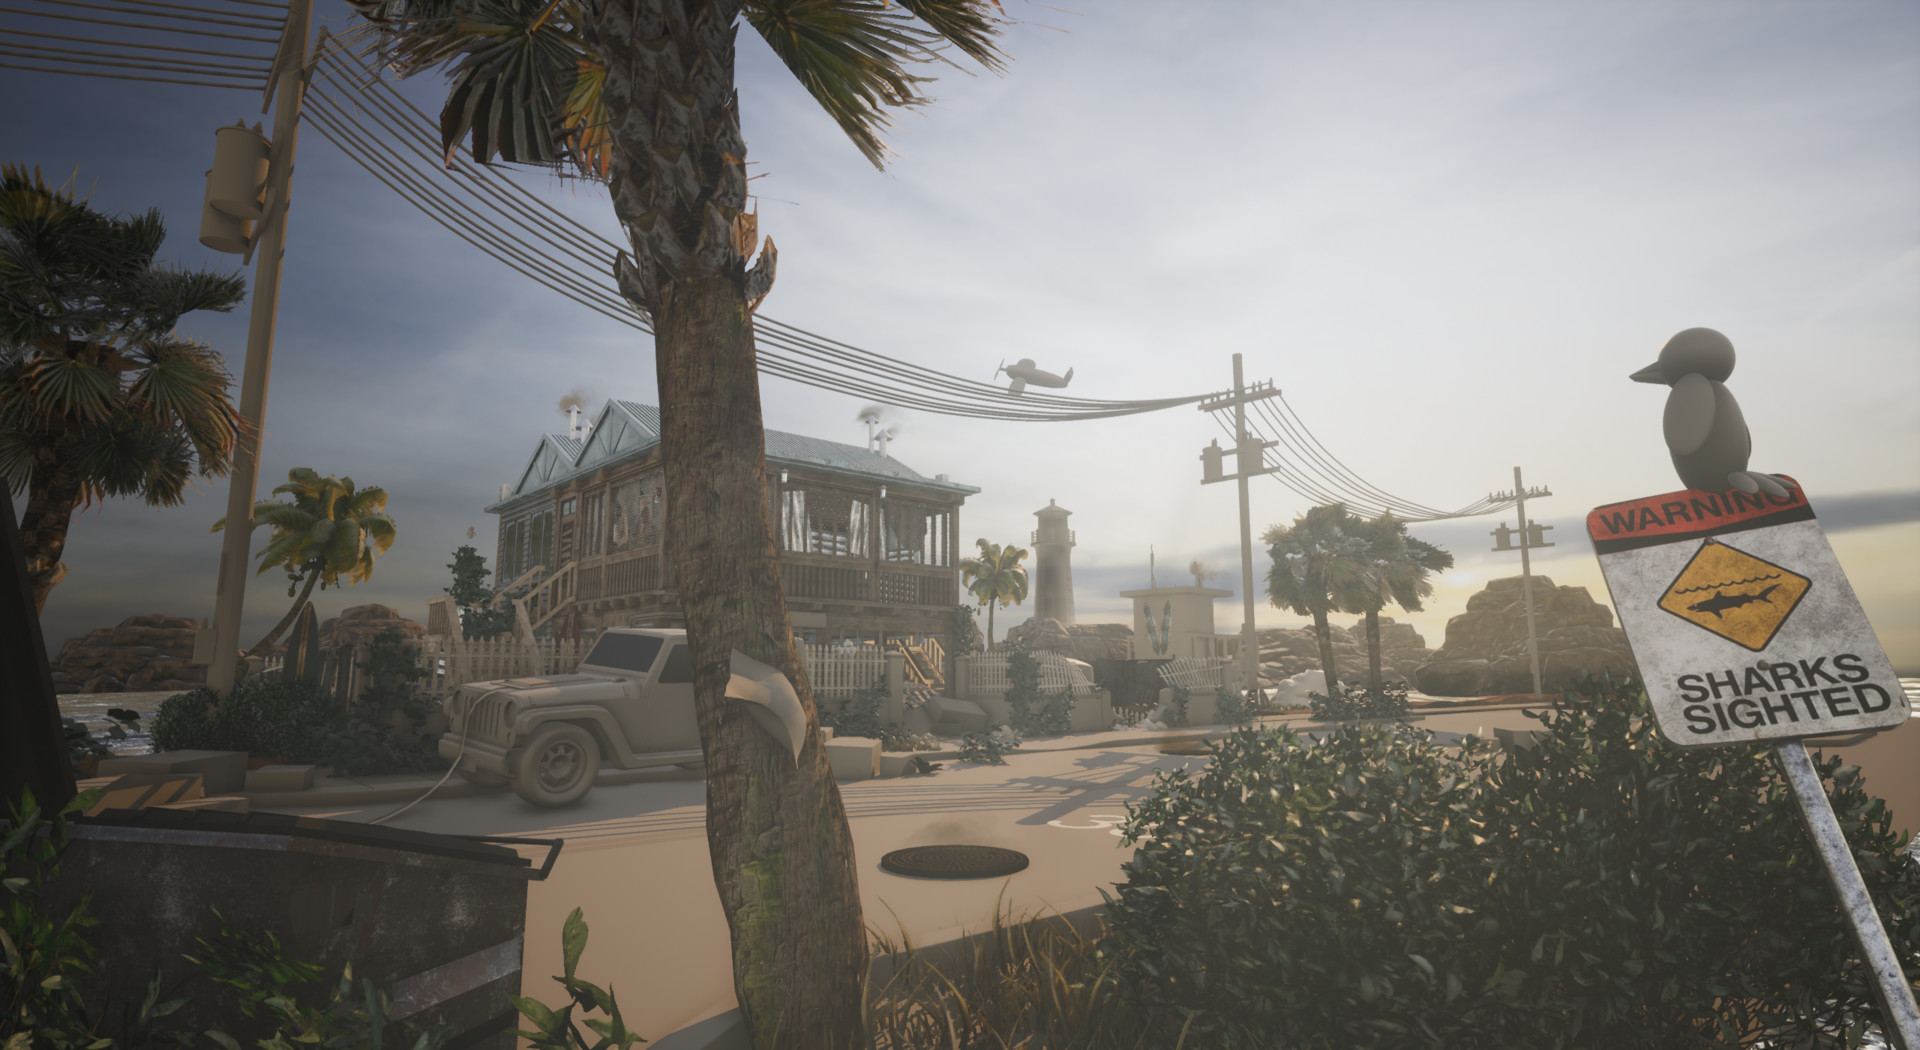
Quick thanks to everyone who has been giving me fantastic feedback but specifically to my art friendos mike marra and brannon rogers. Both really helped me tweak a composition that I was desperately tired of looking at and really dial in and support my scene much more. Cheers you two! Without further ado onto some juicy screenshots! Happy Saturday all!
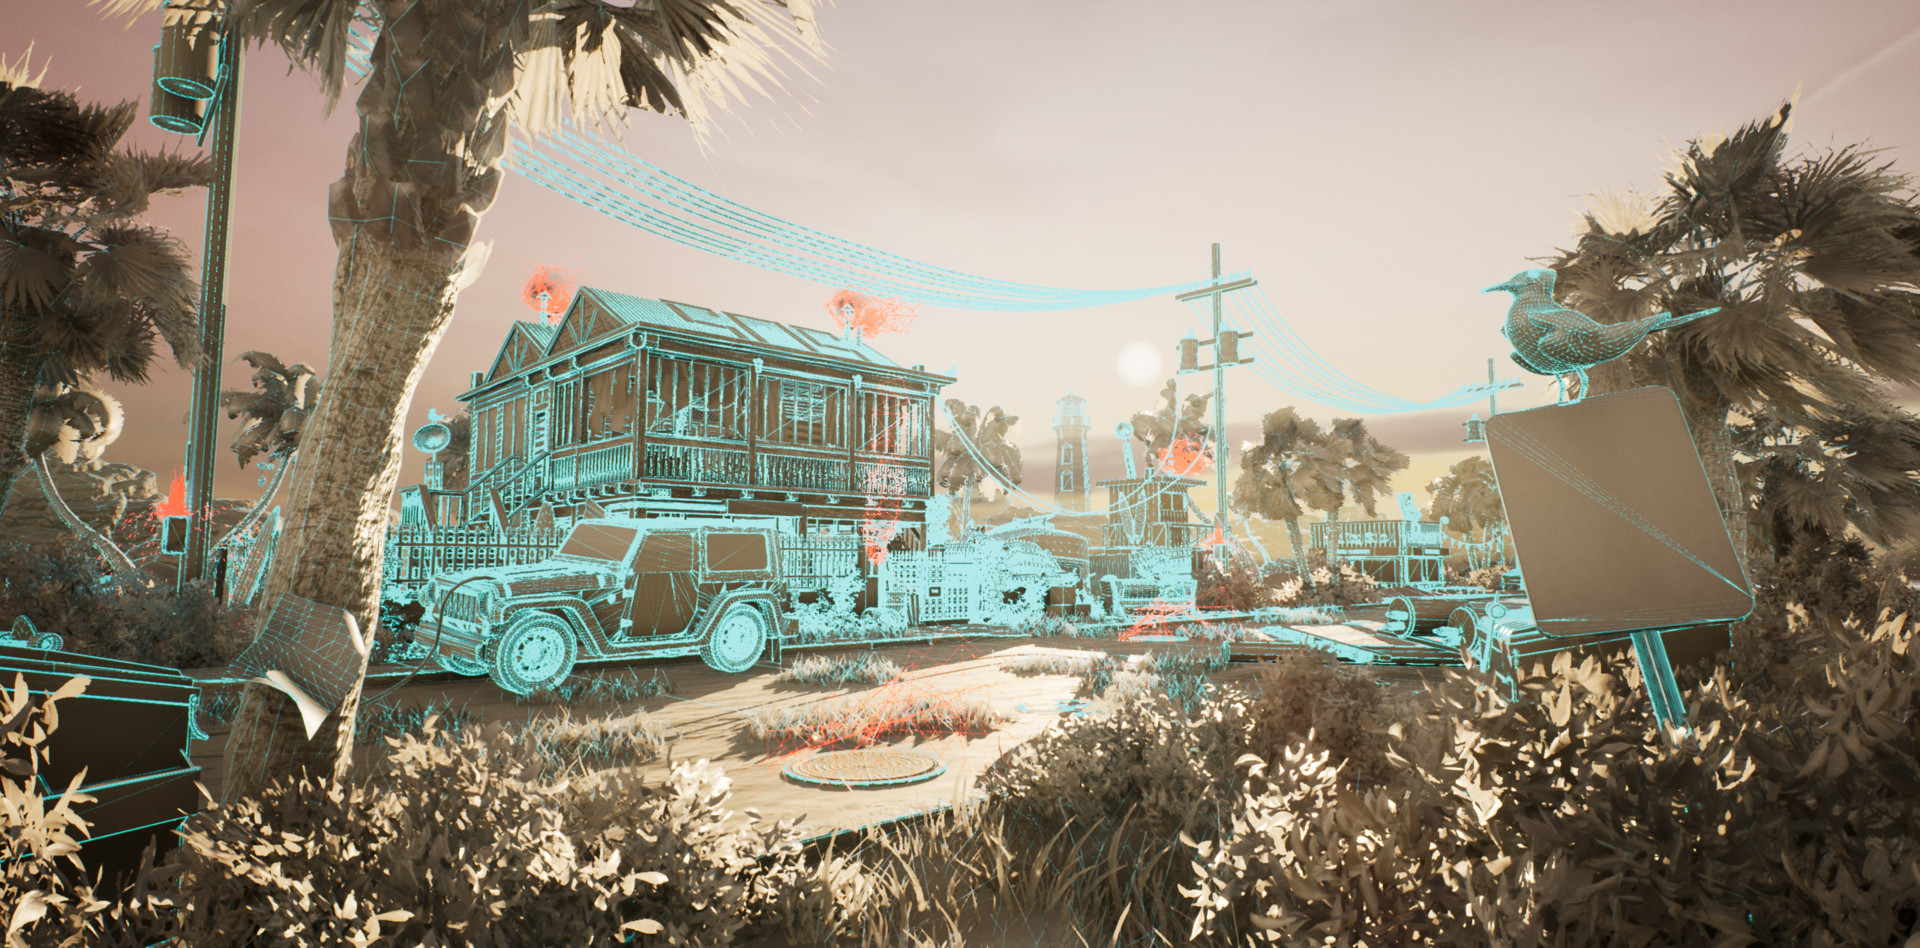
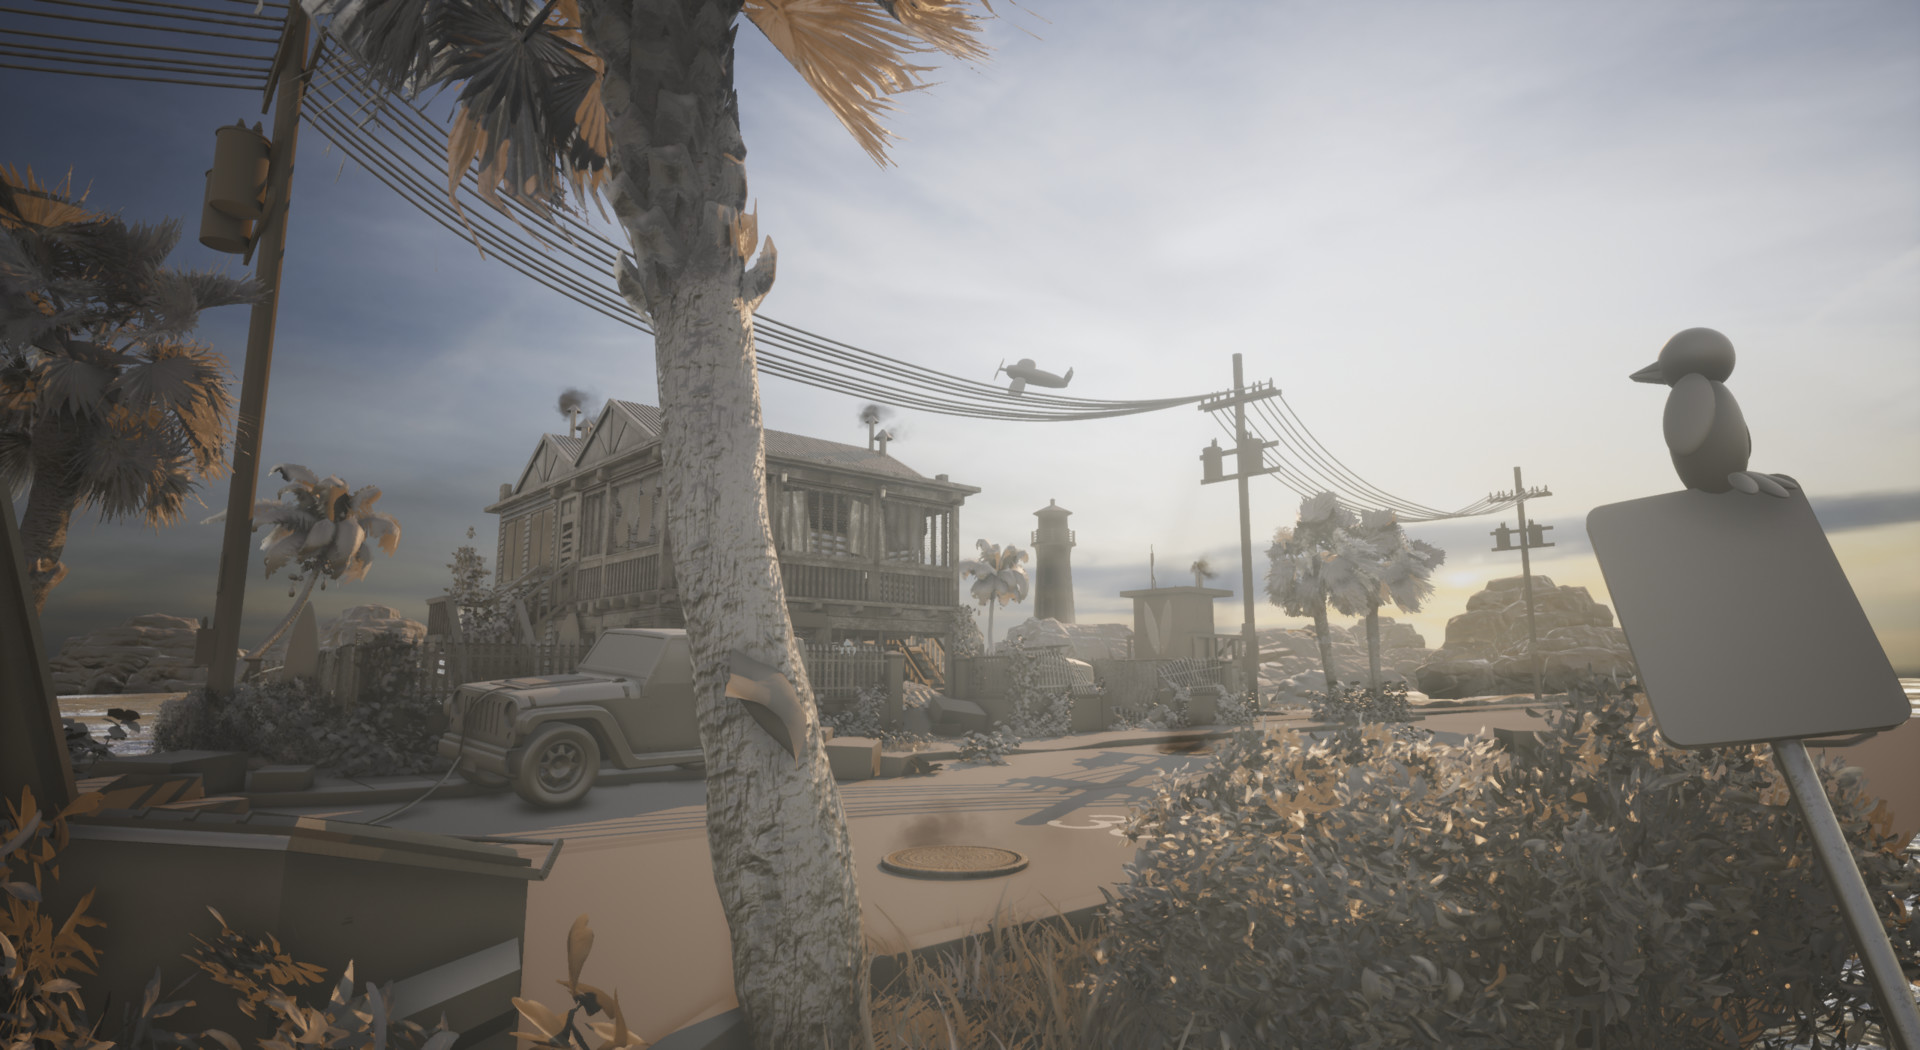
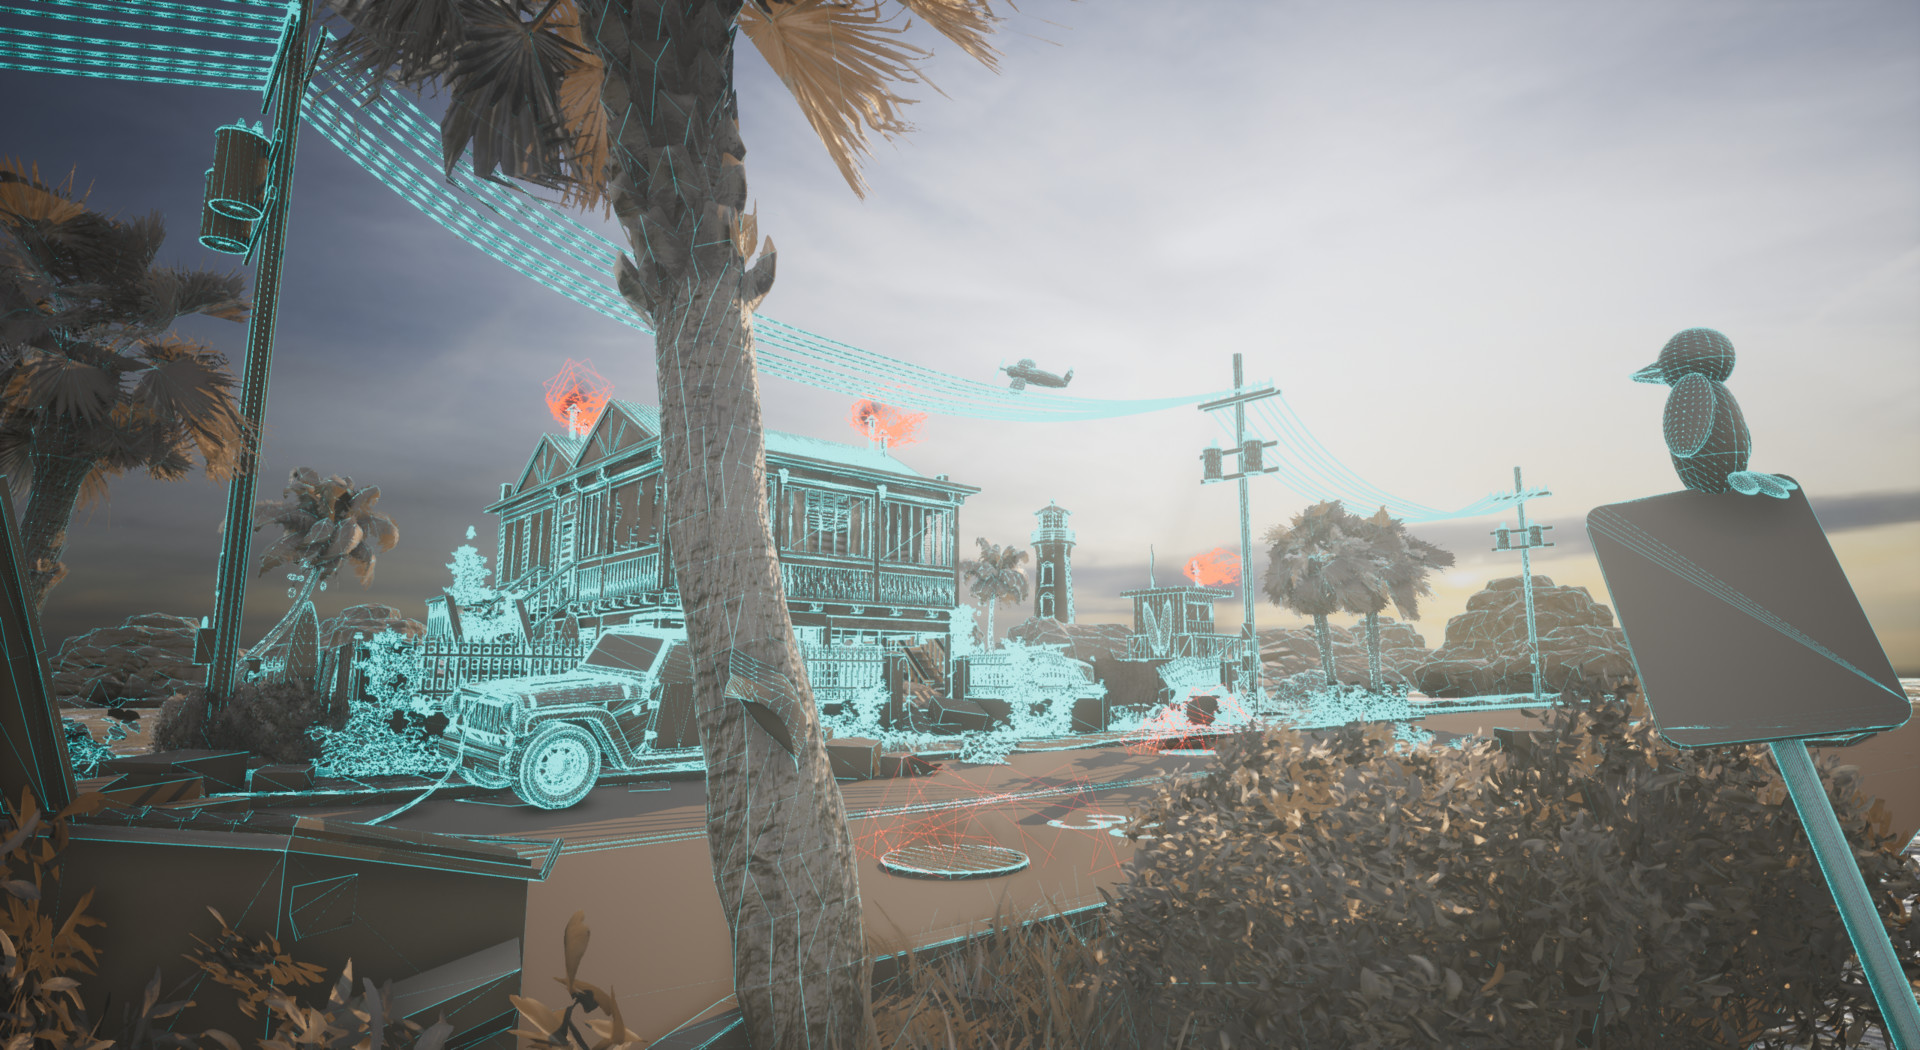
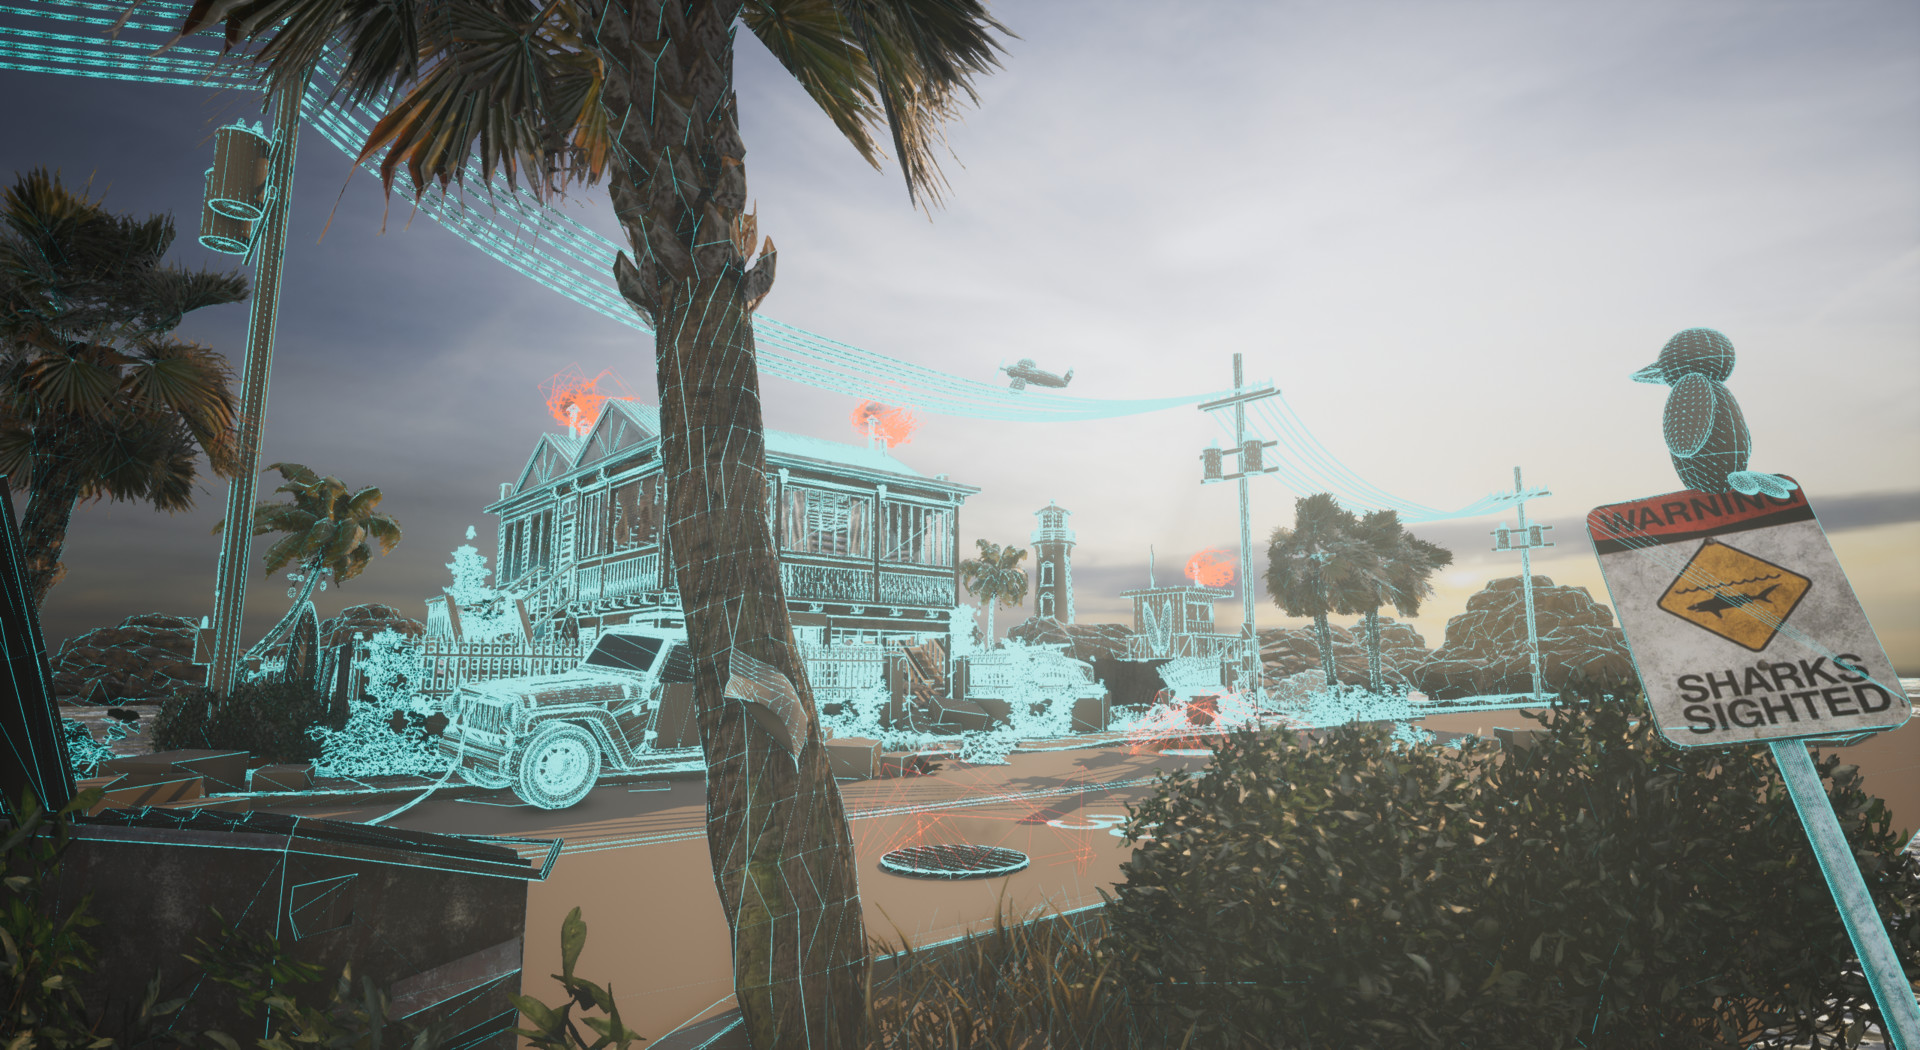
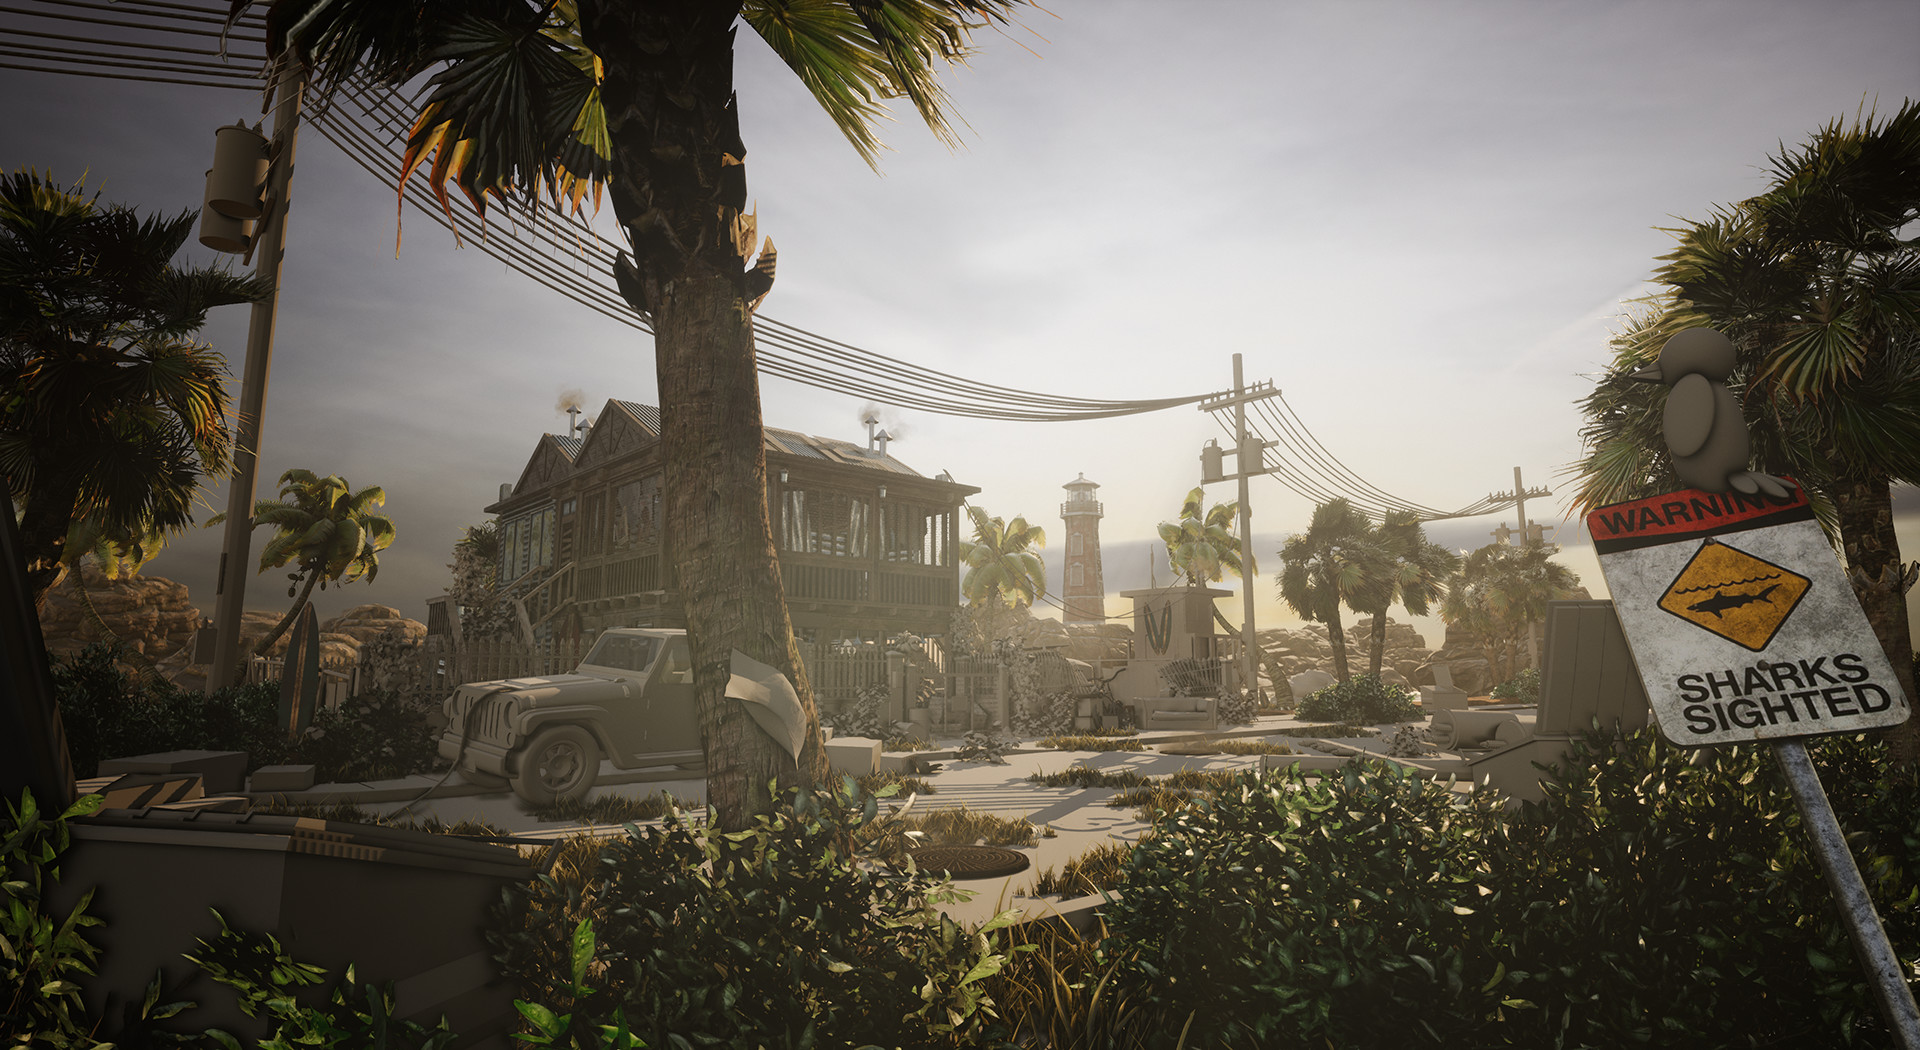
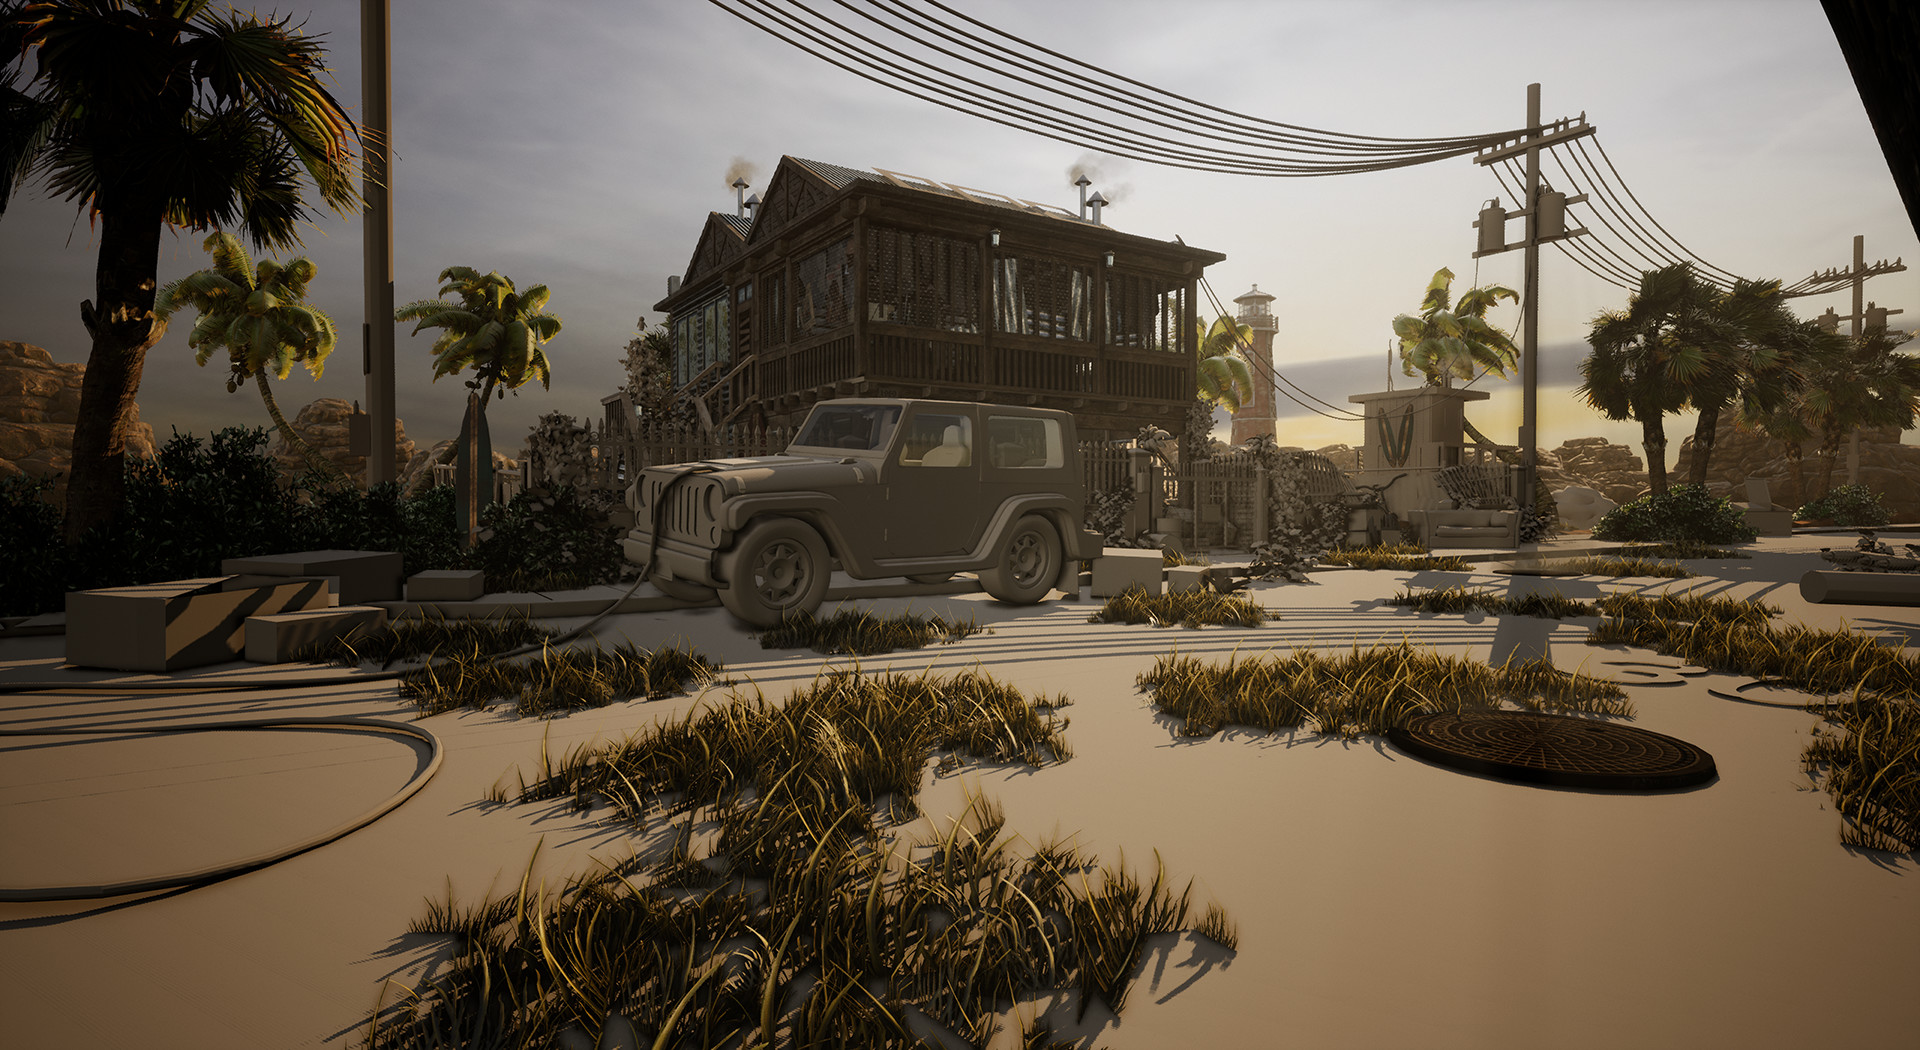
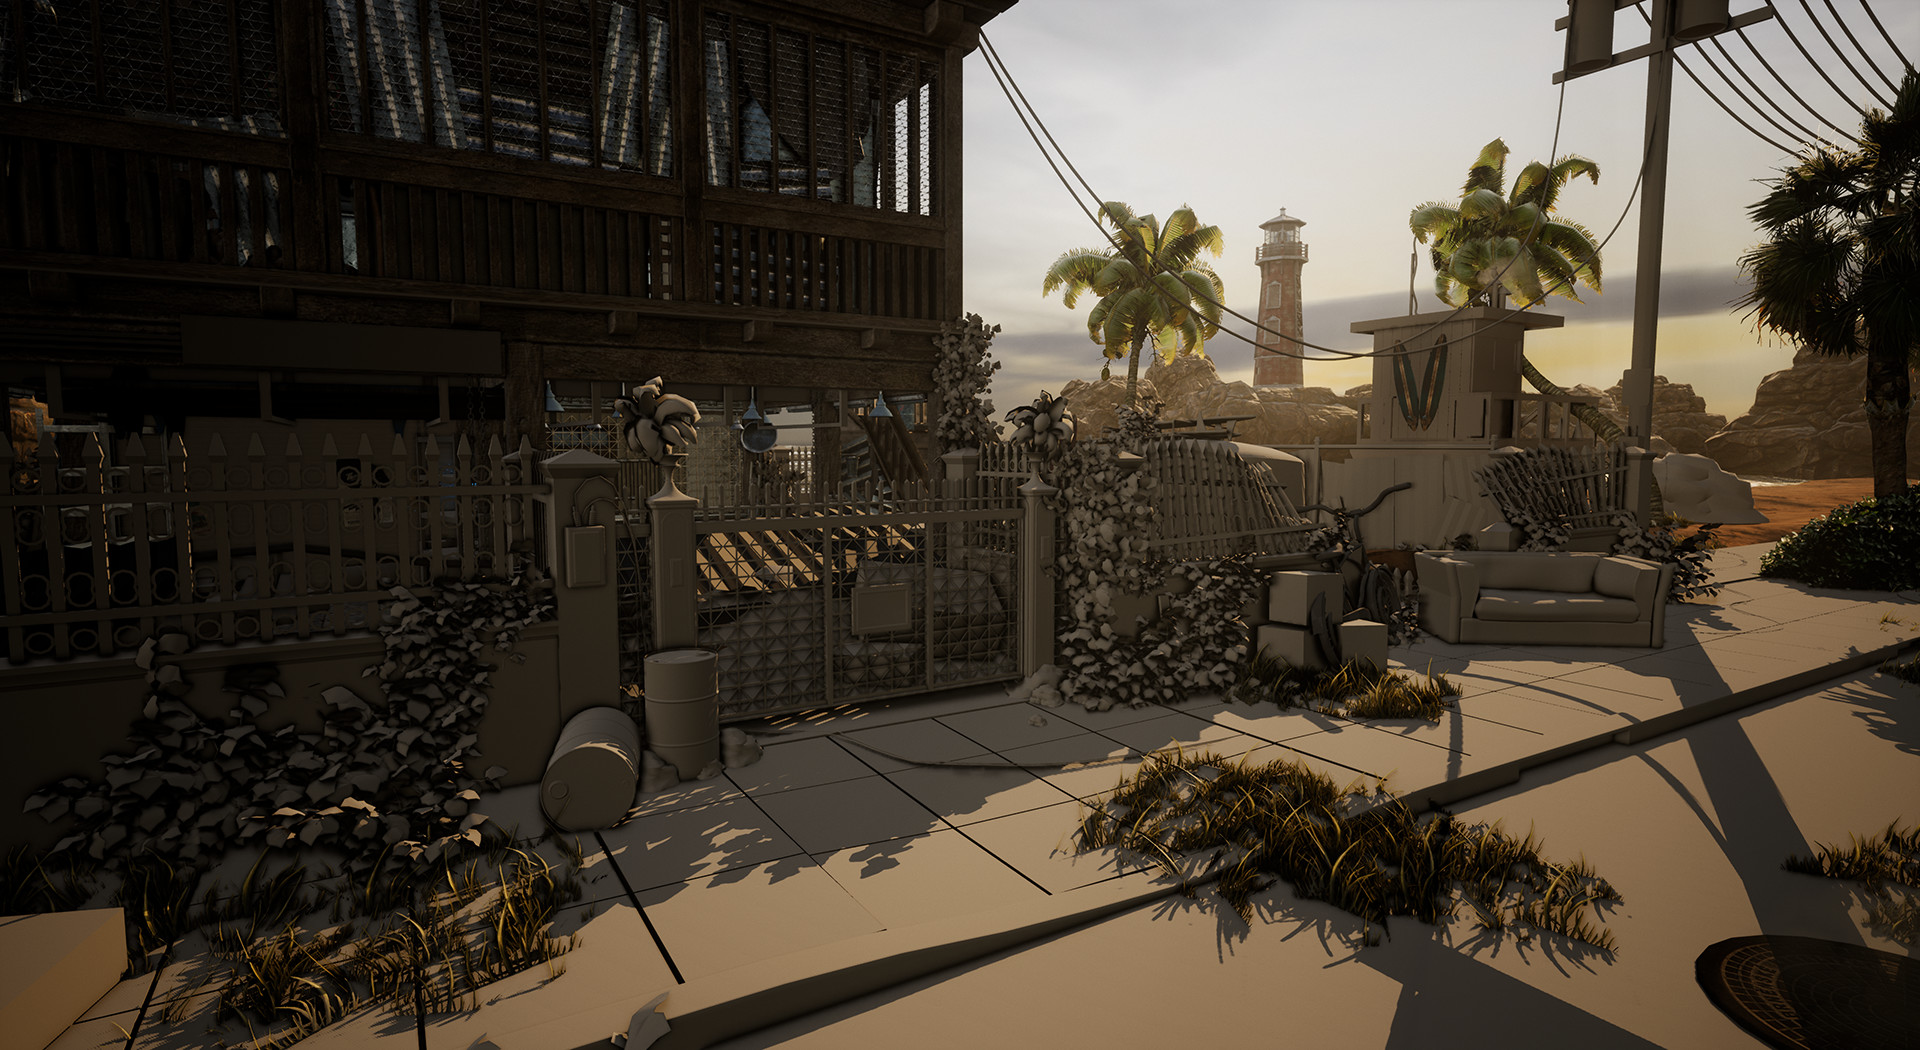
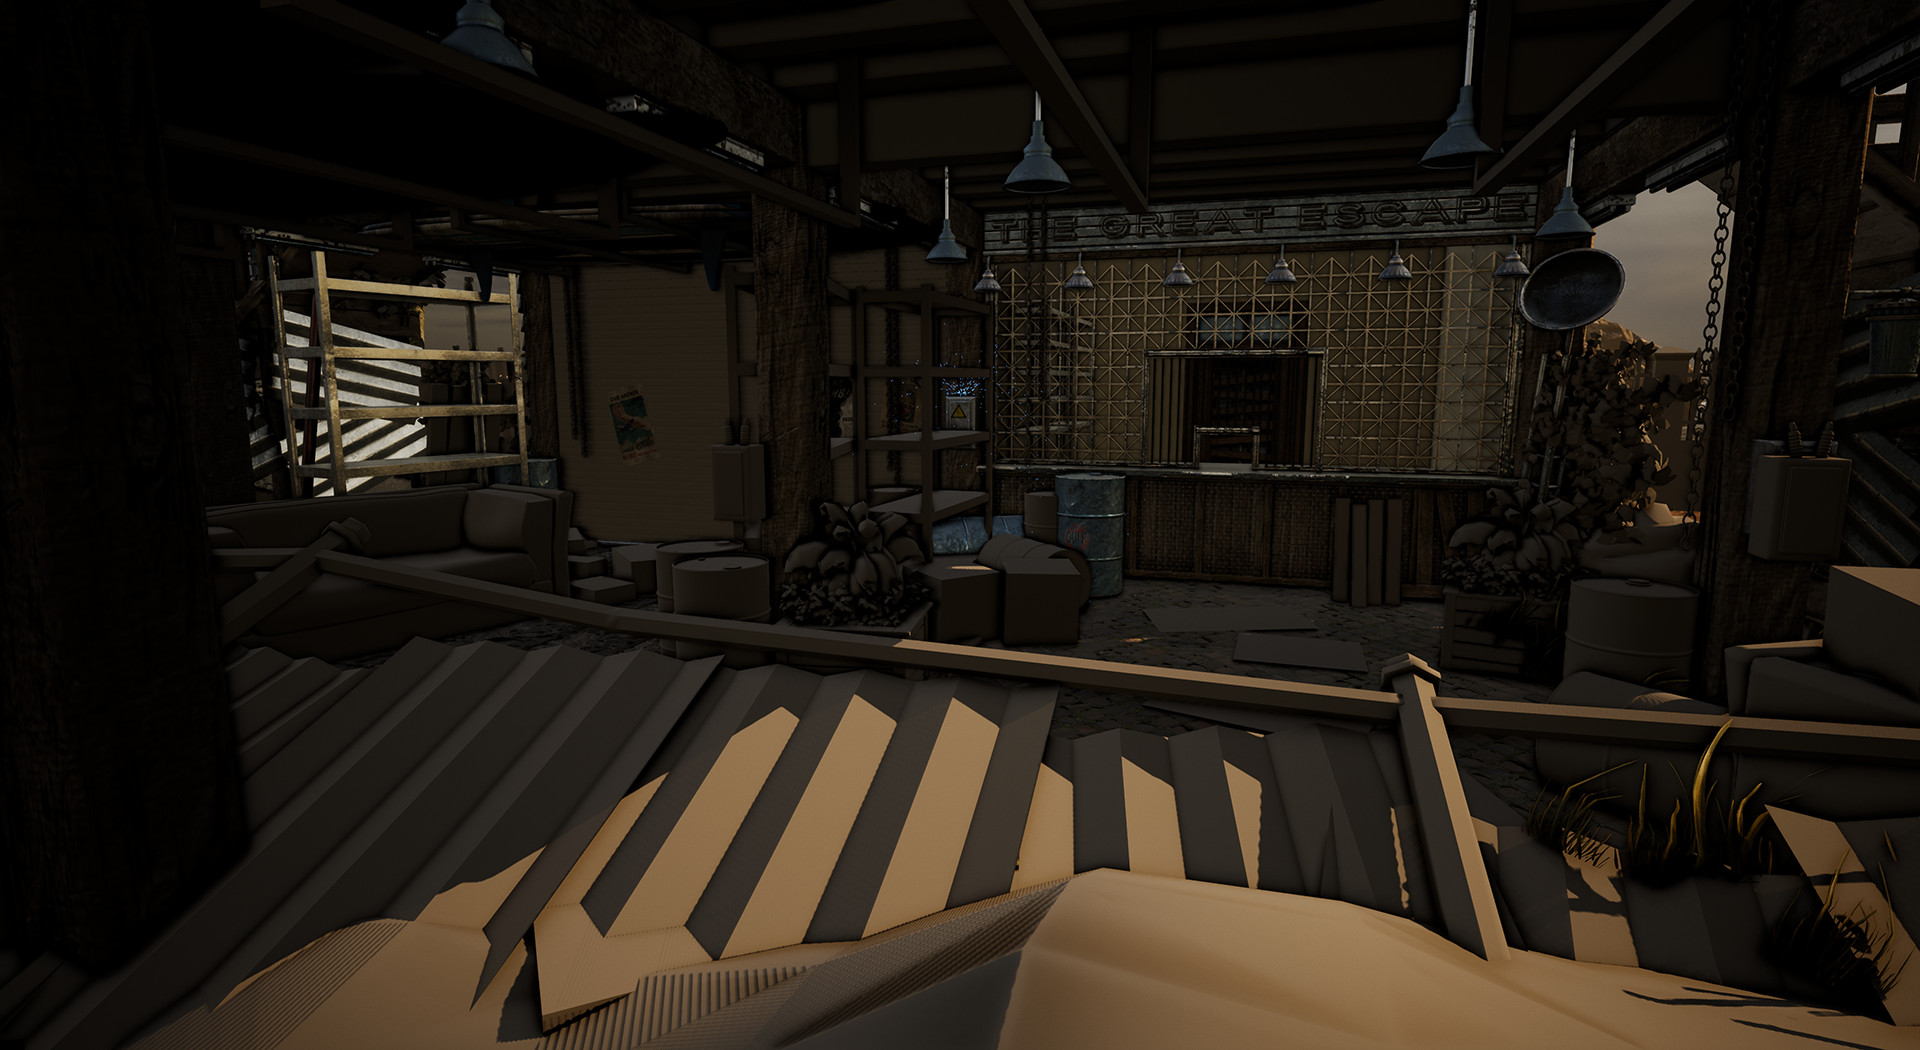
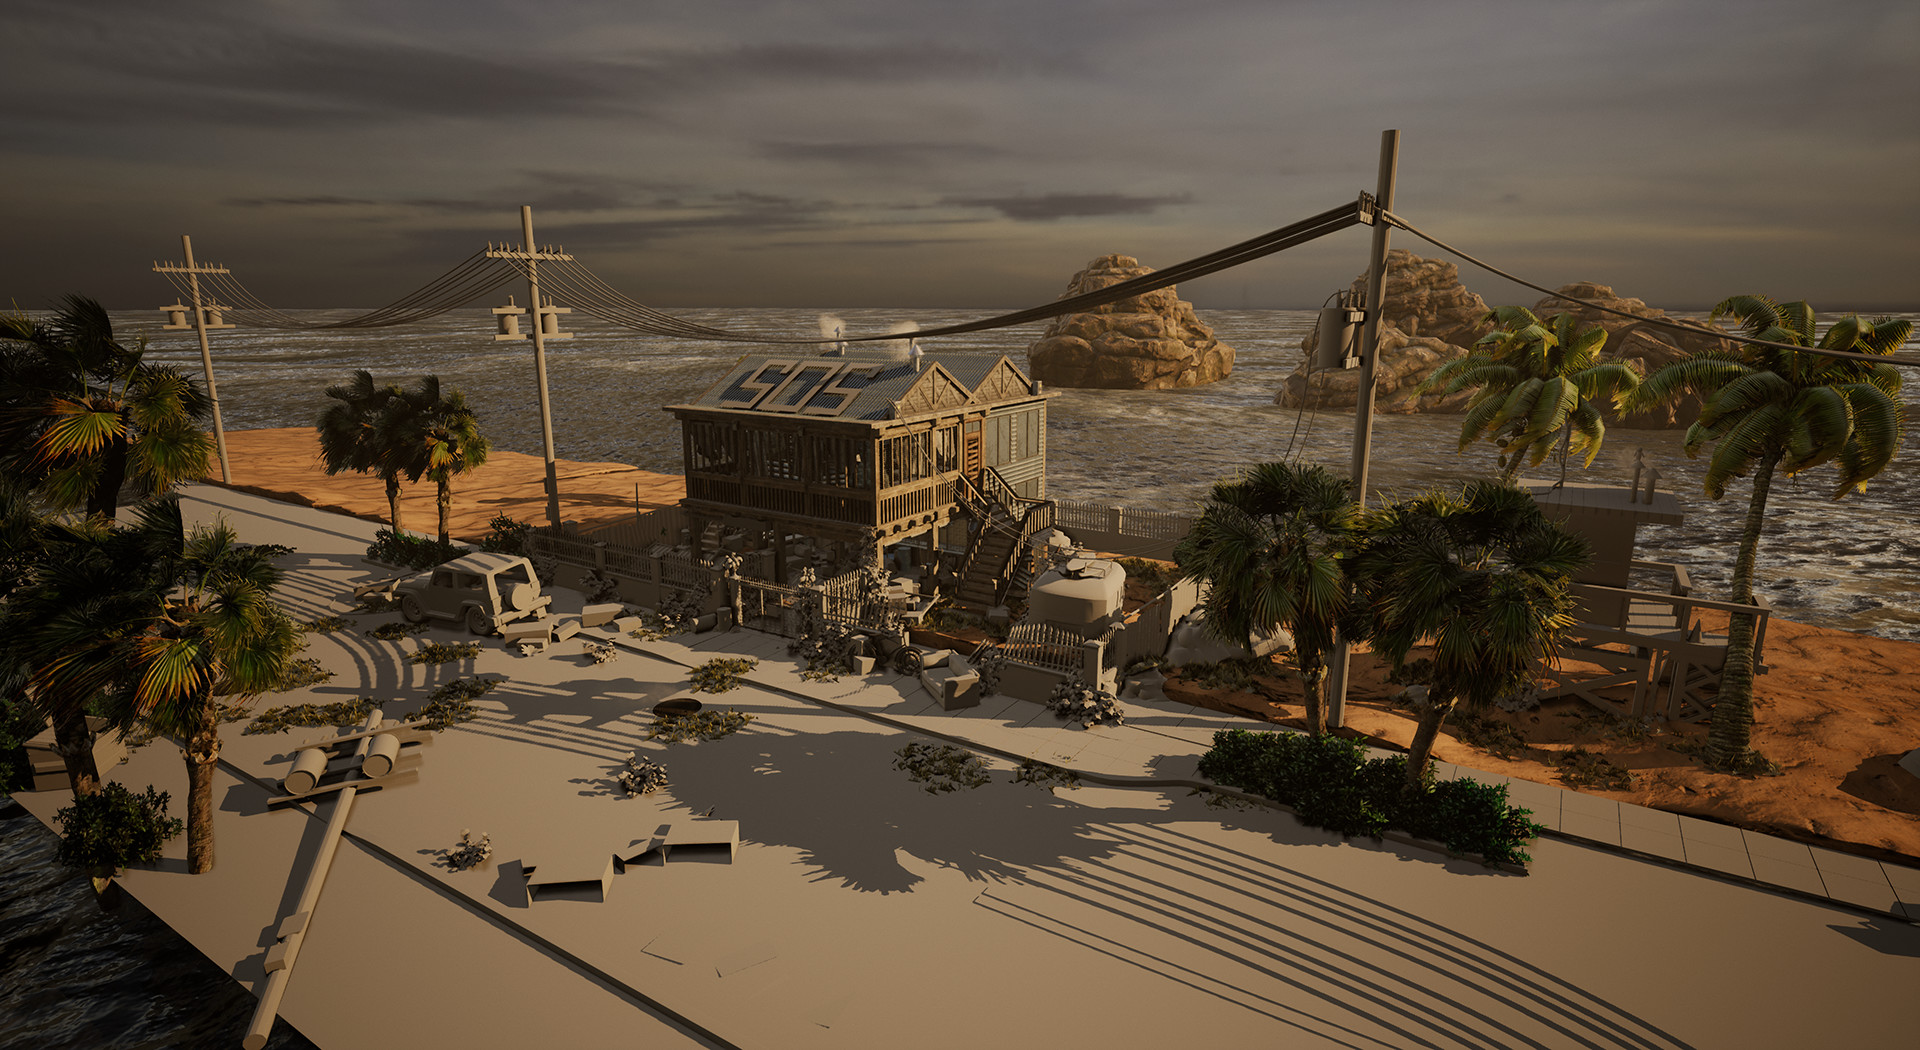
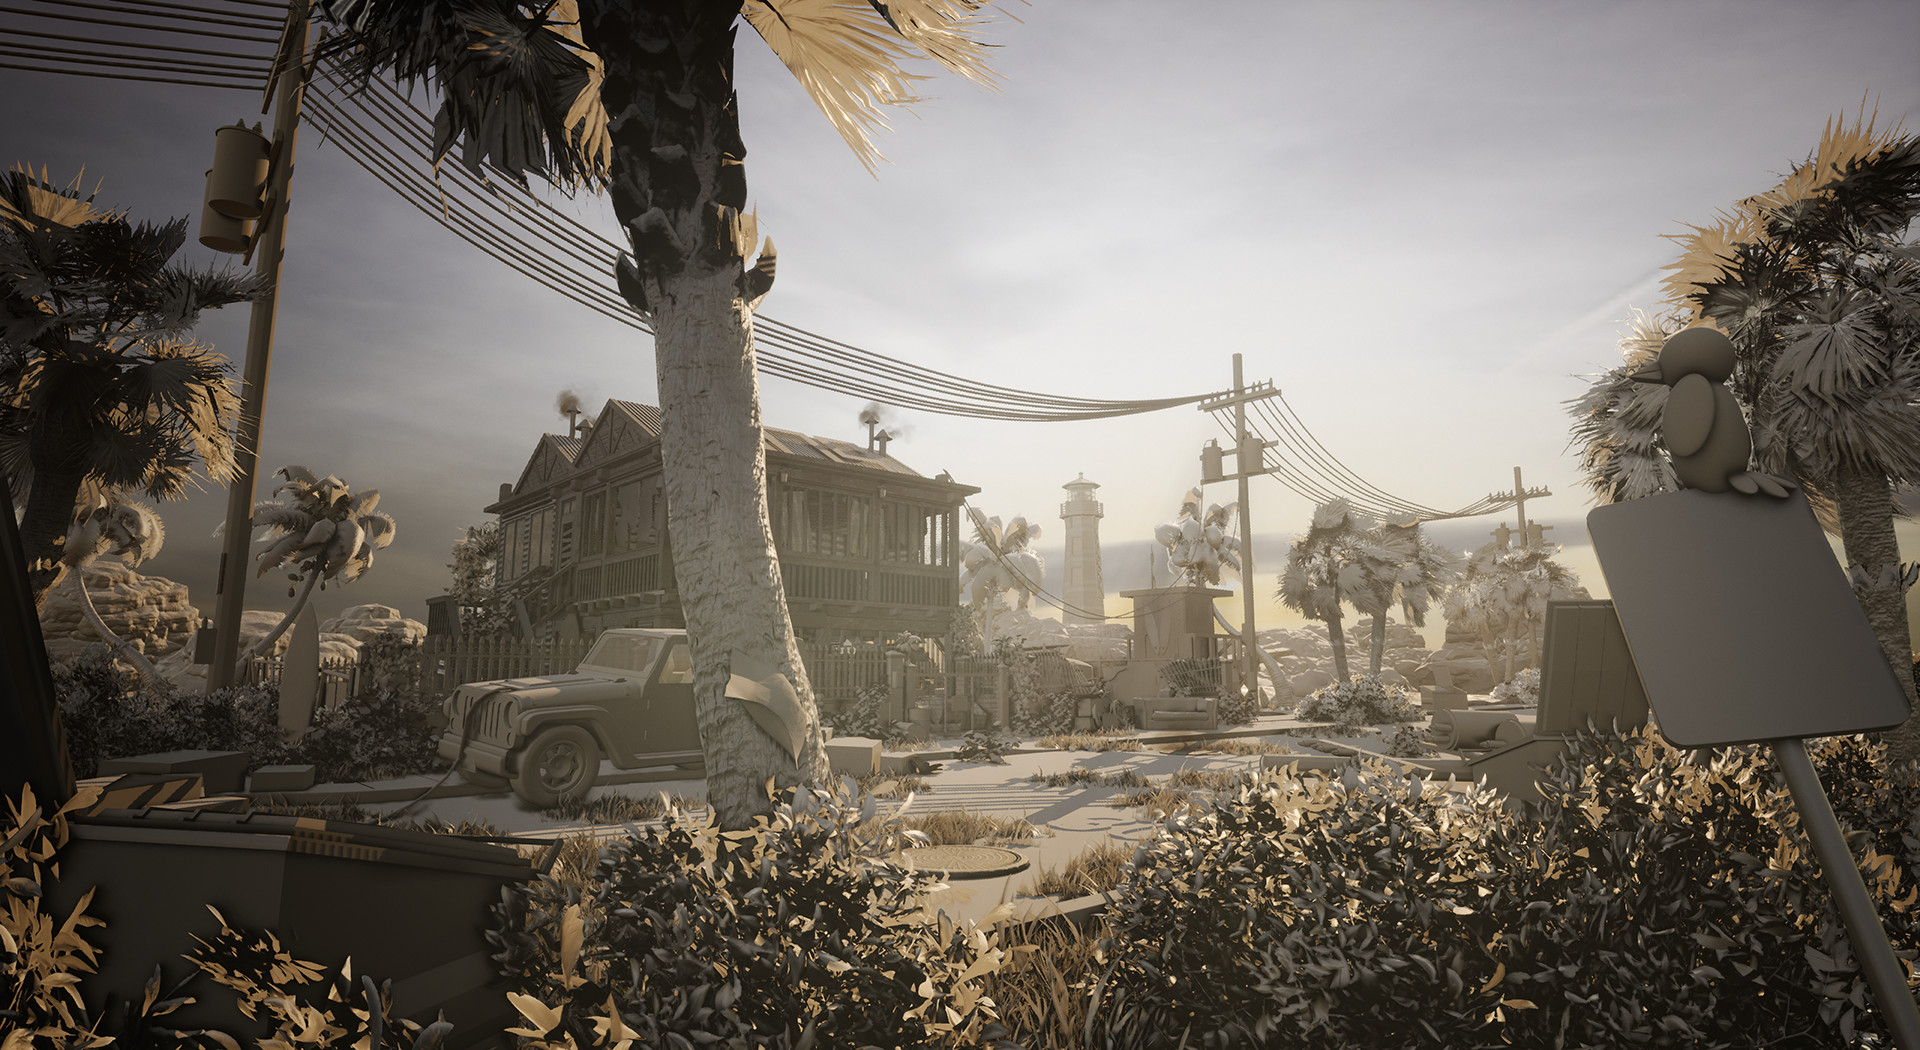
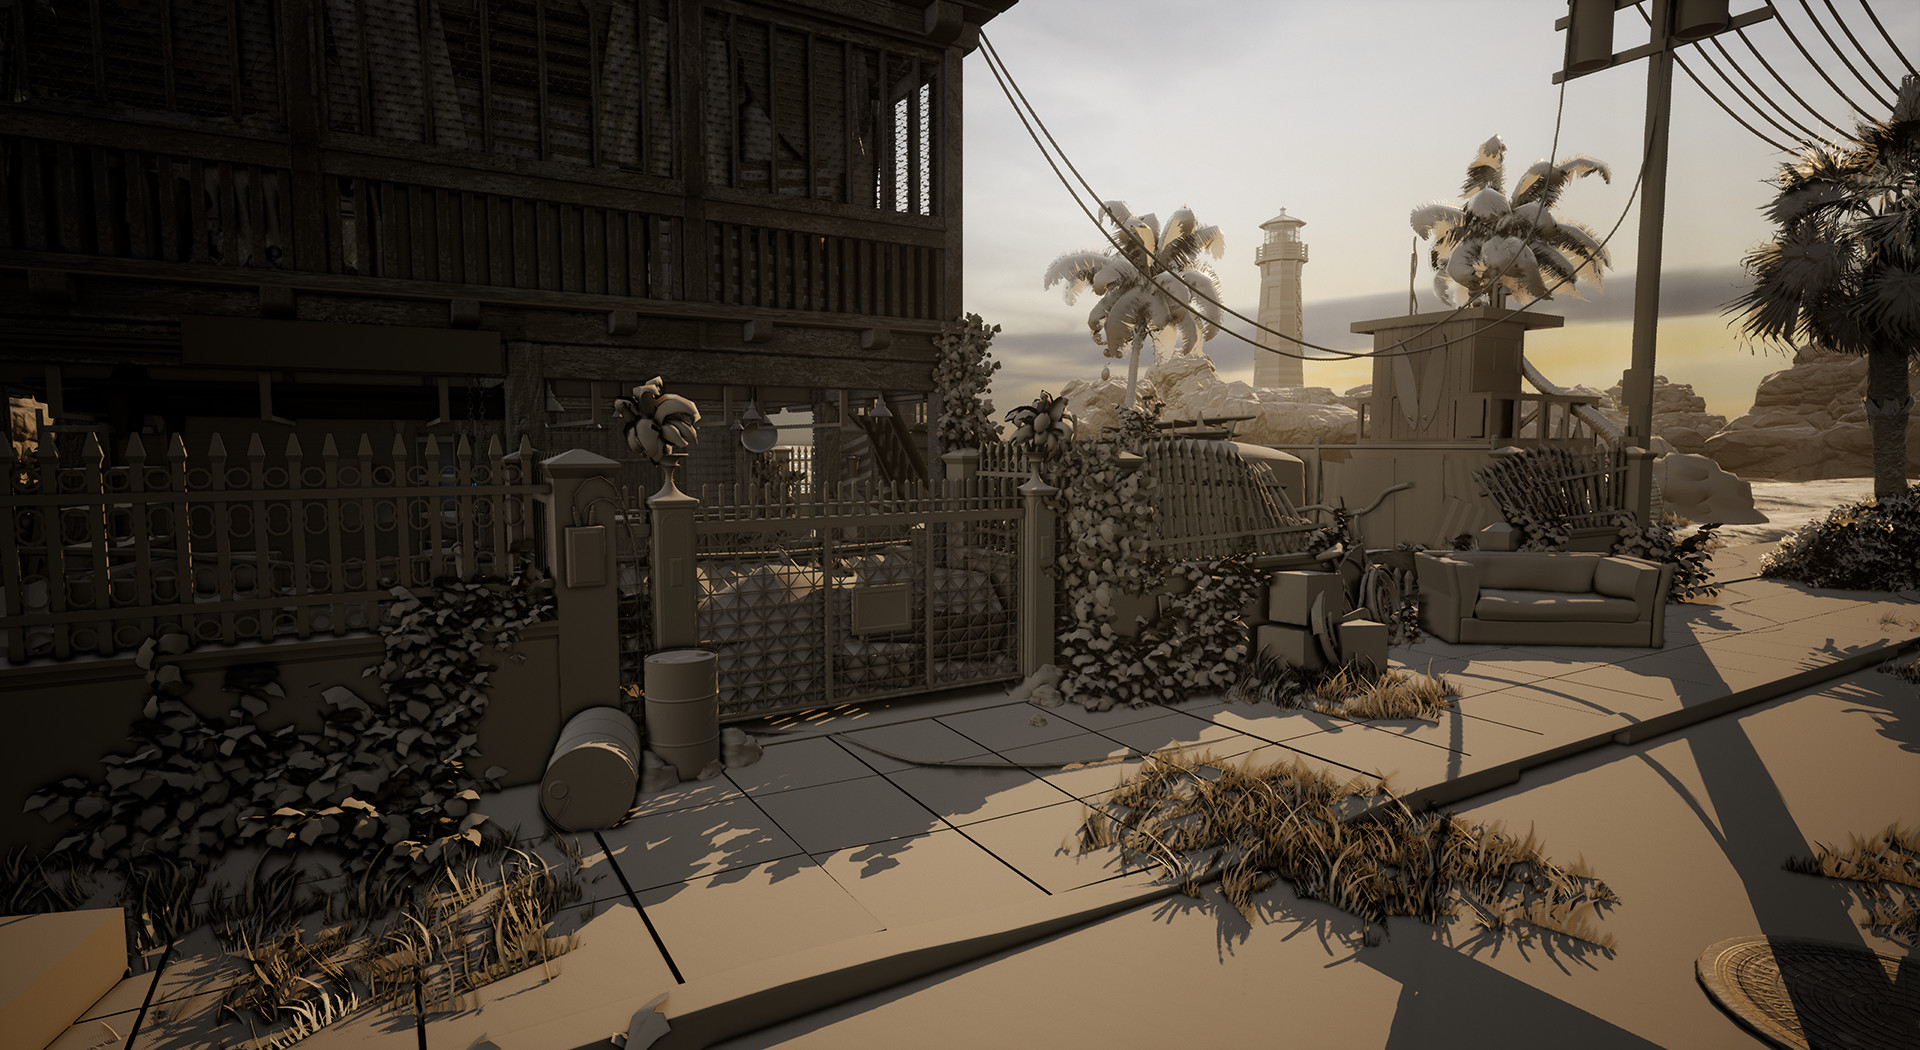
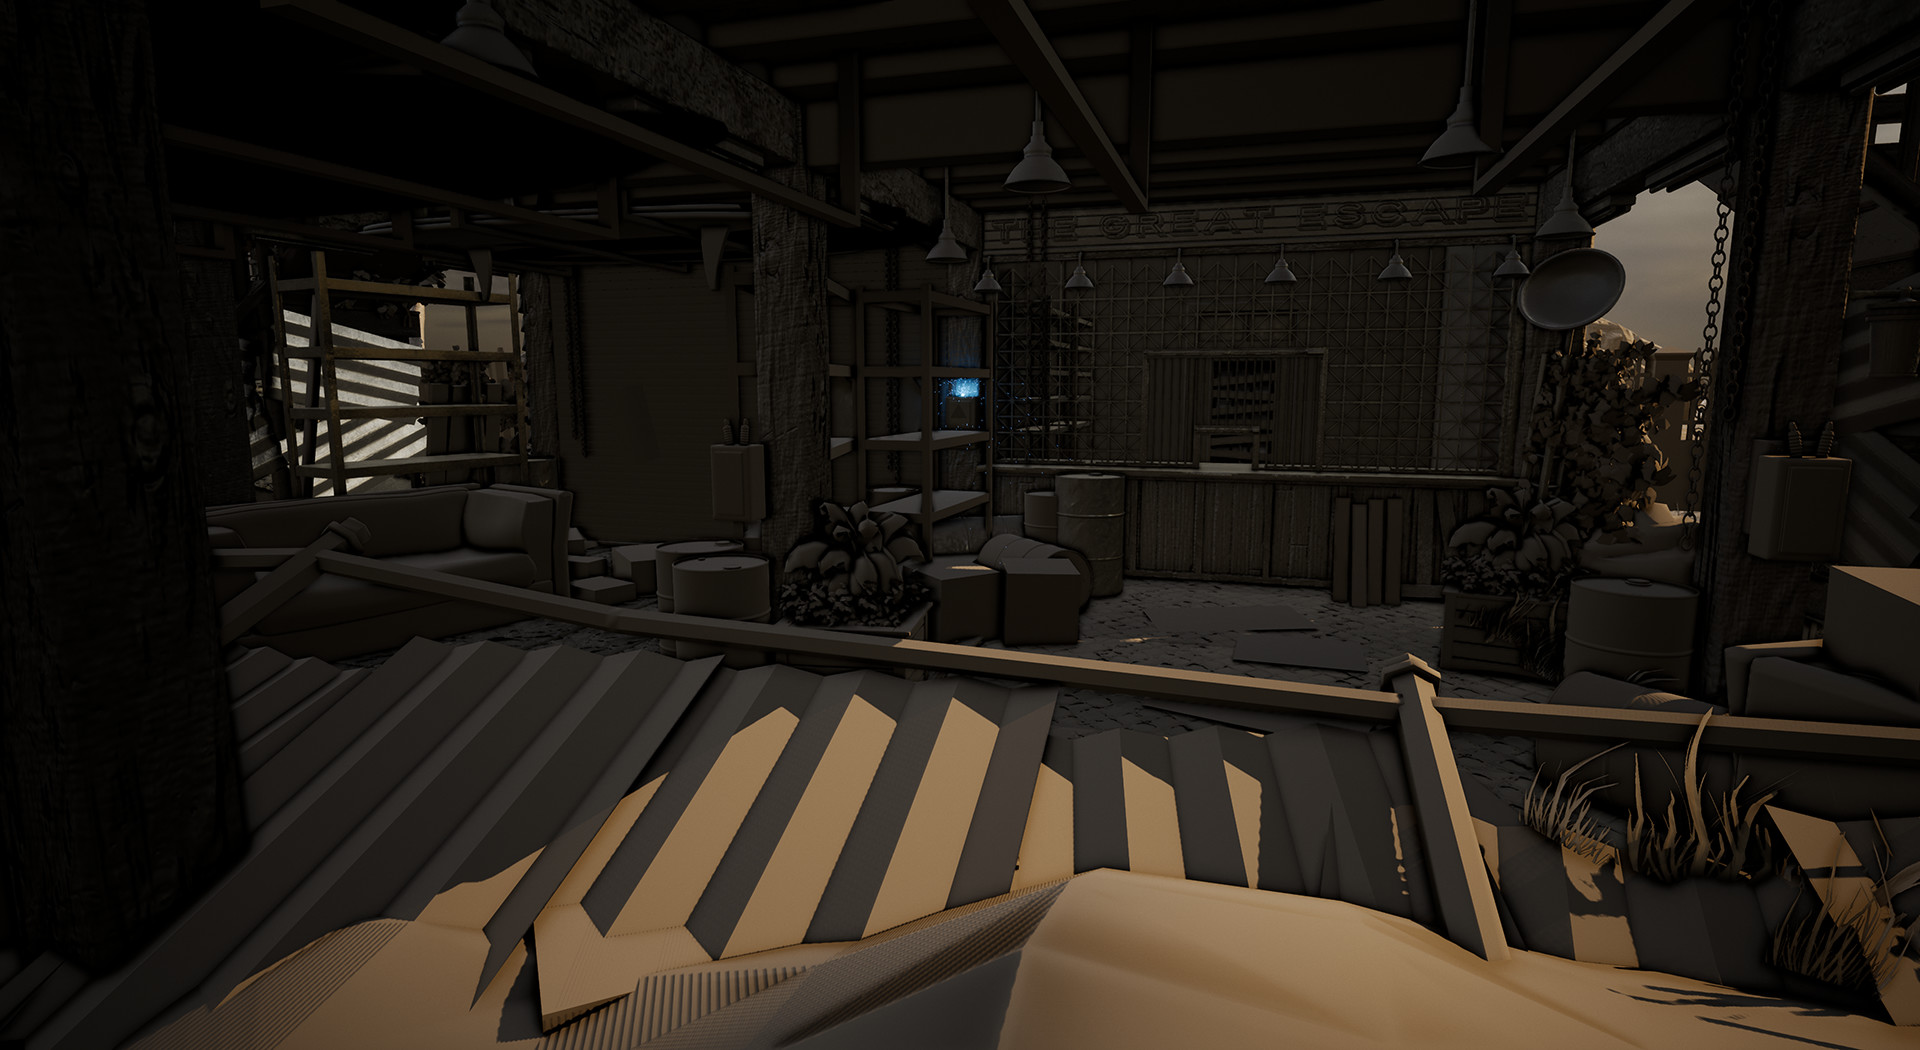
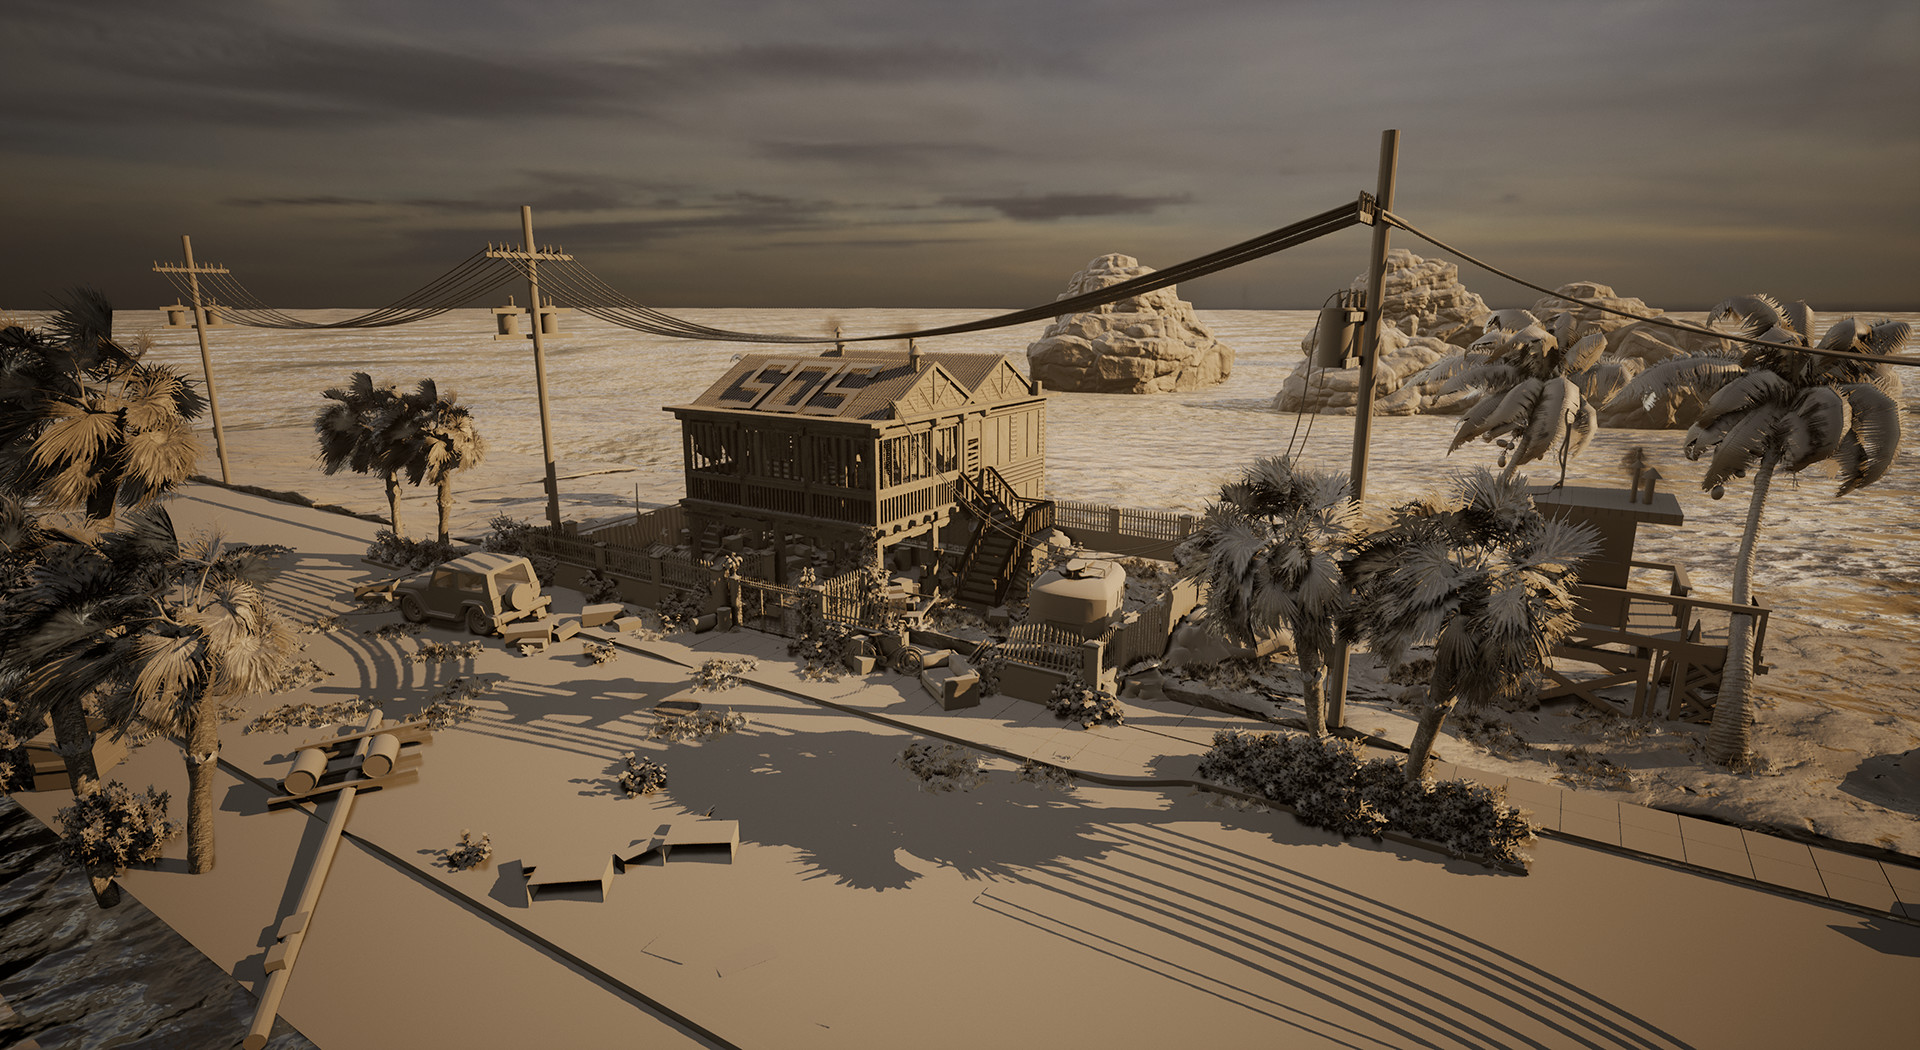
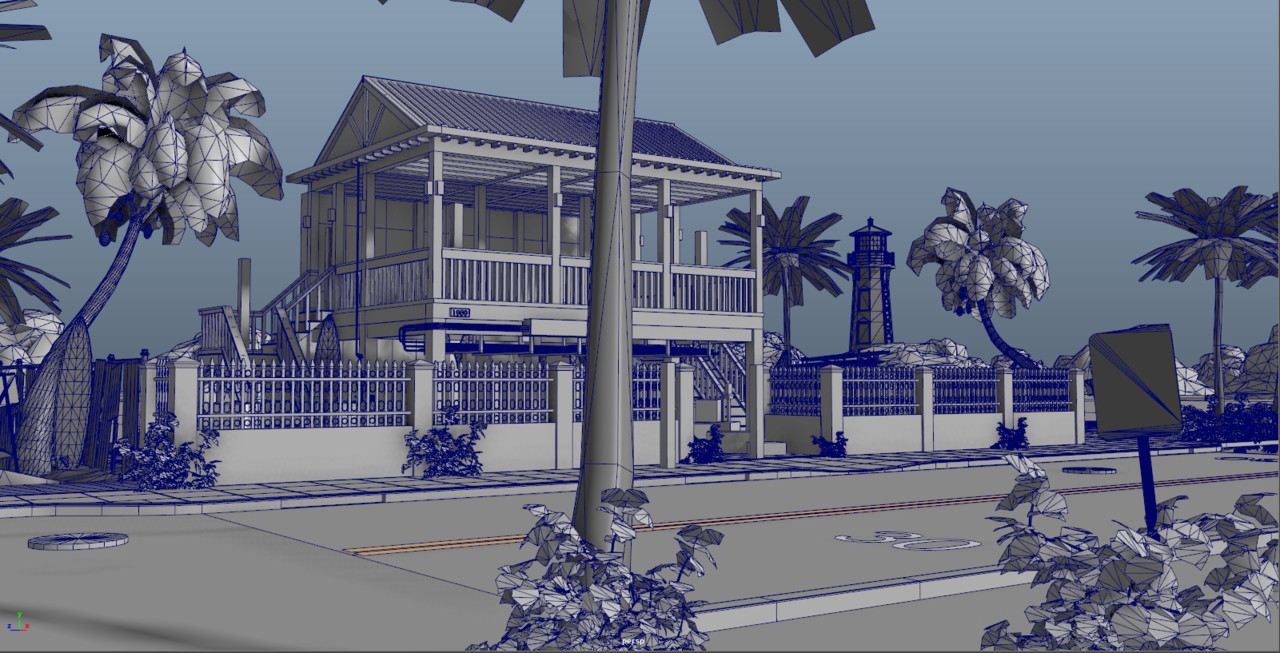
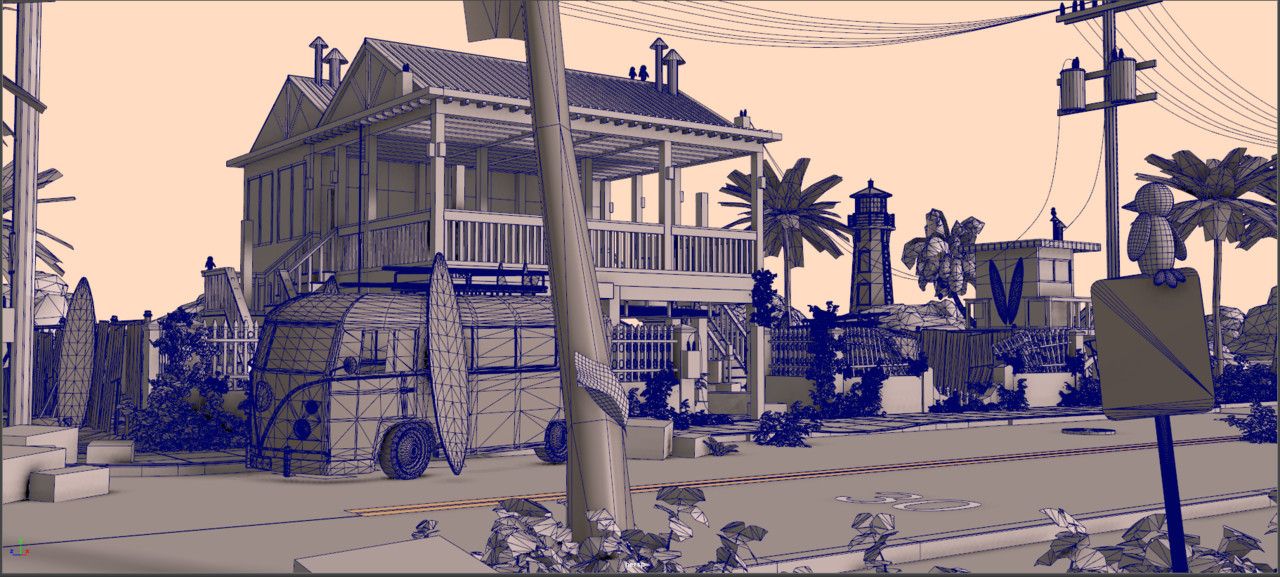
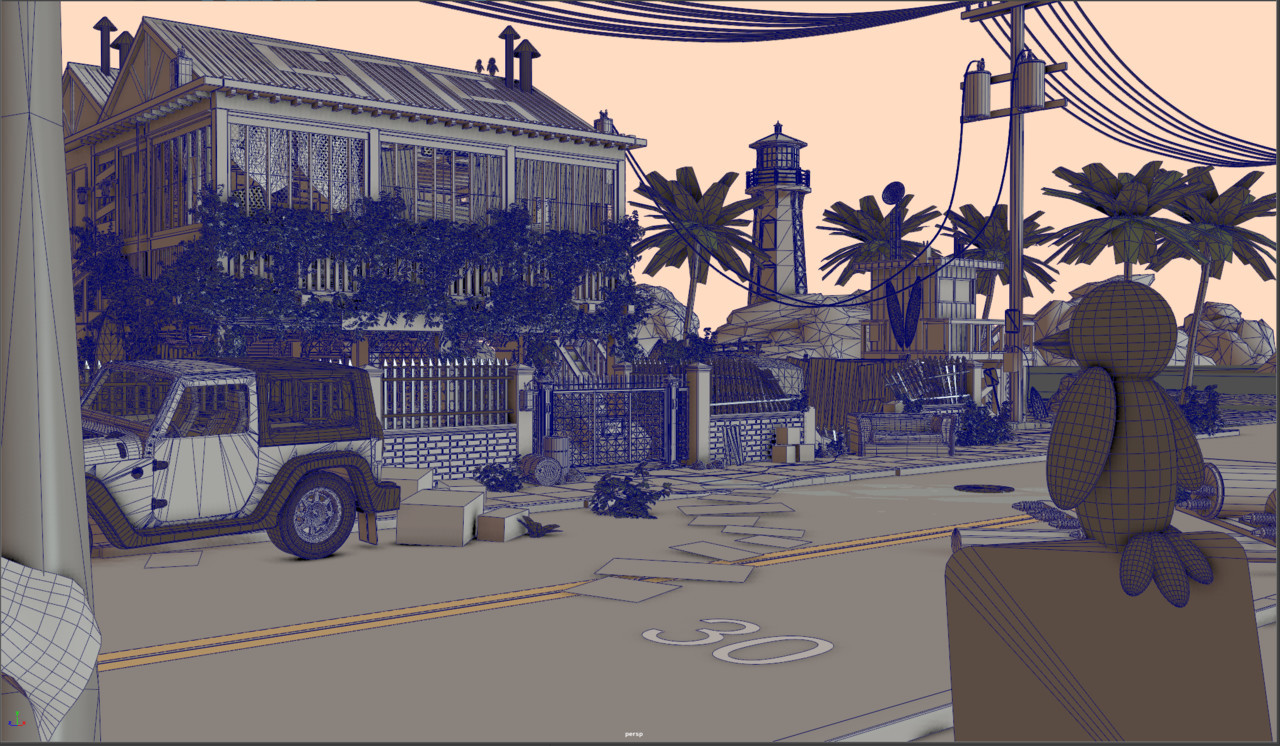
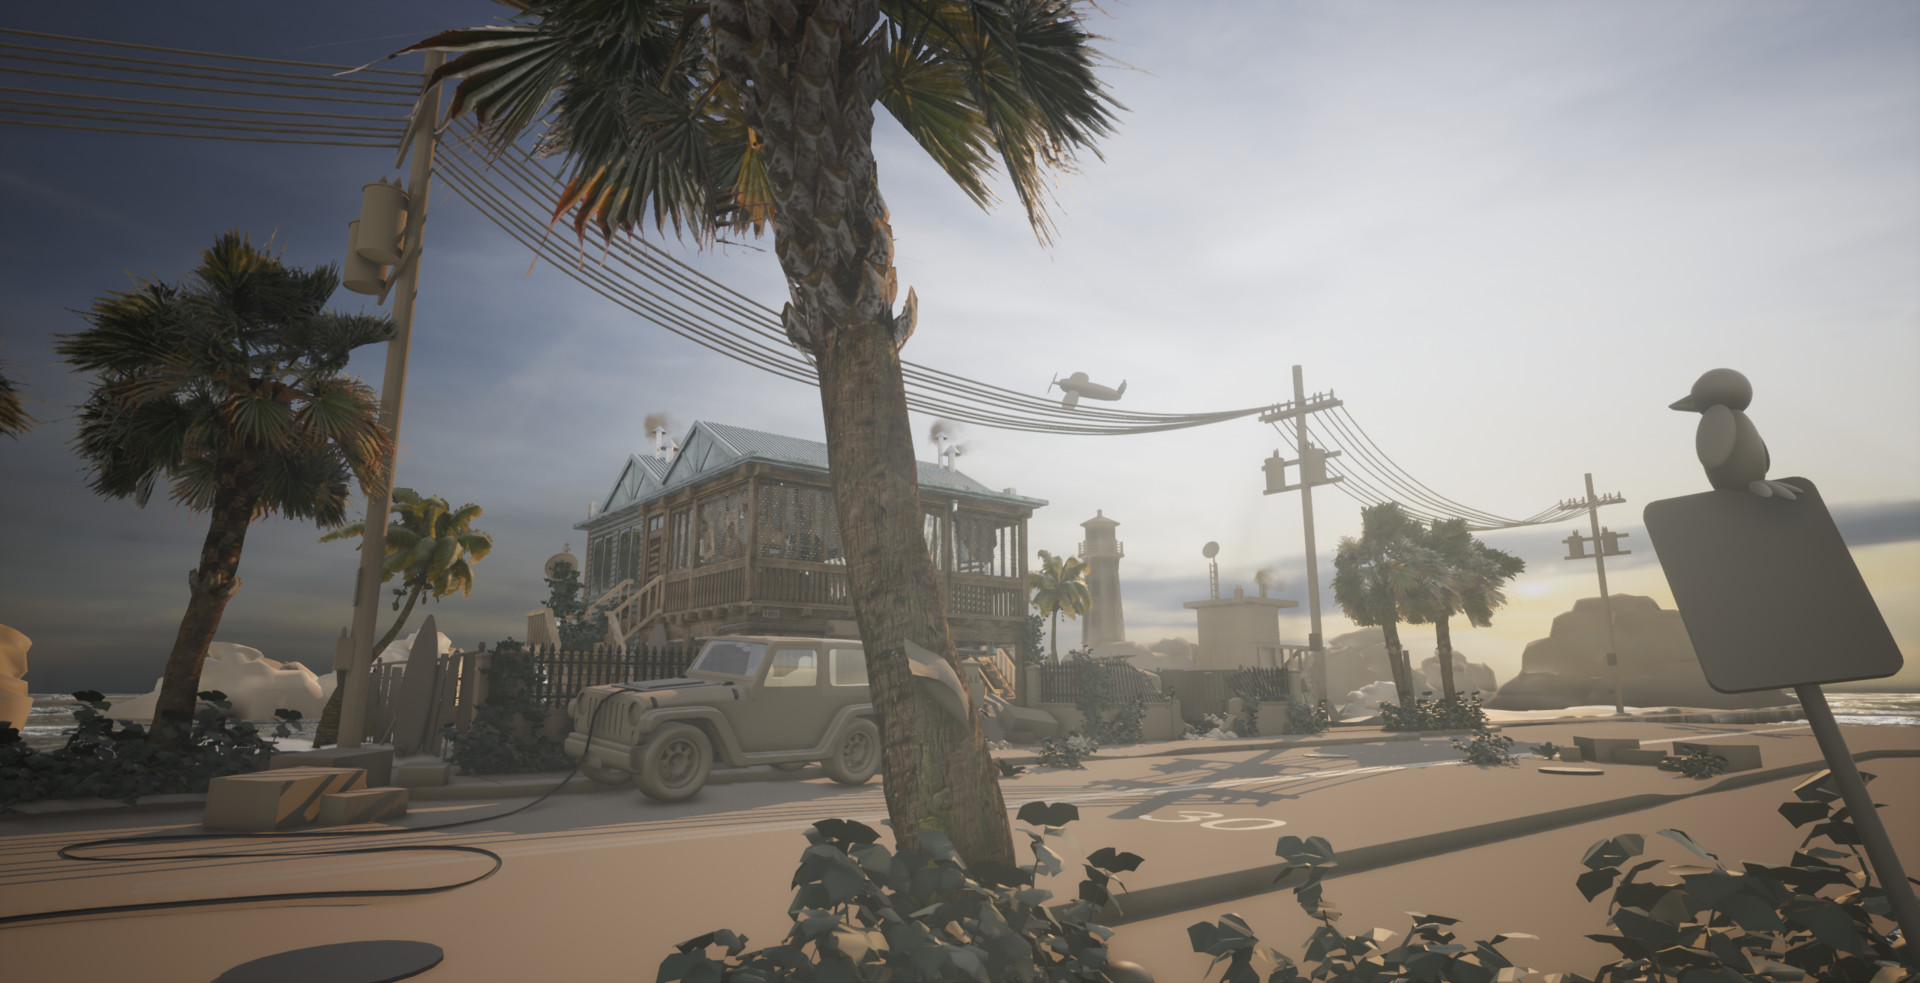
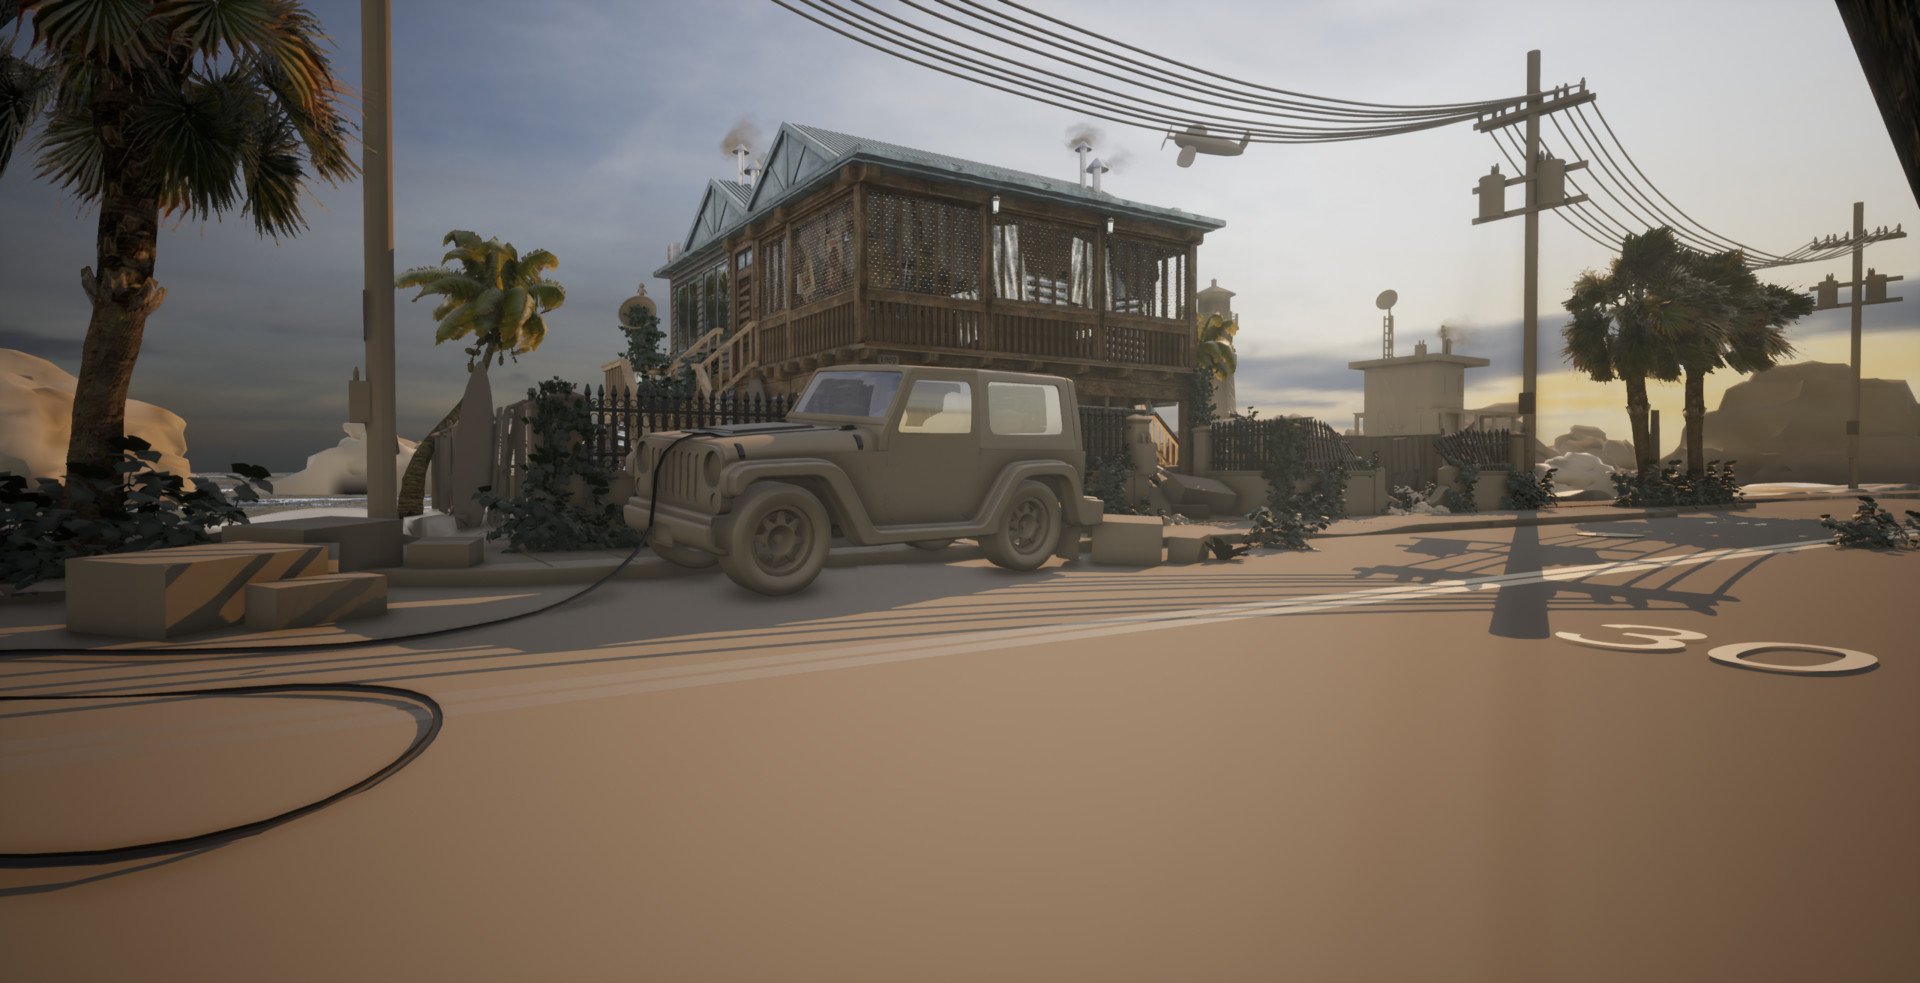
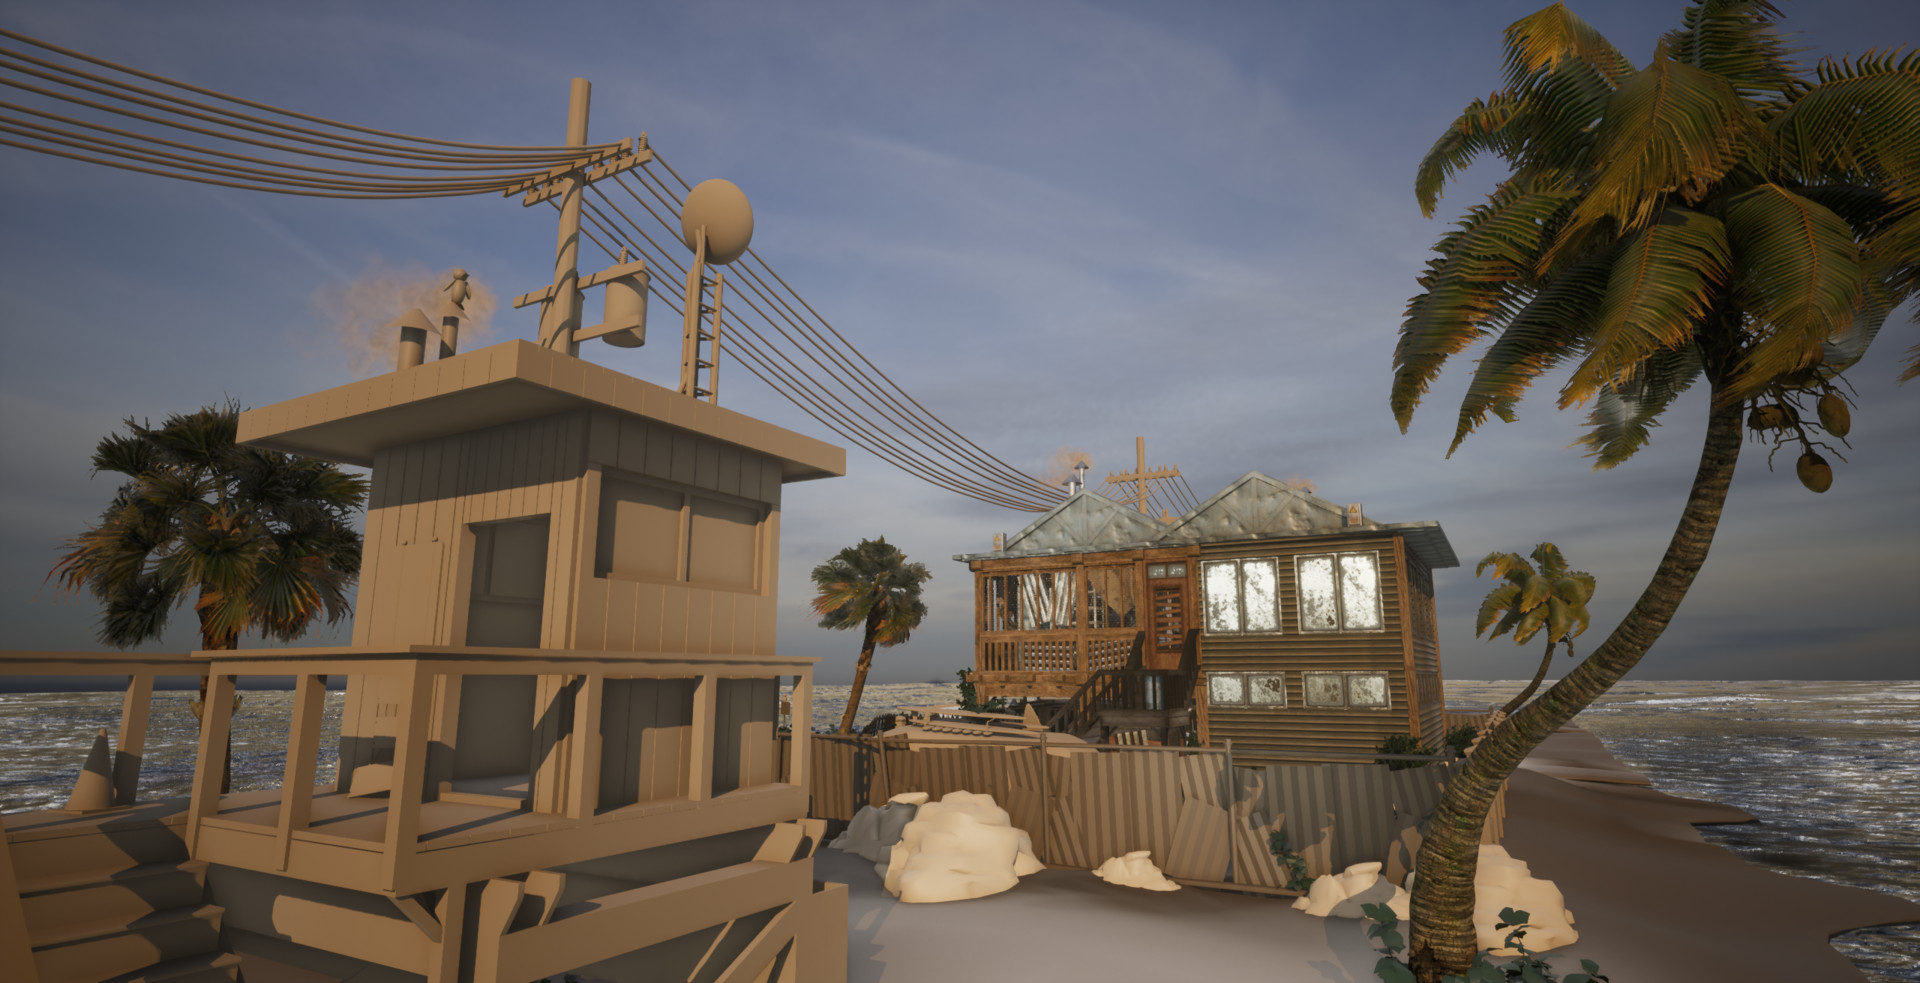
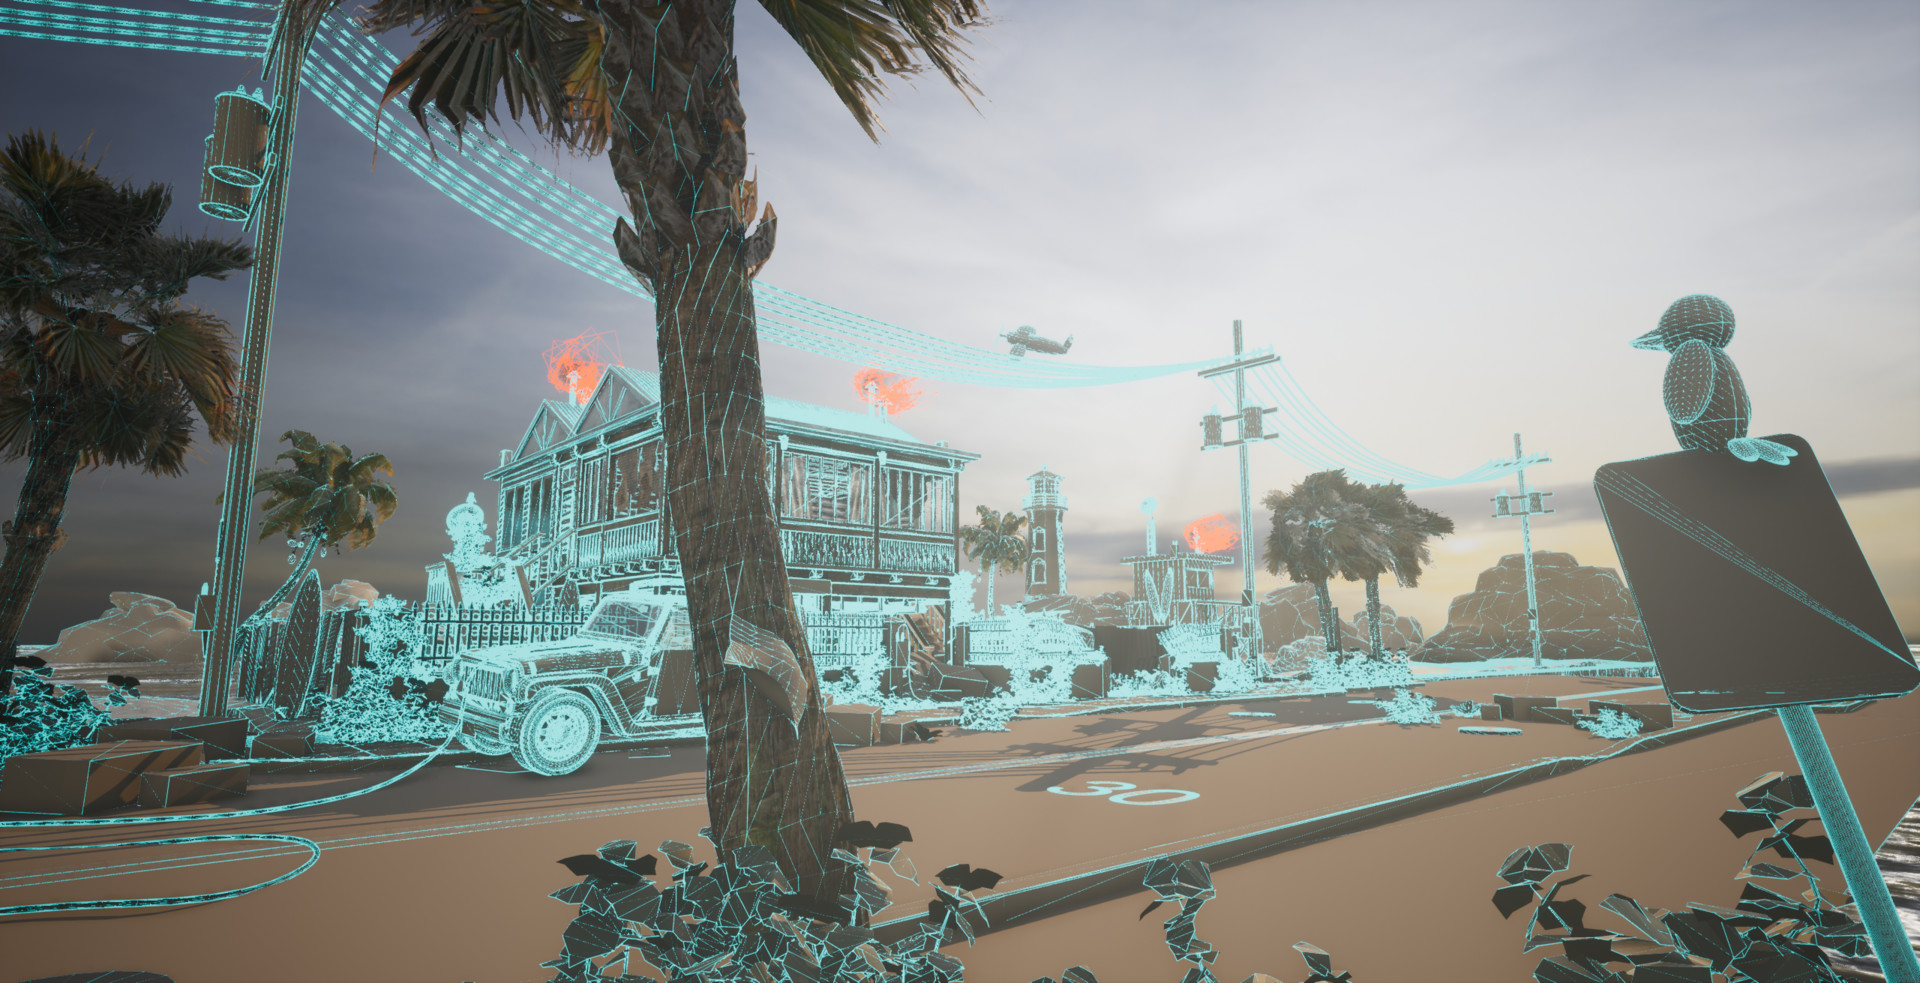
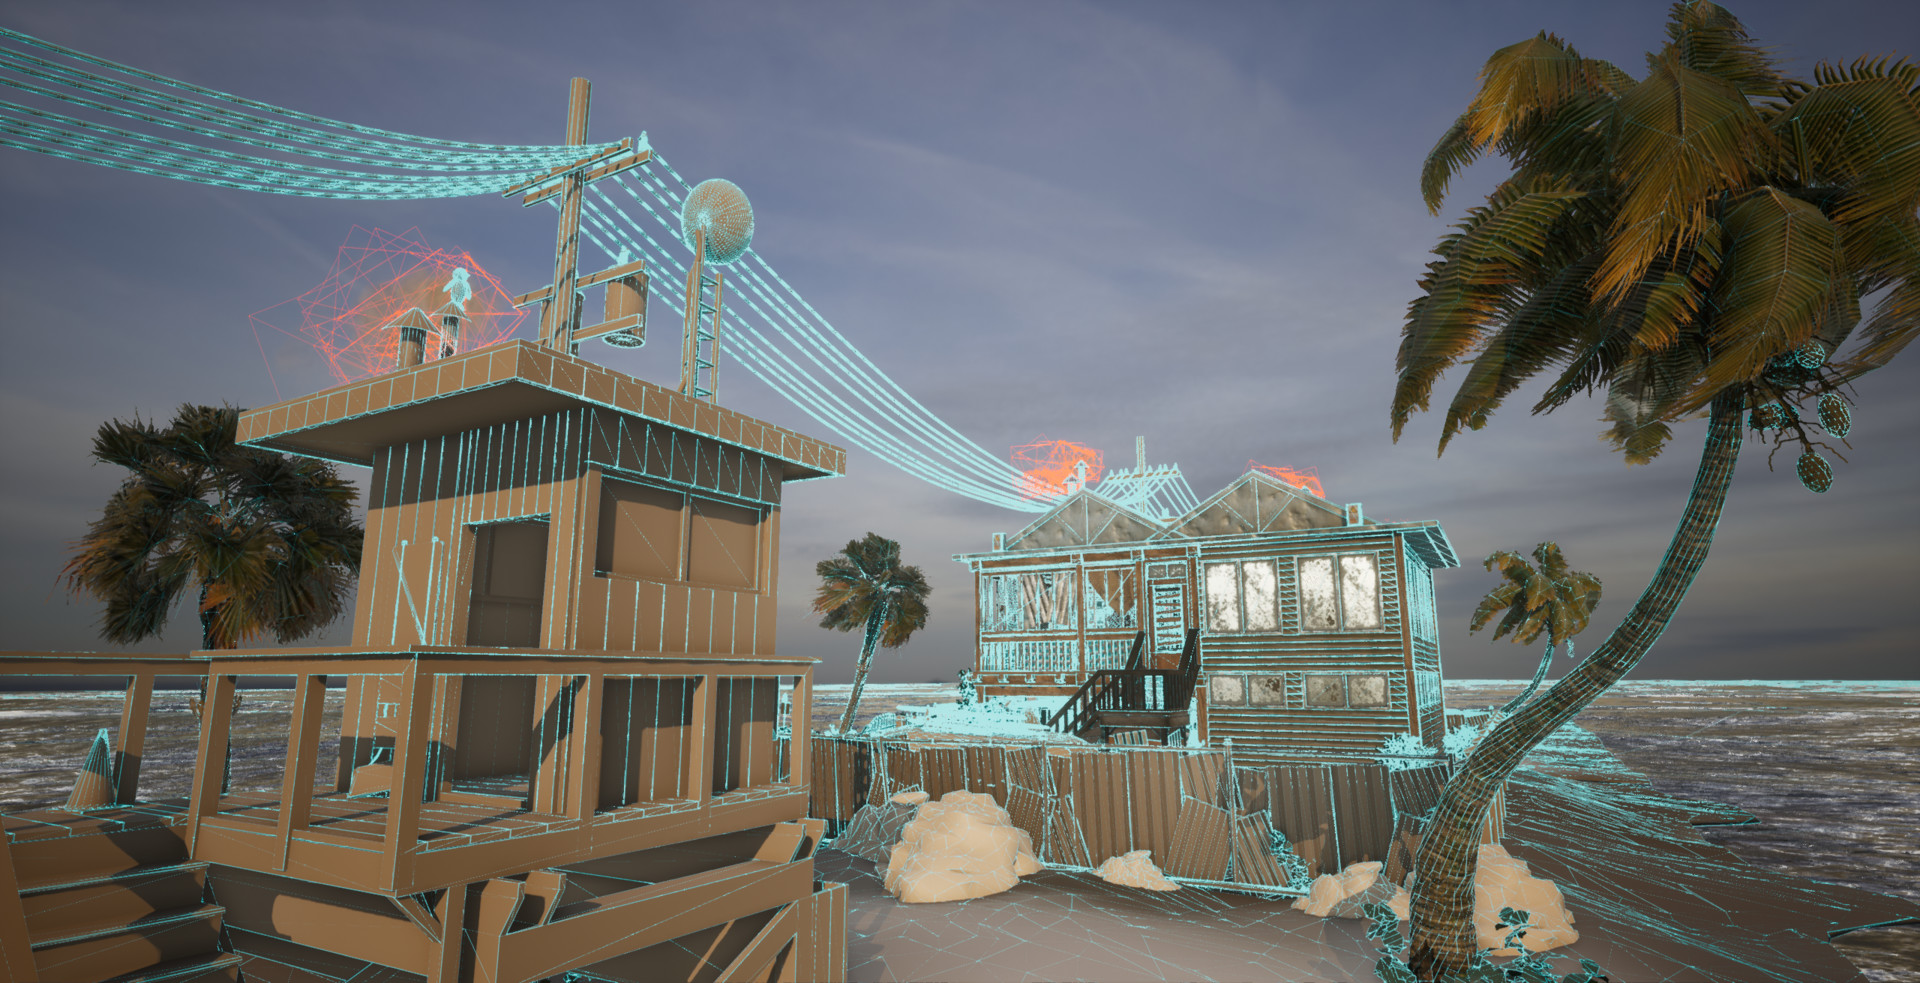
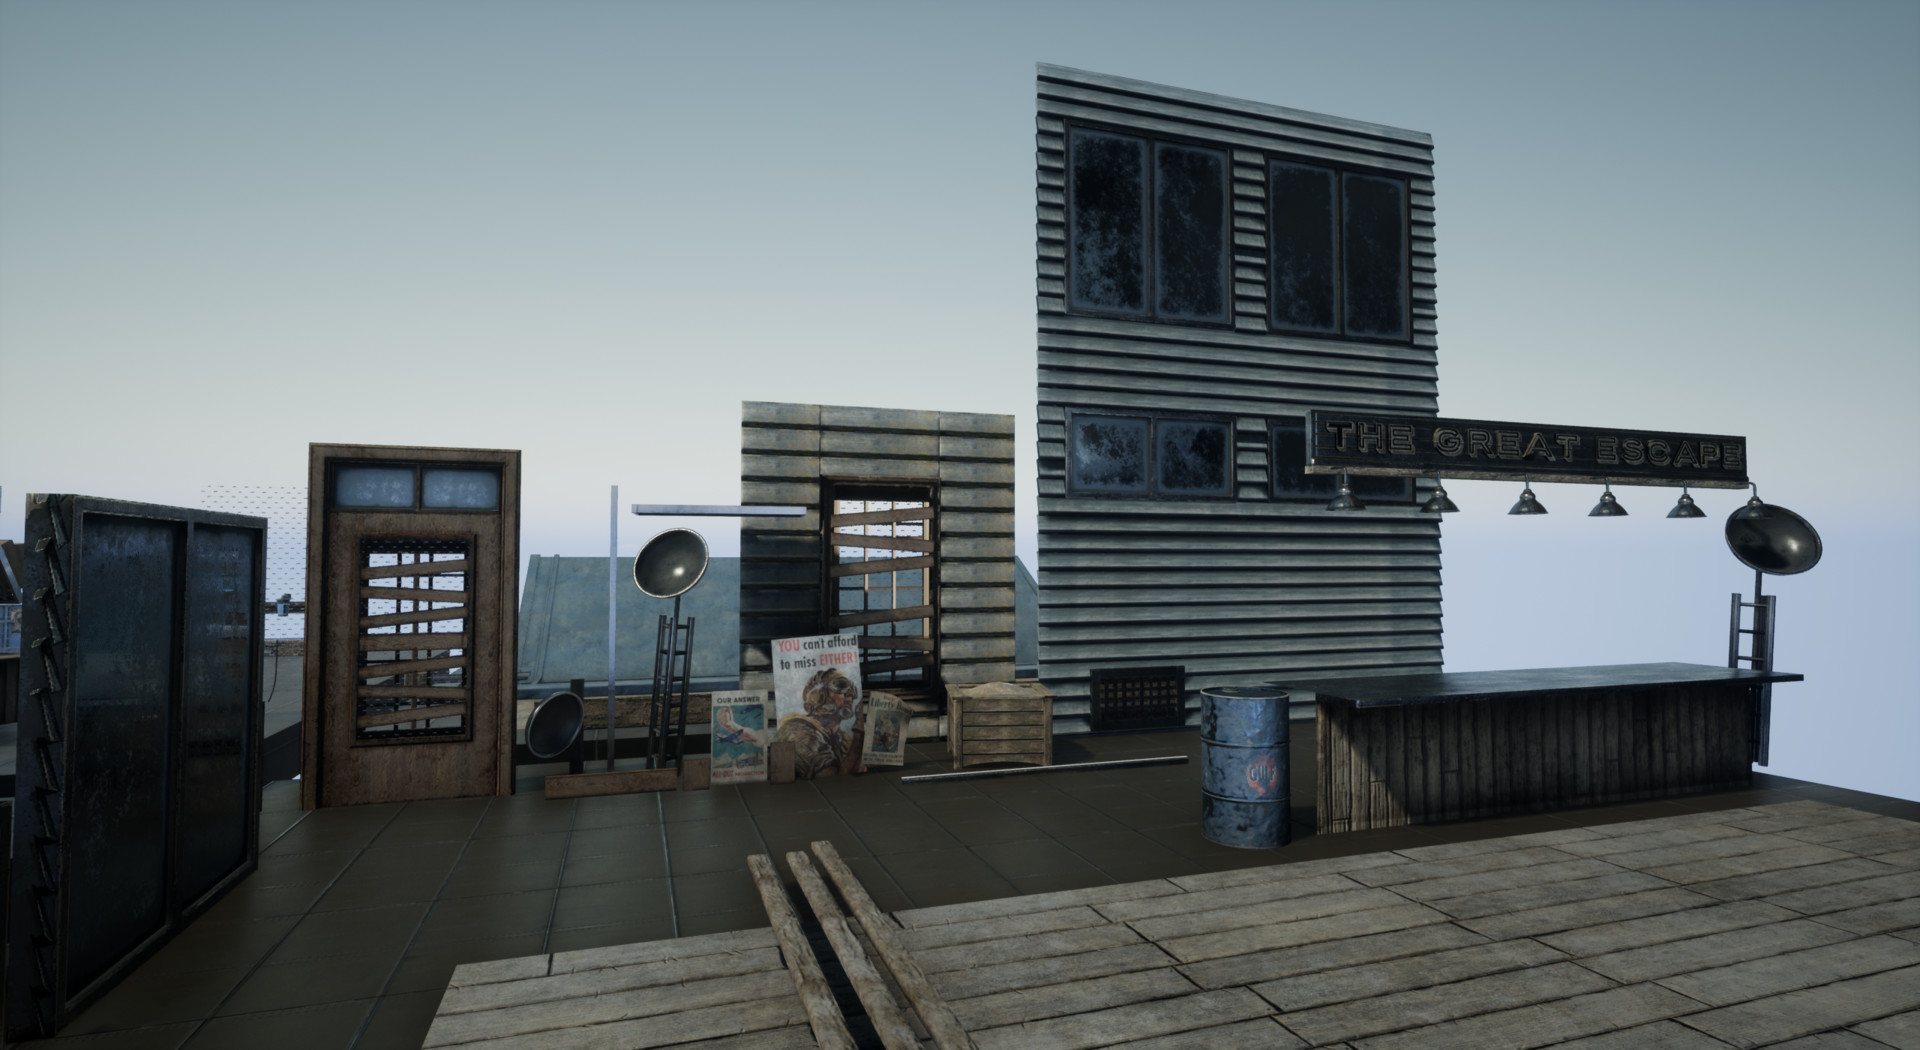
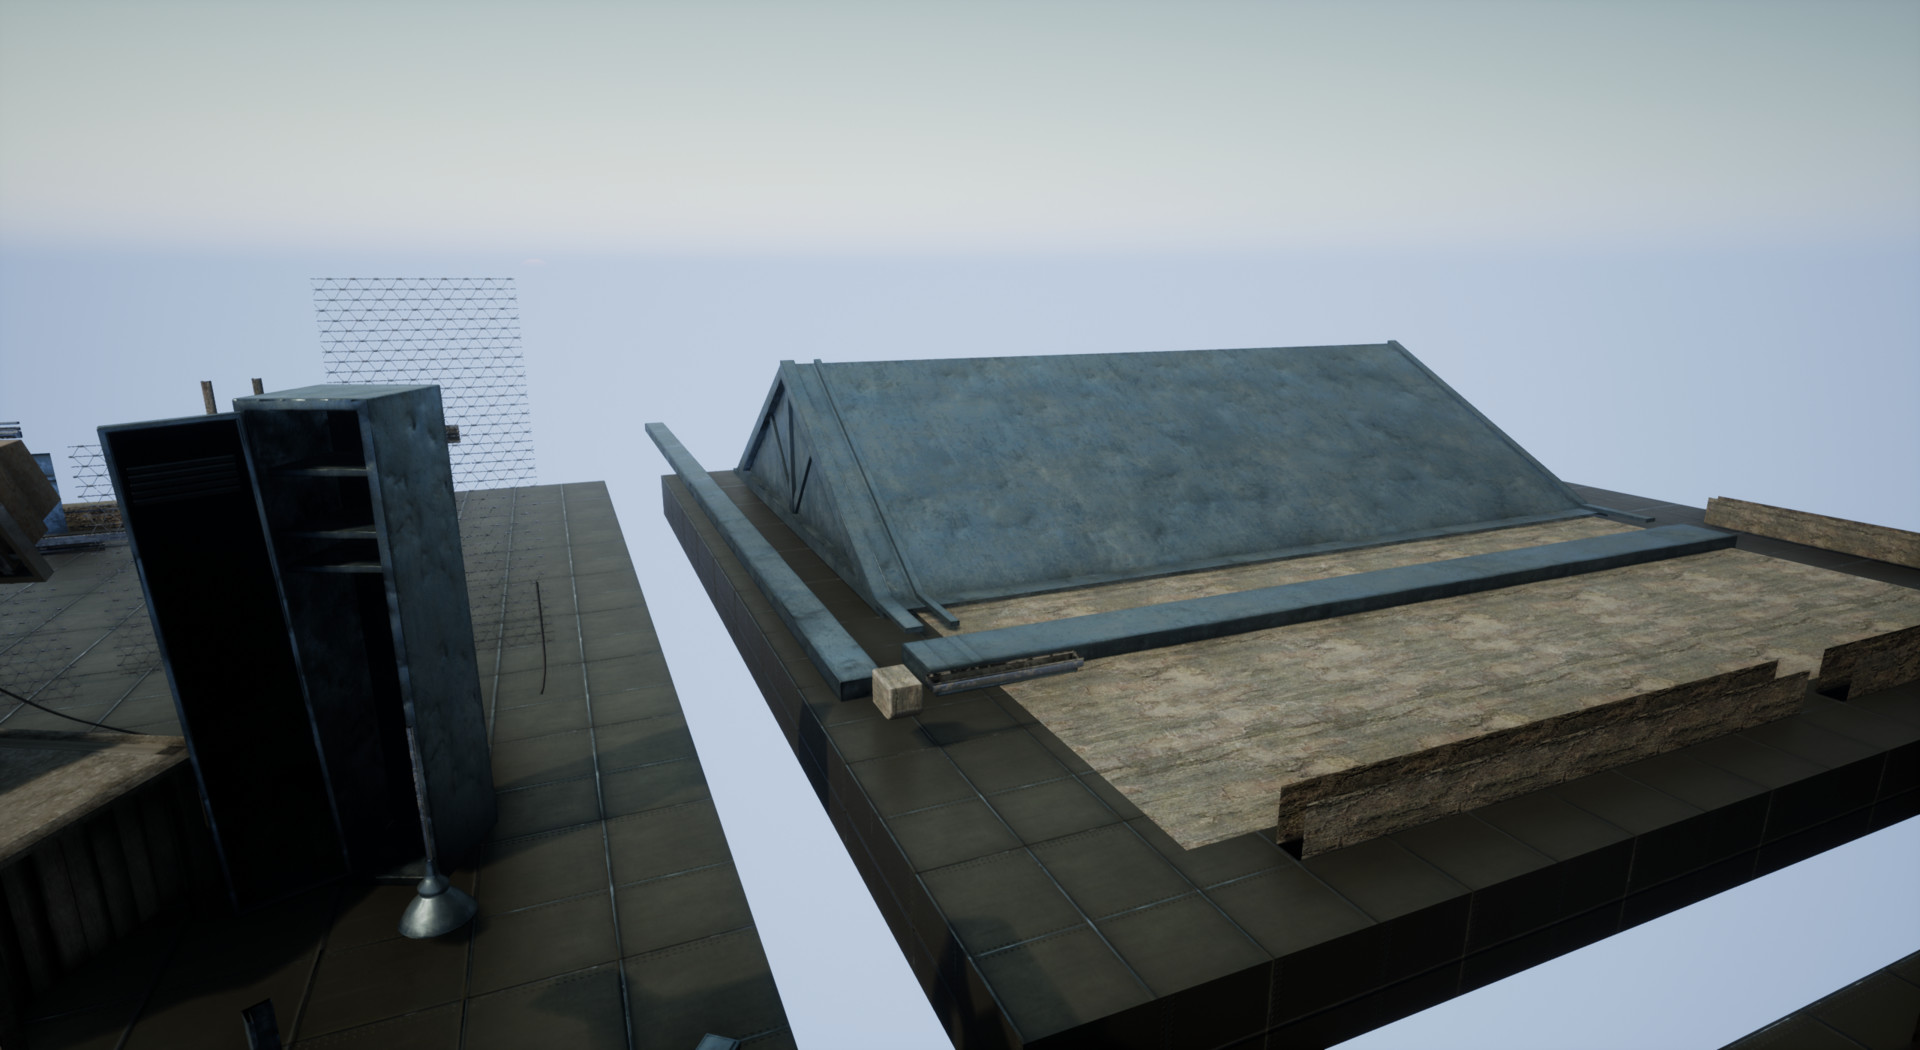
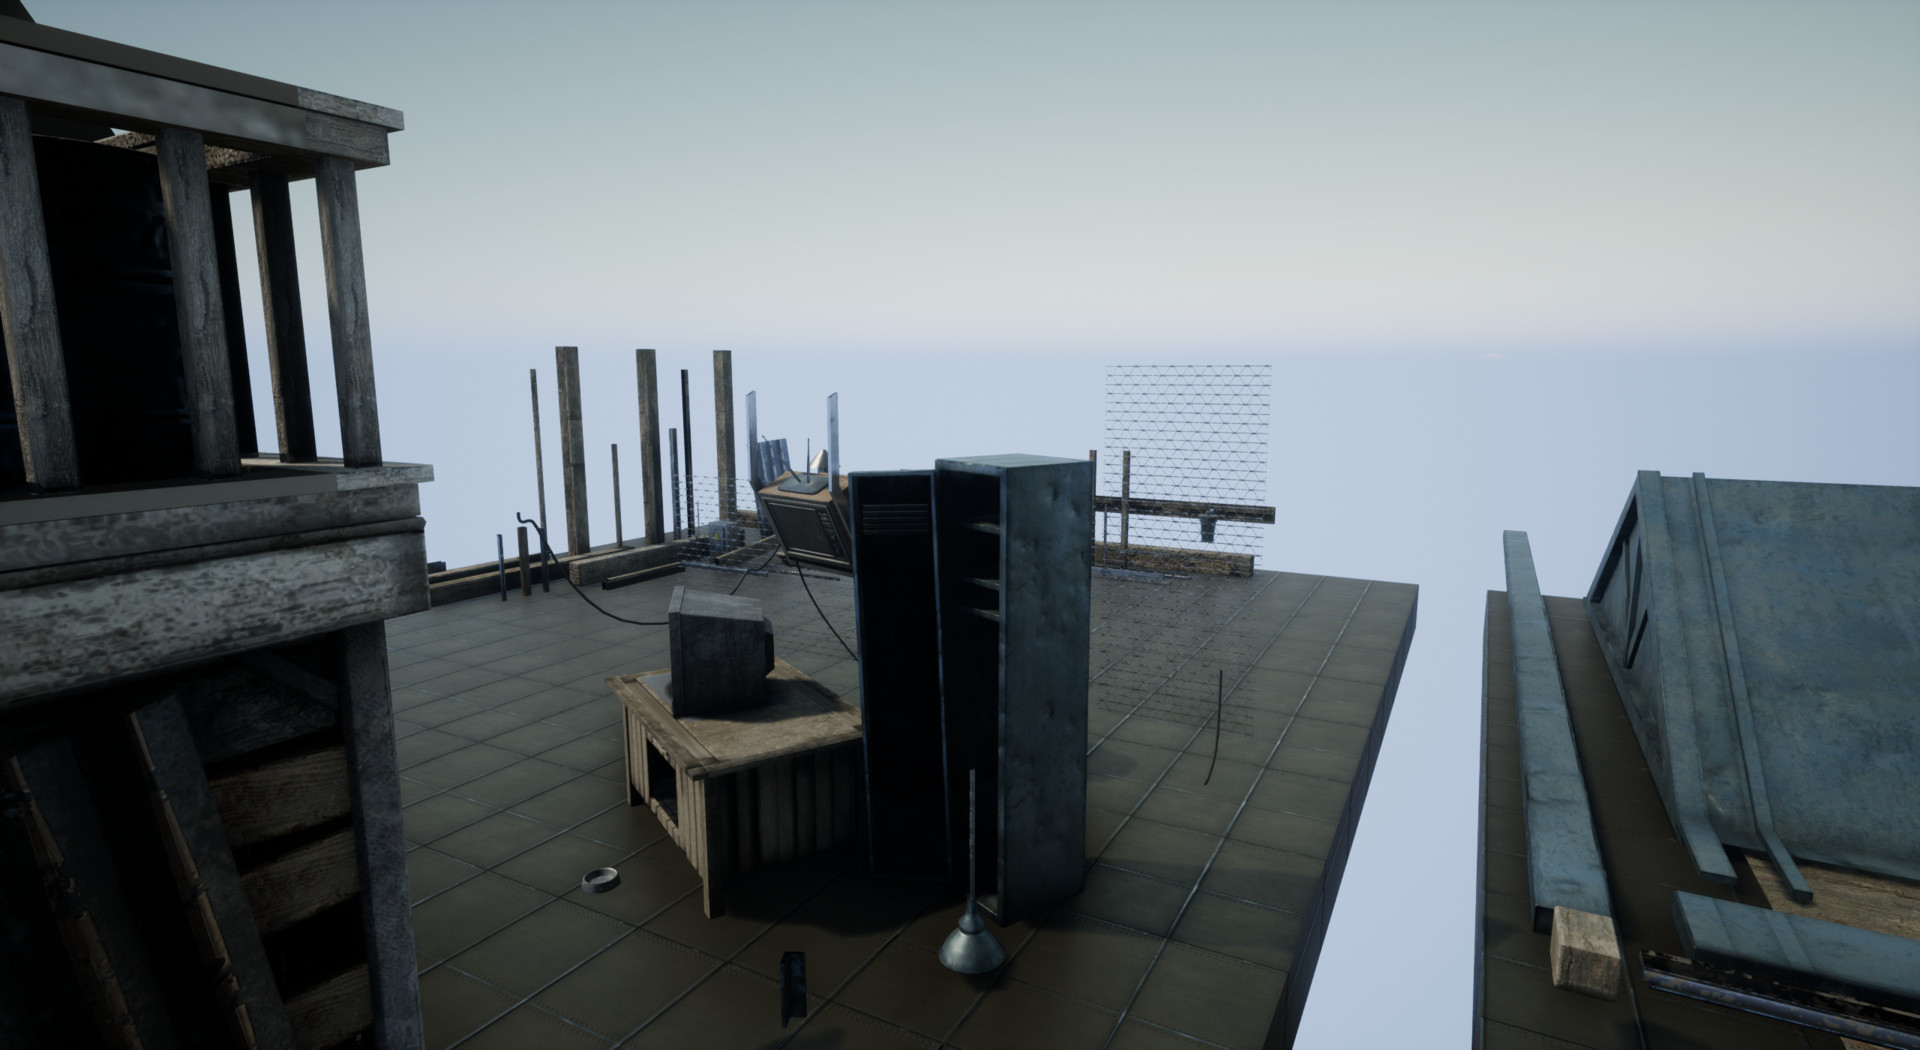
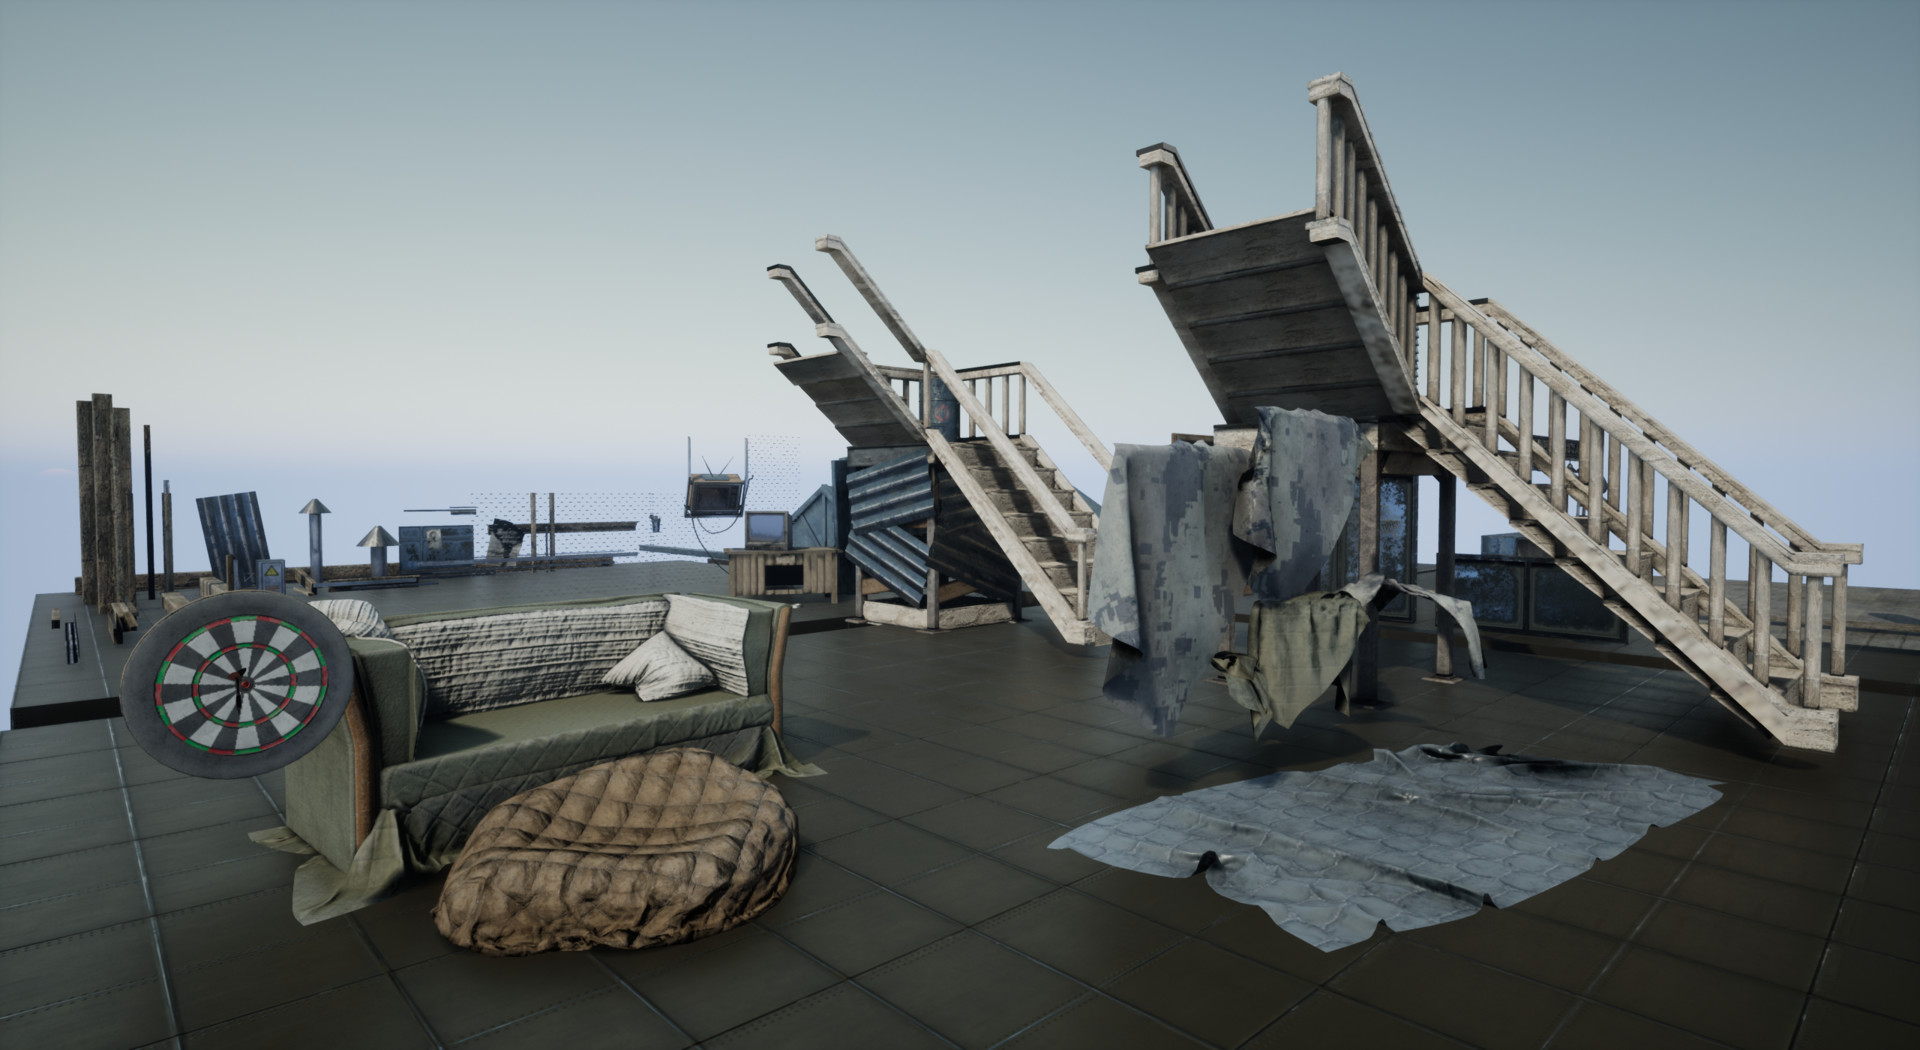
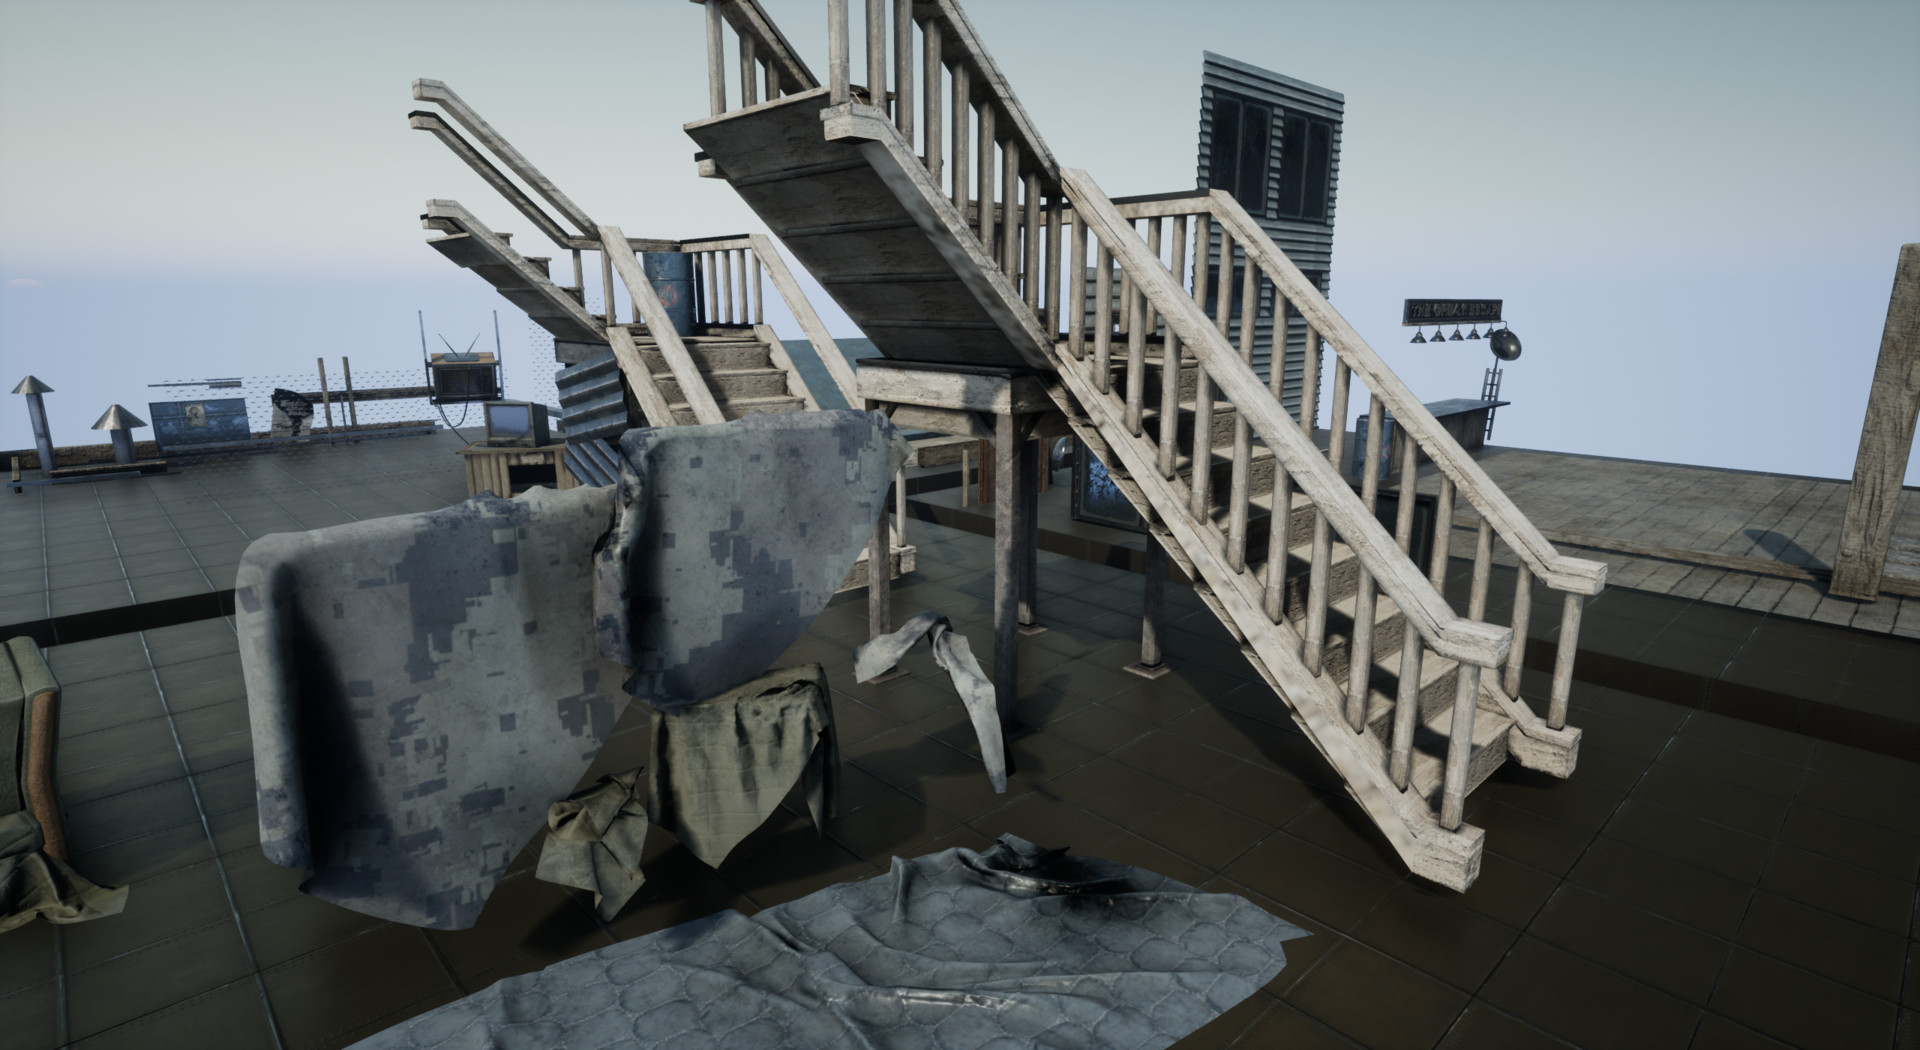
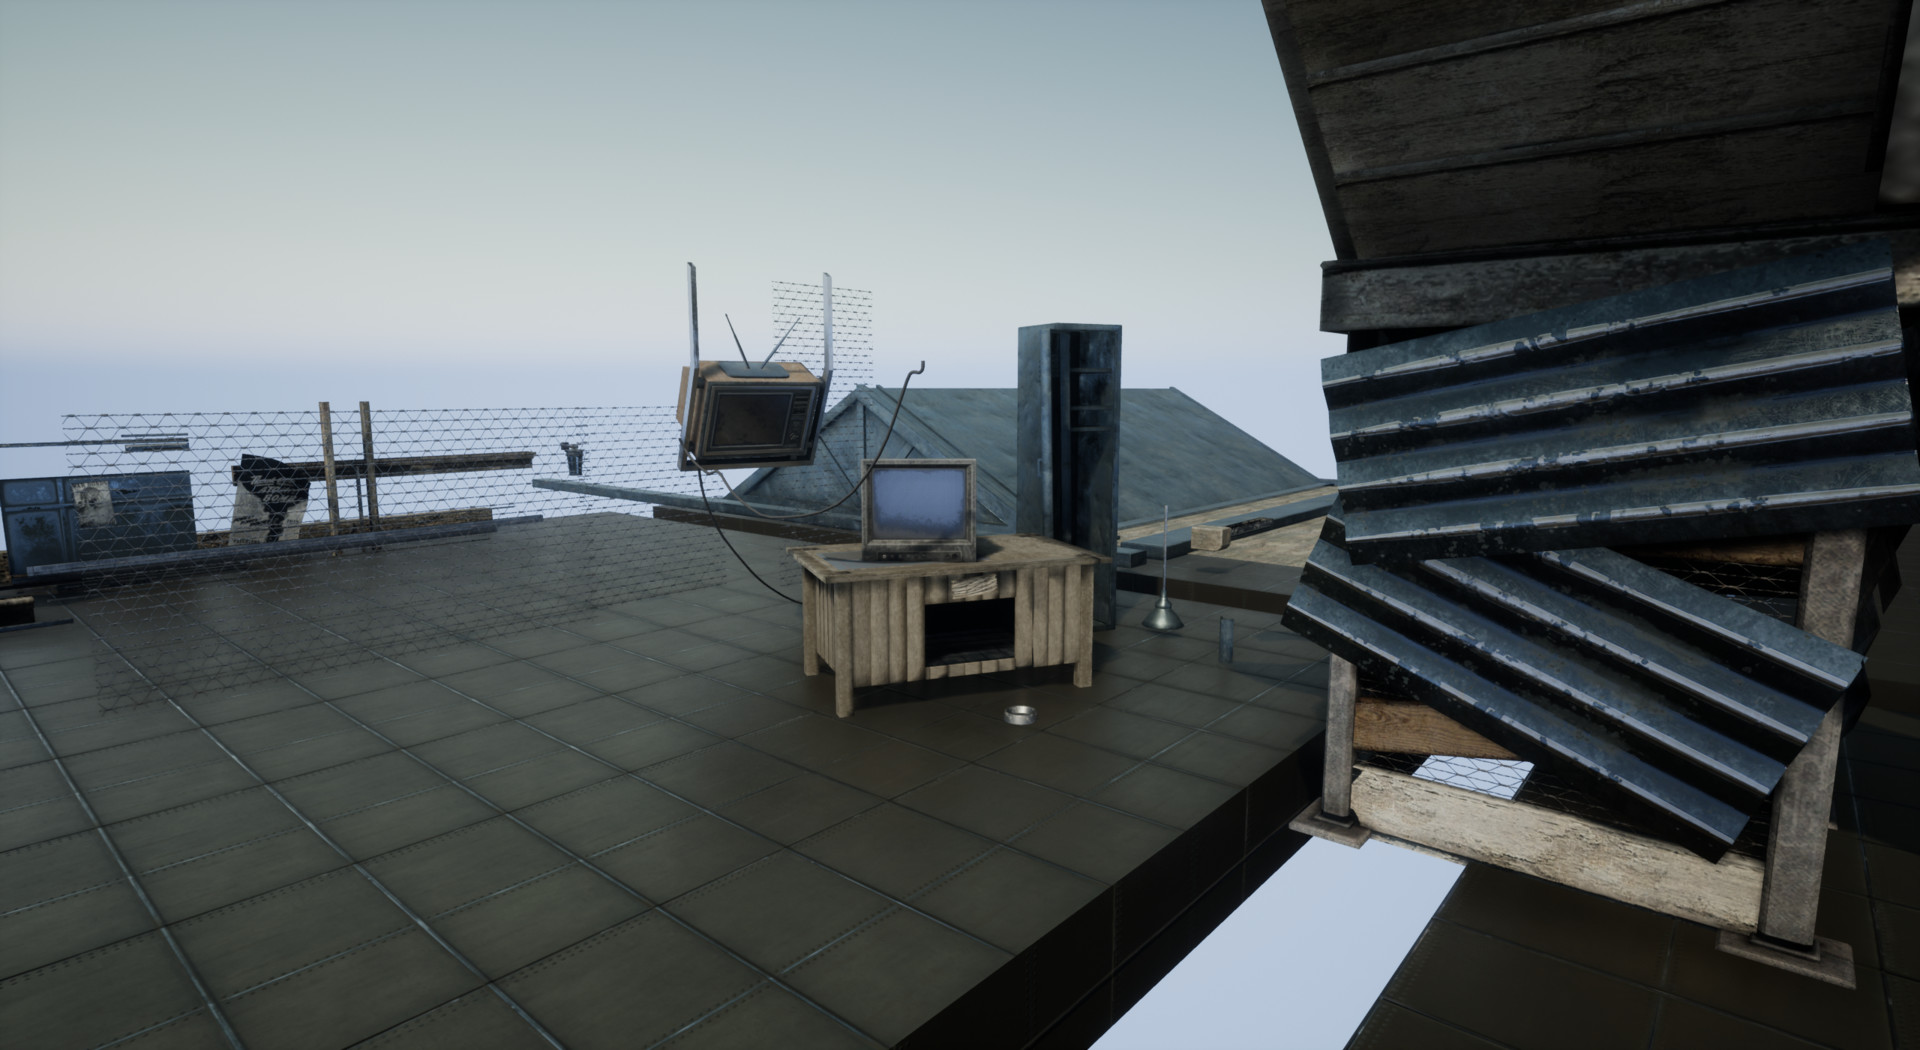
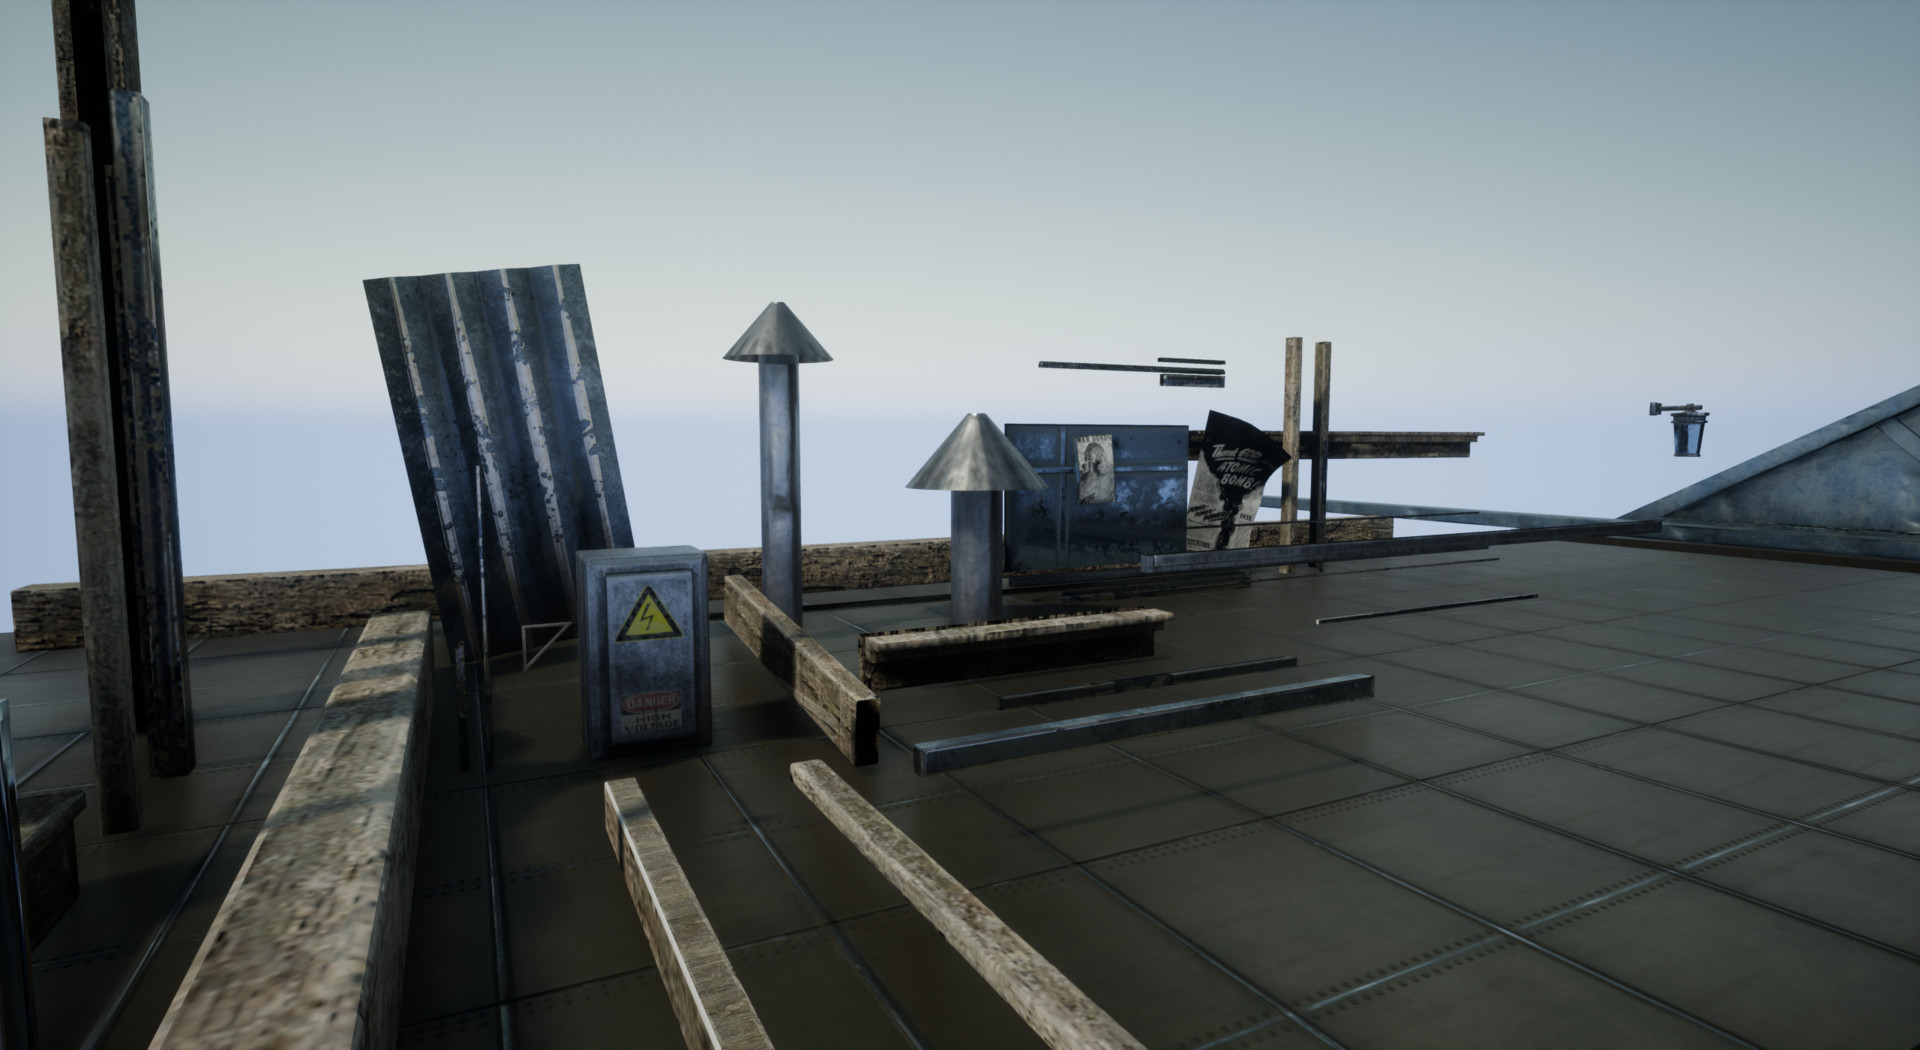
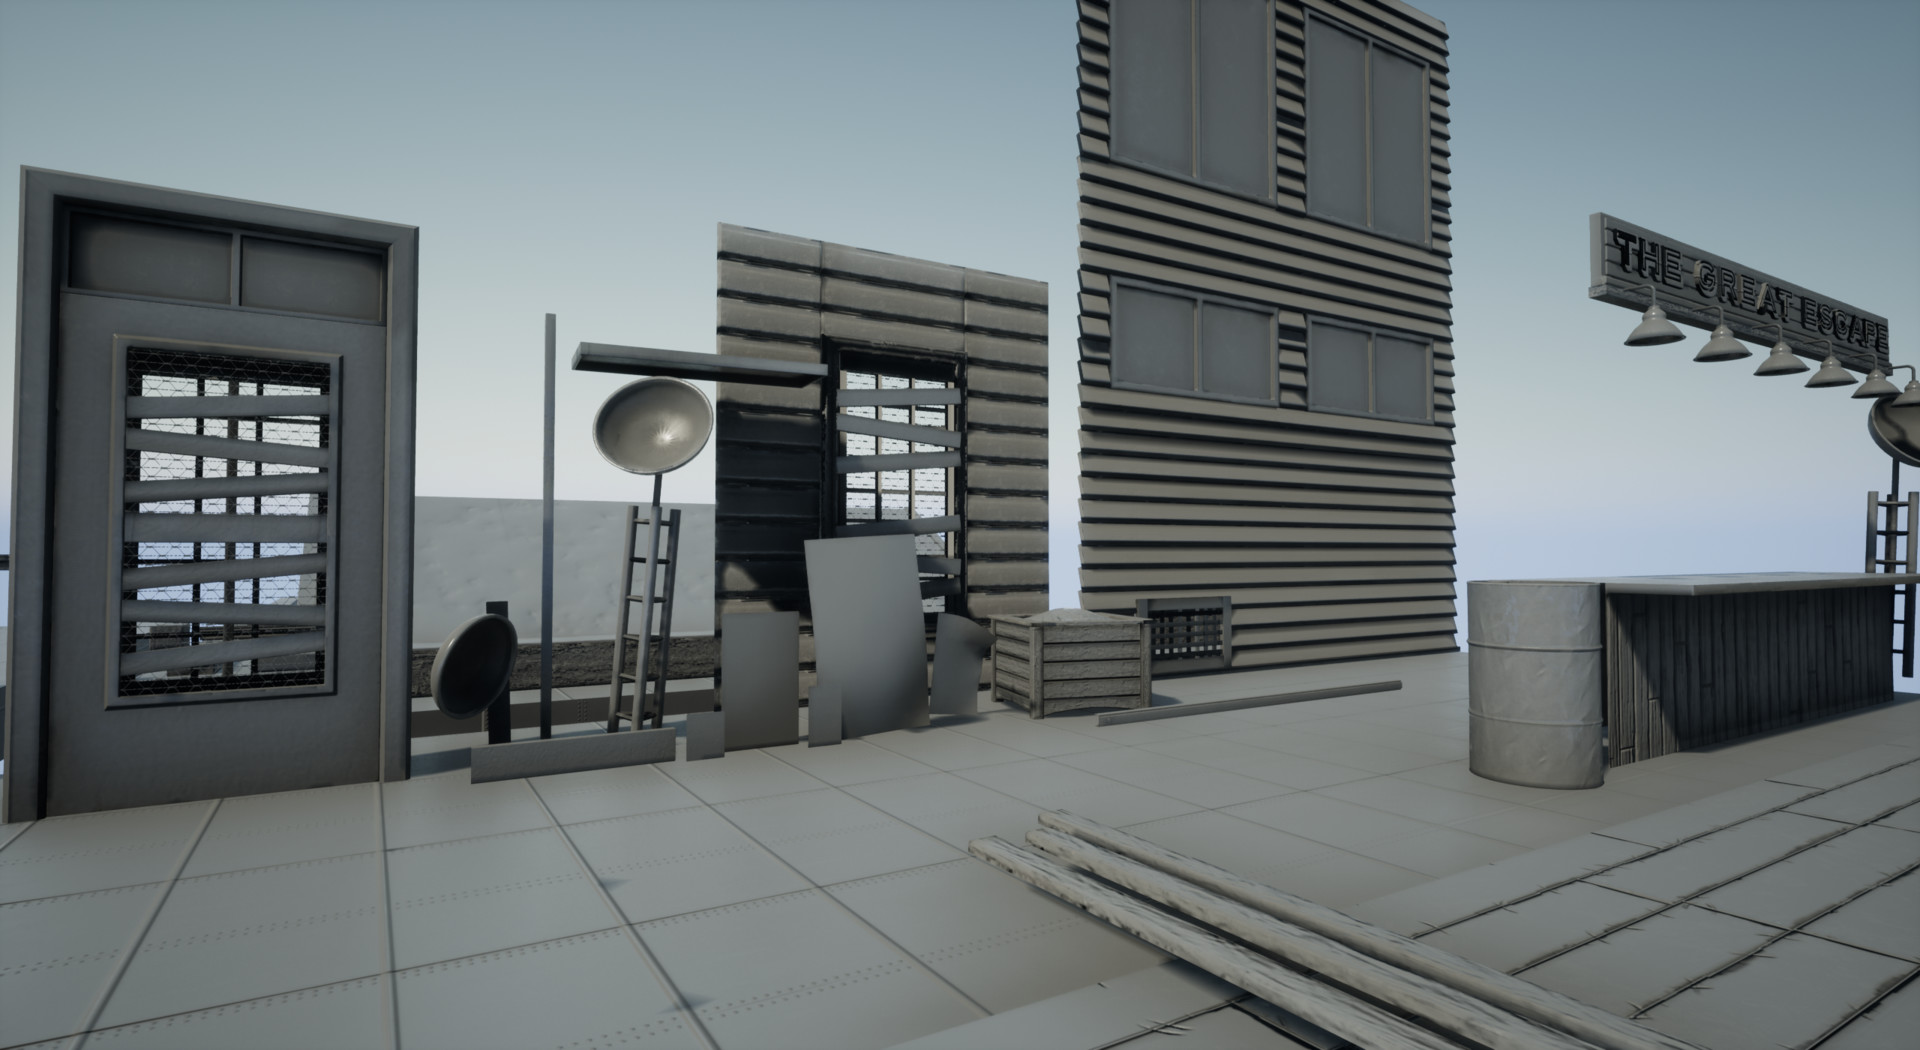
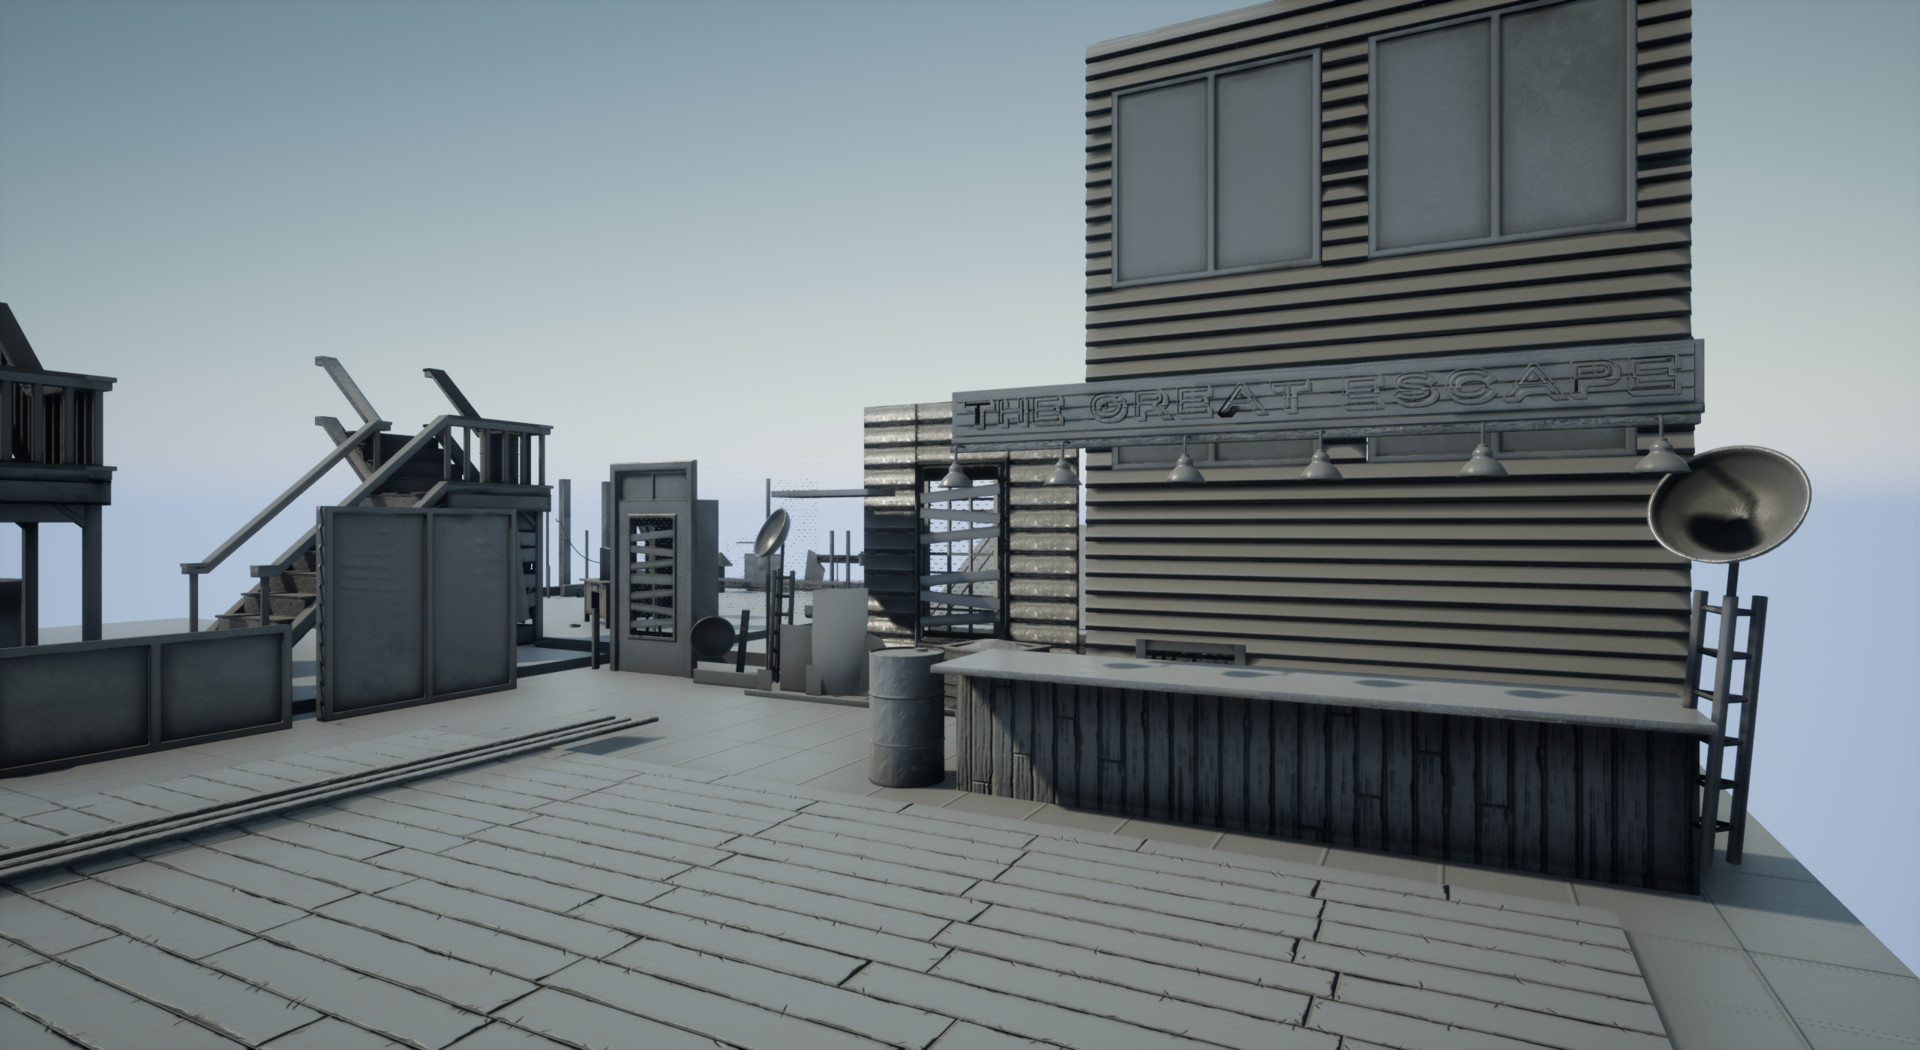
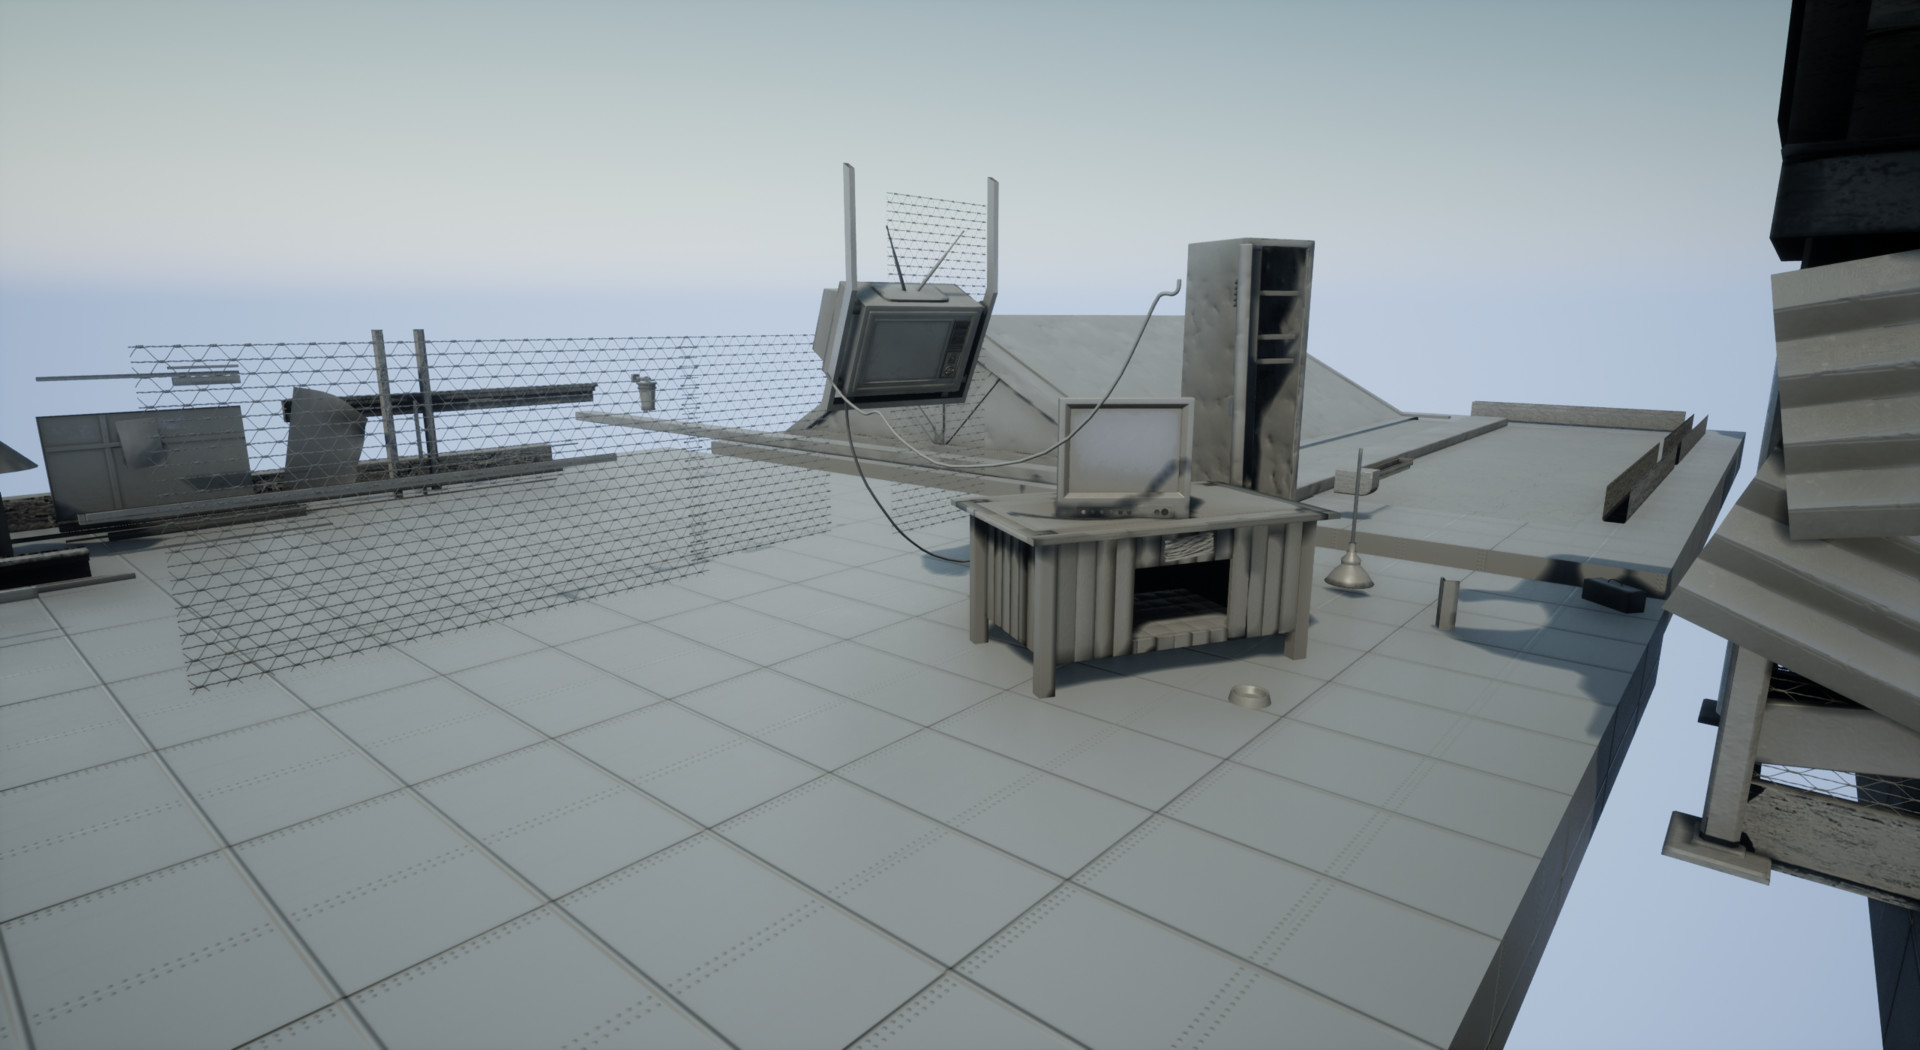
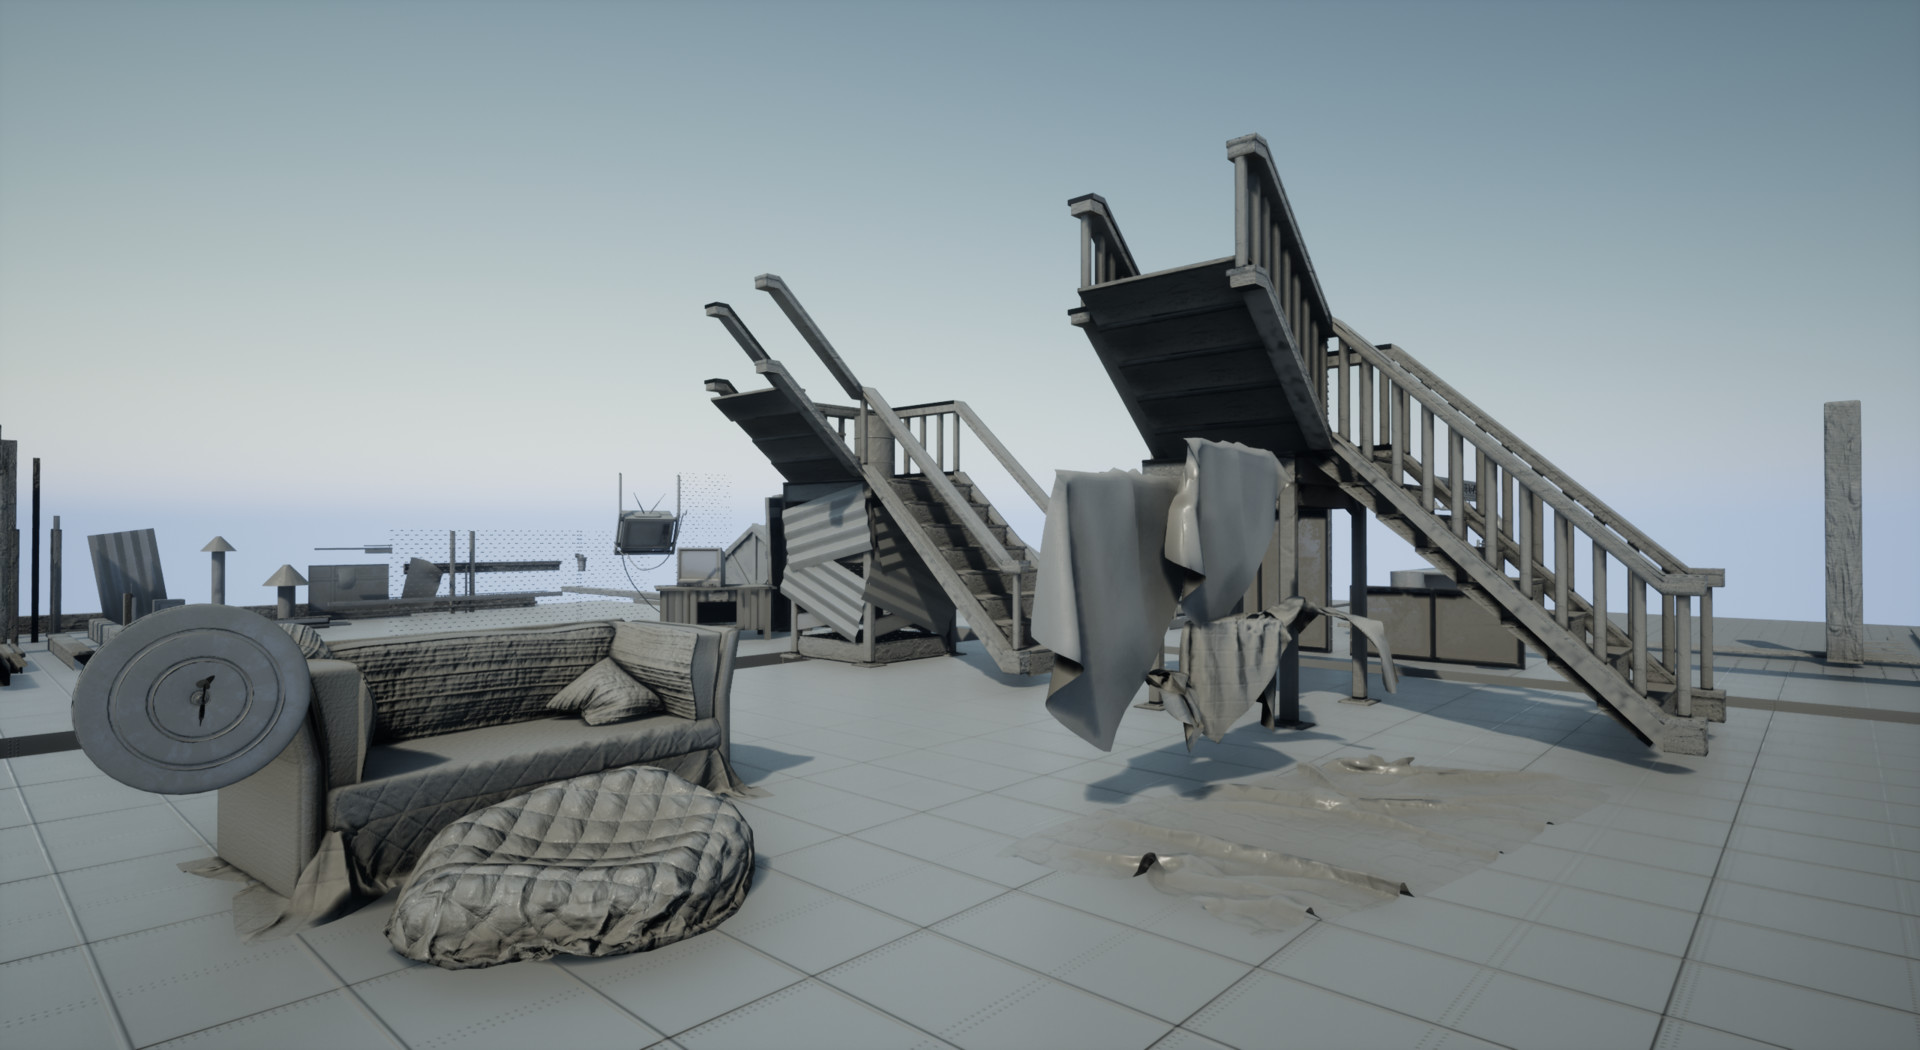
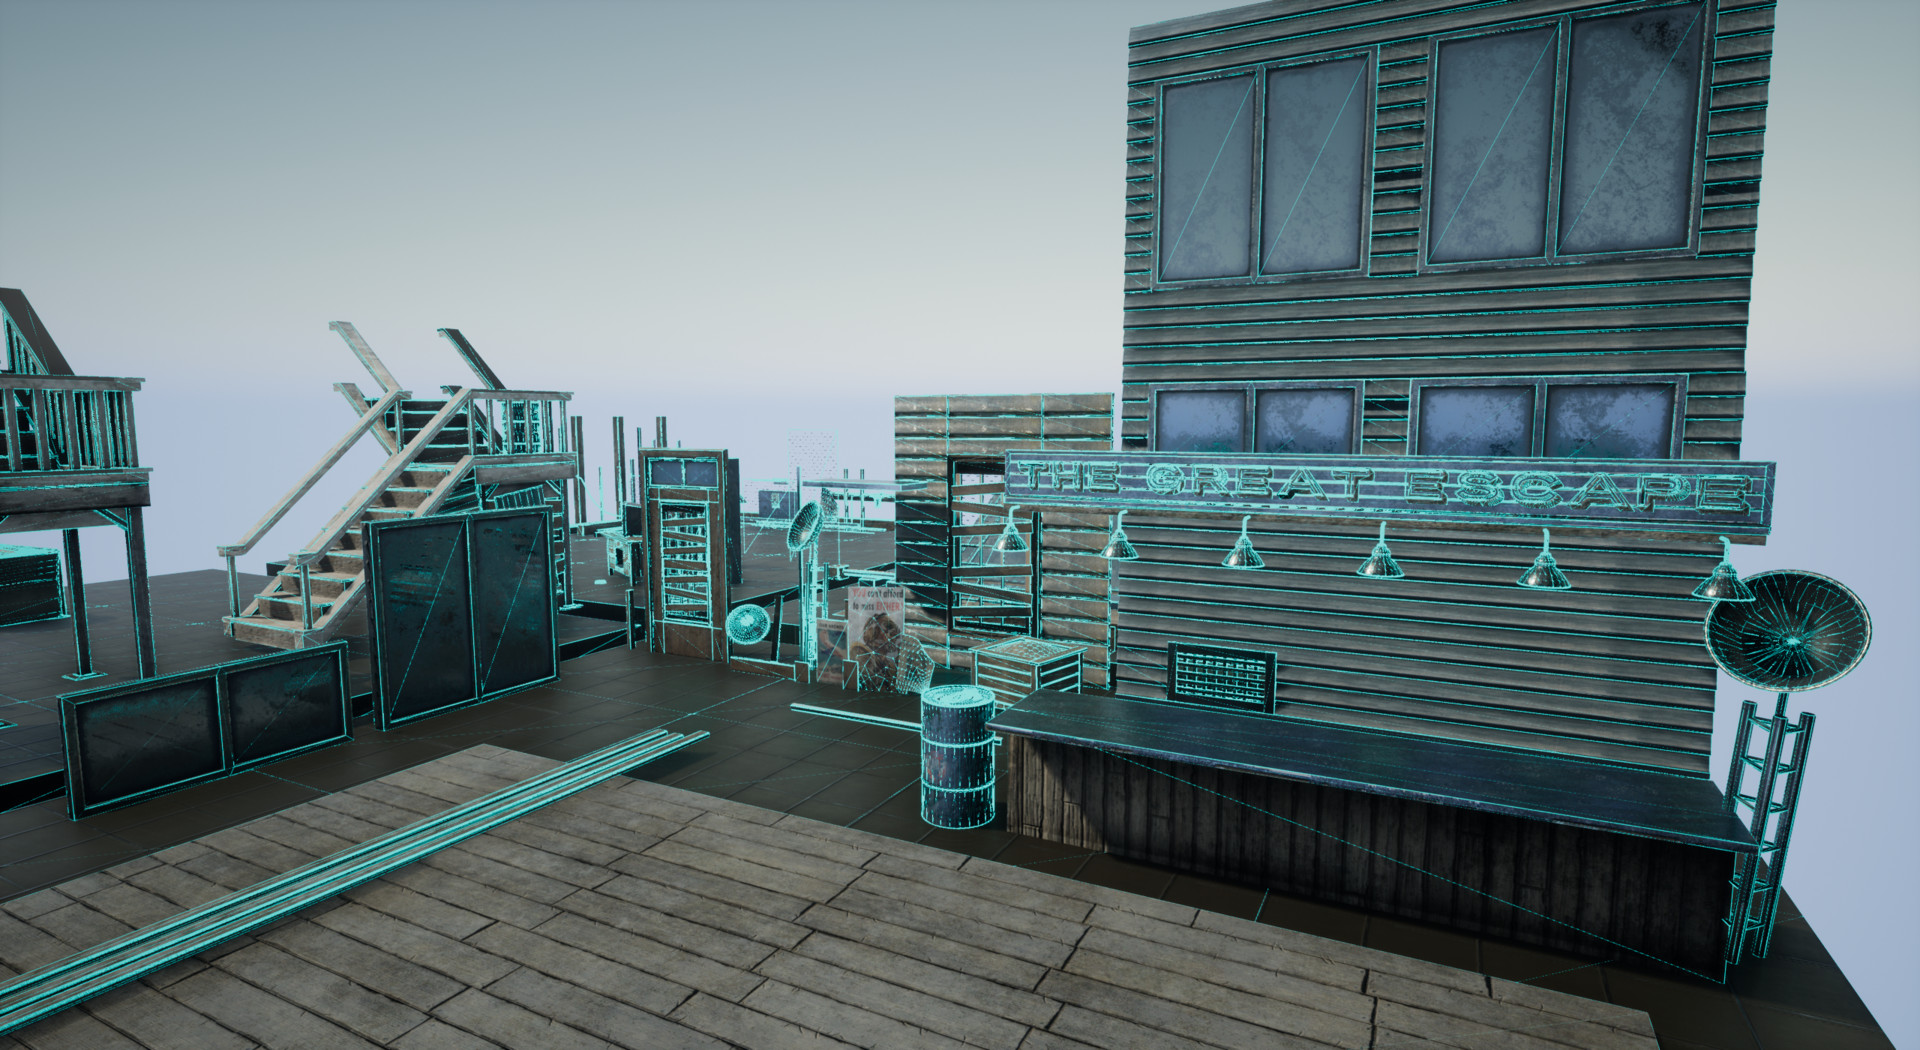
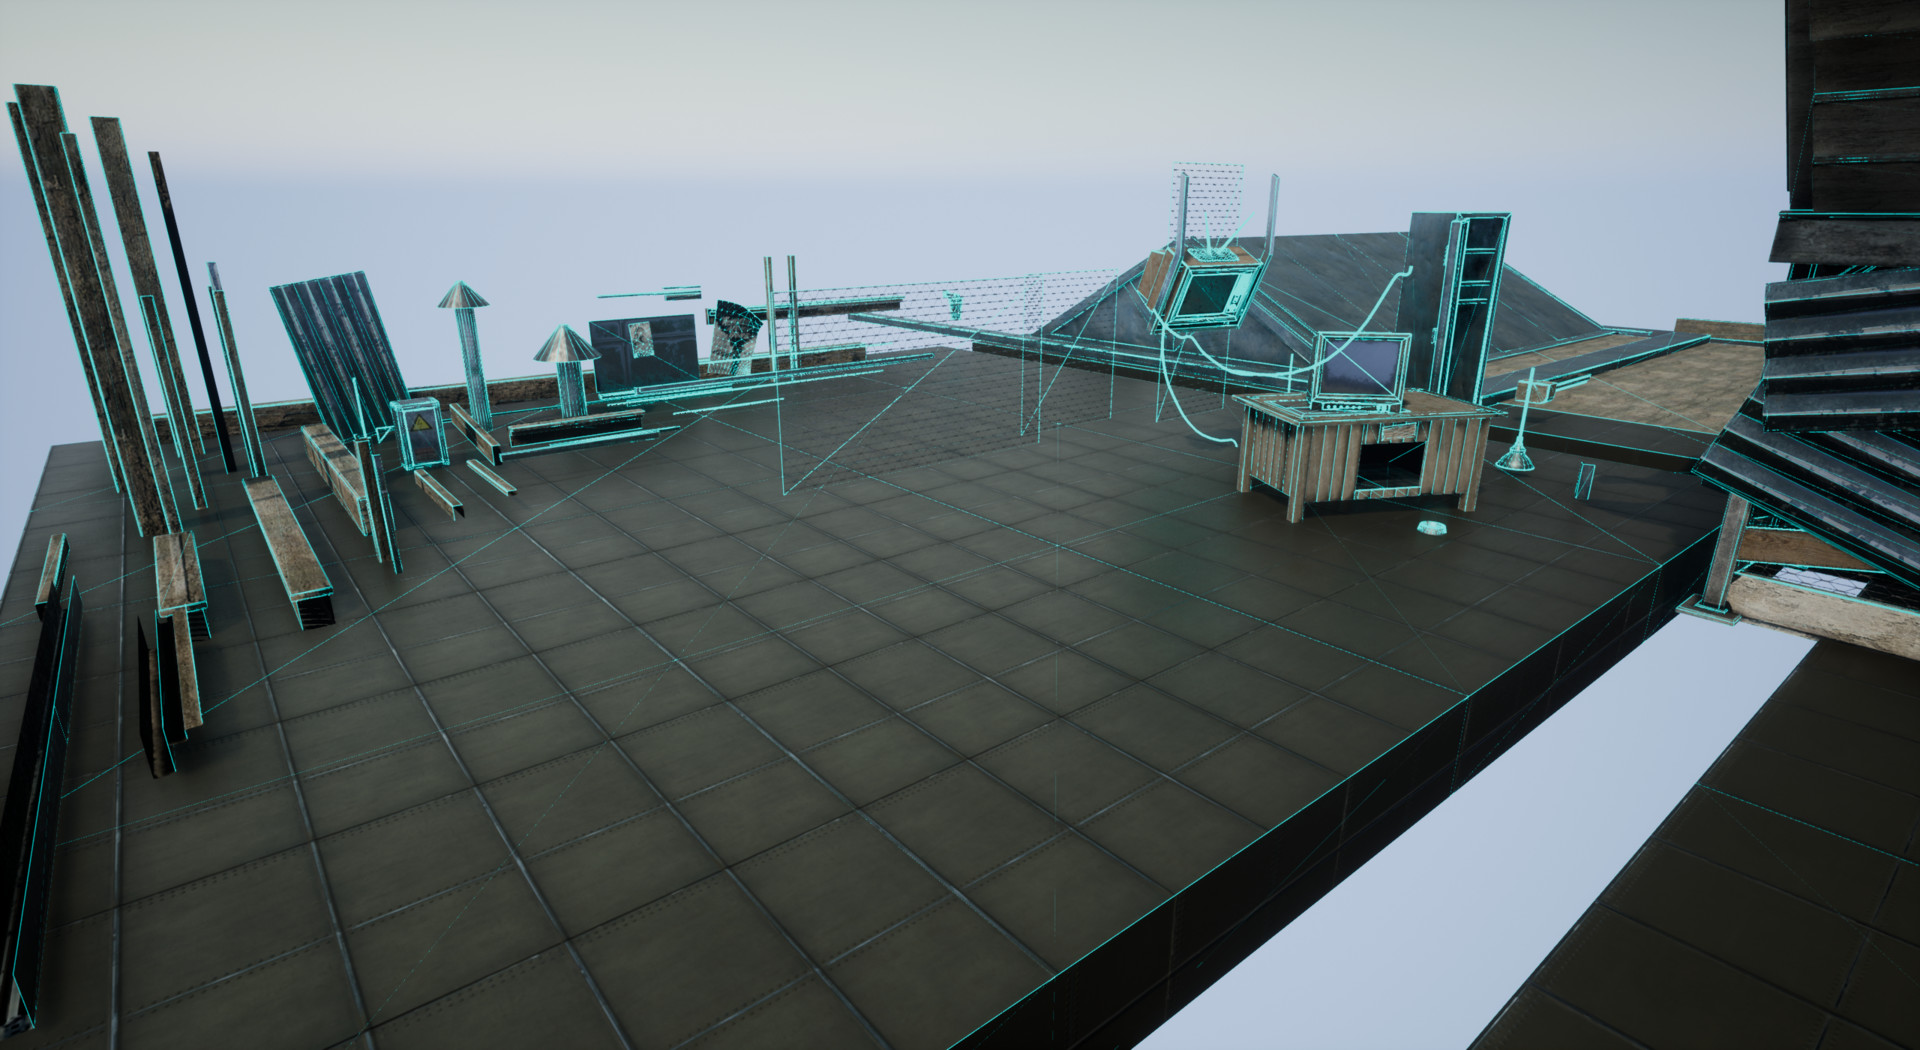
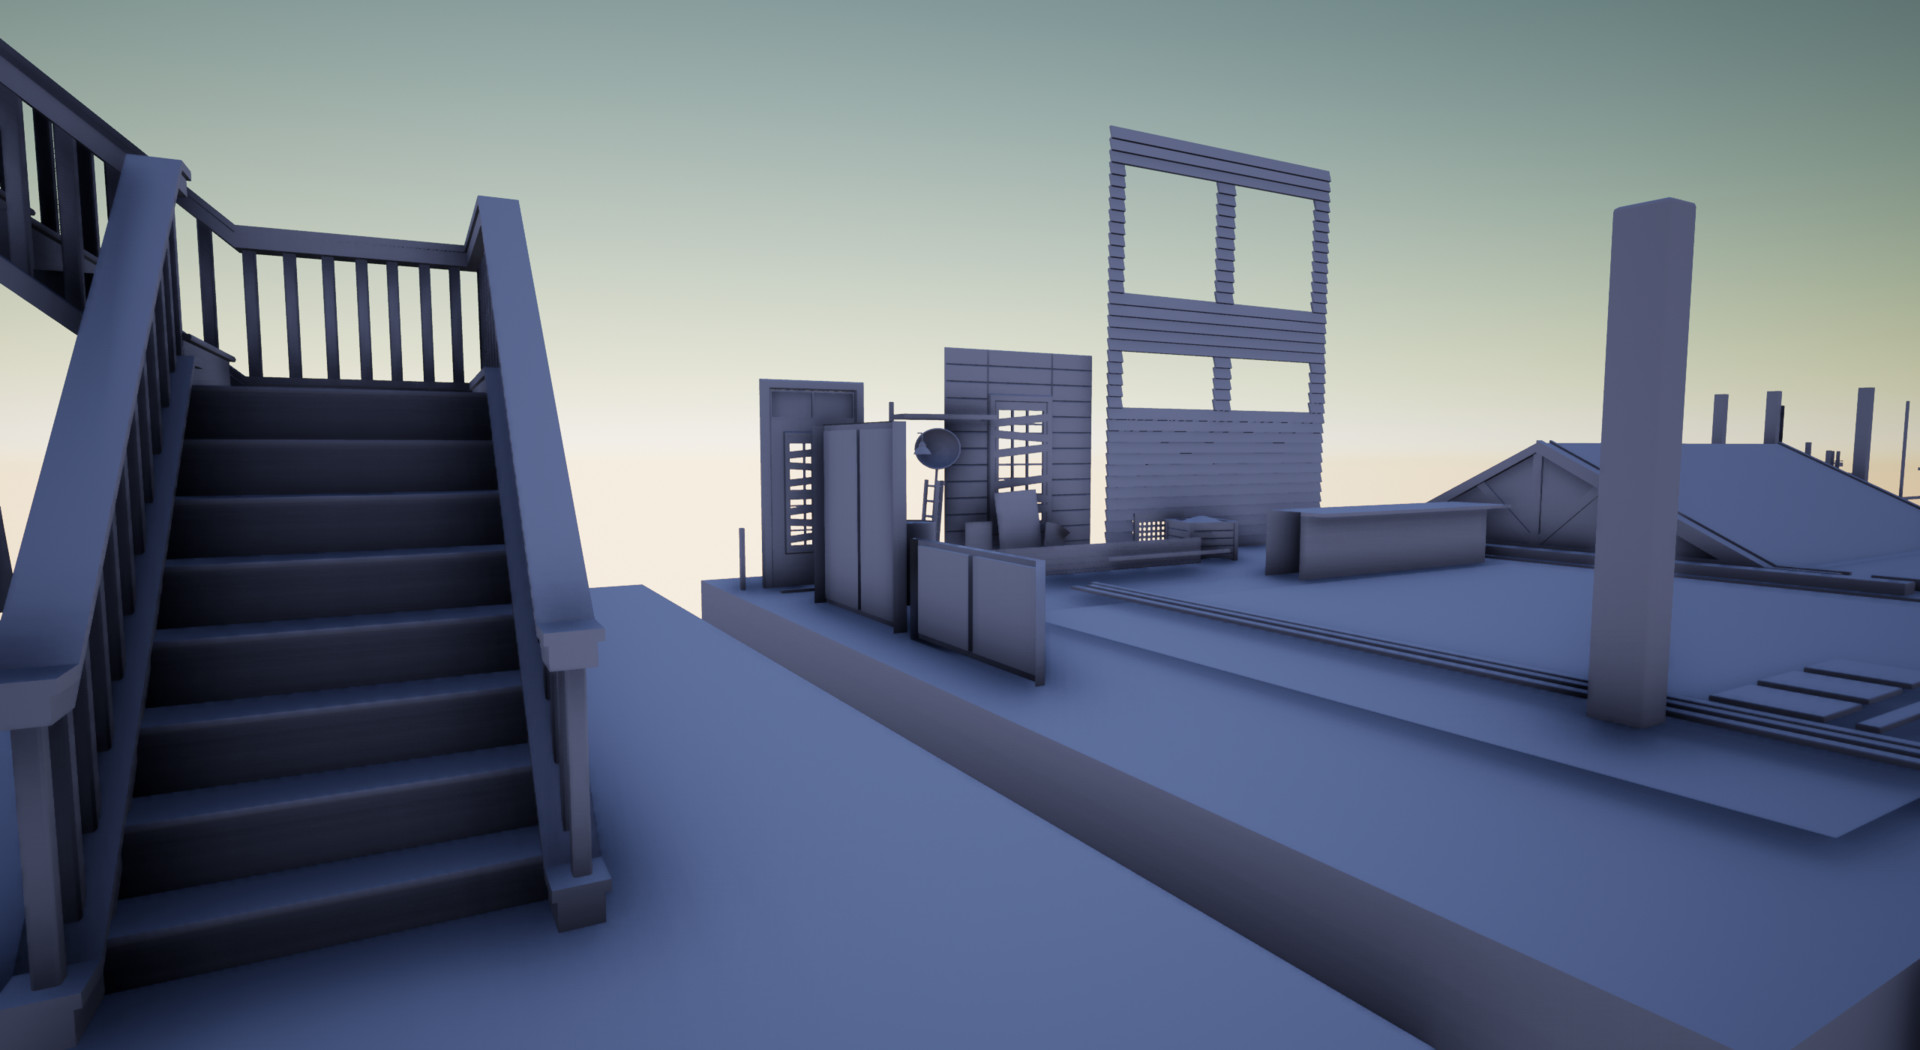
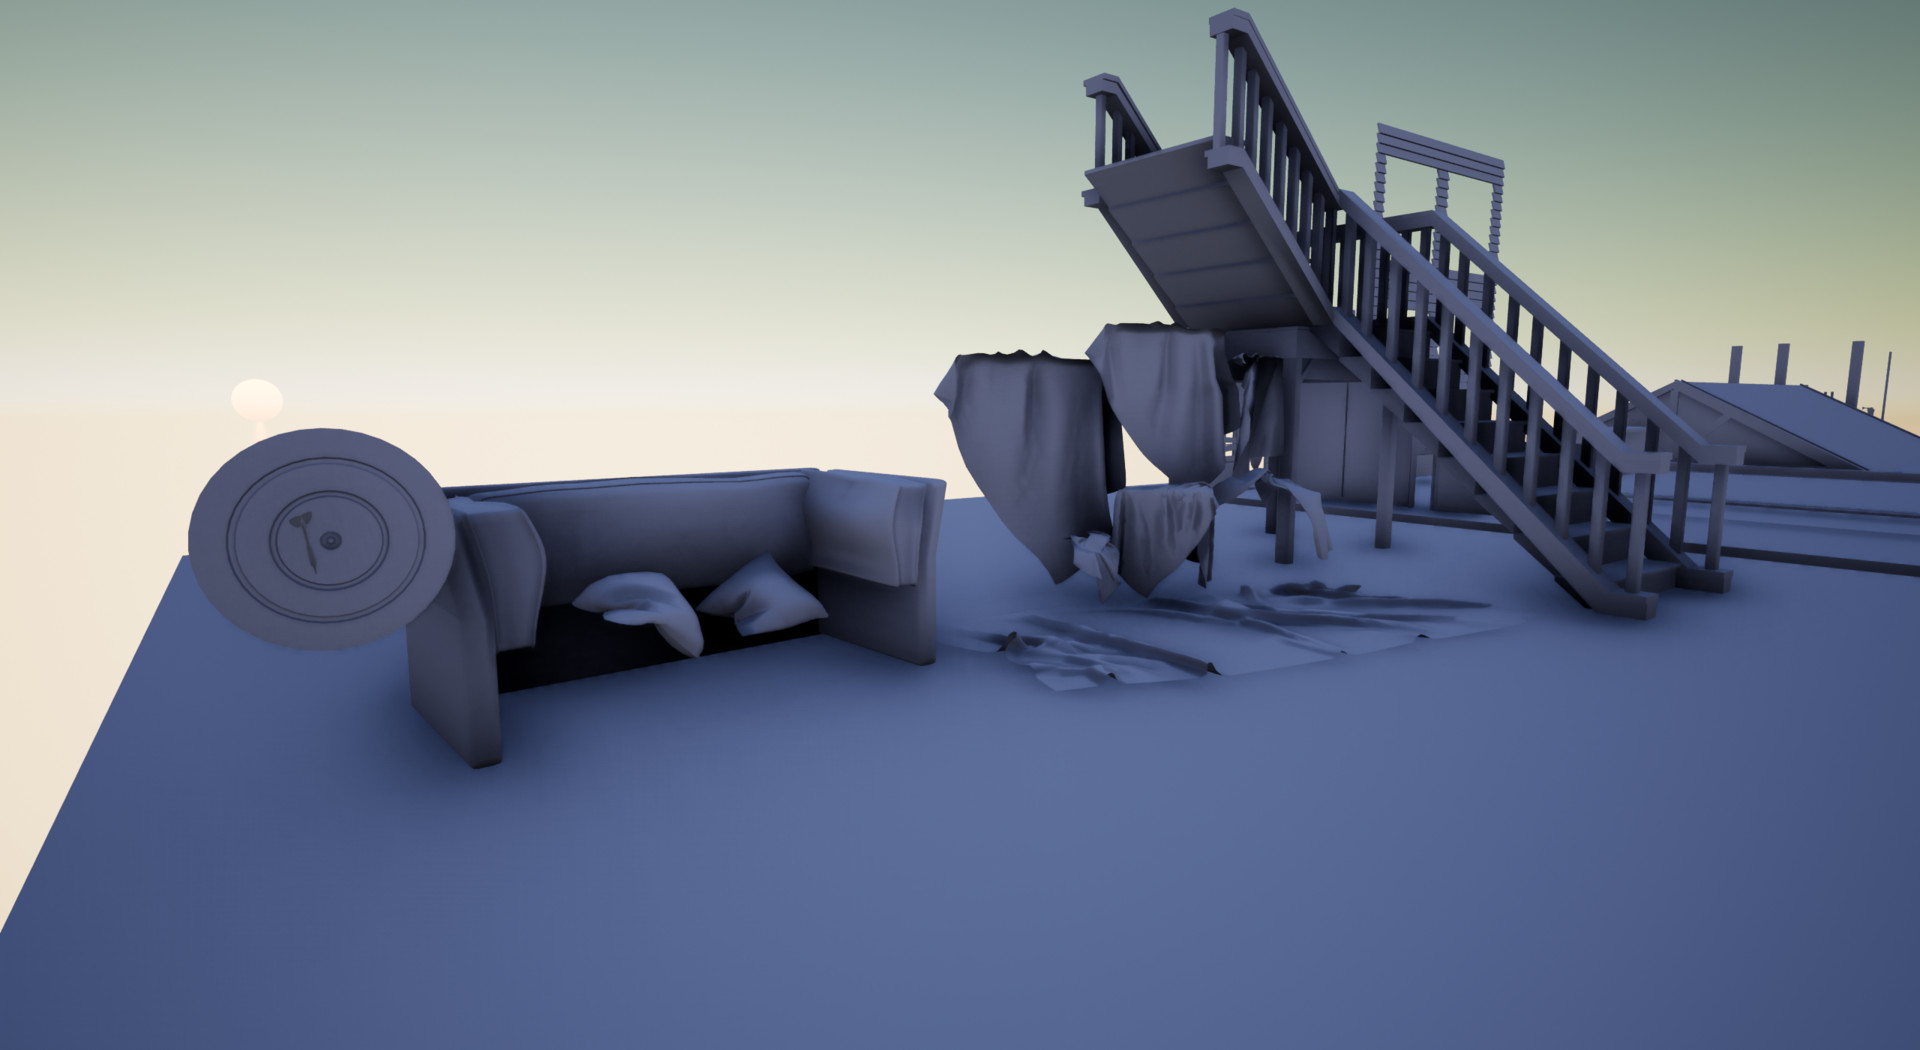
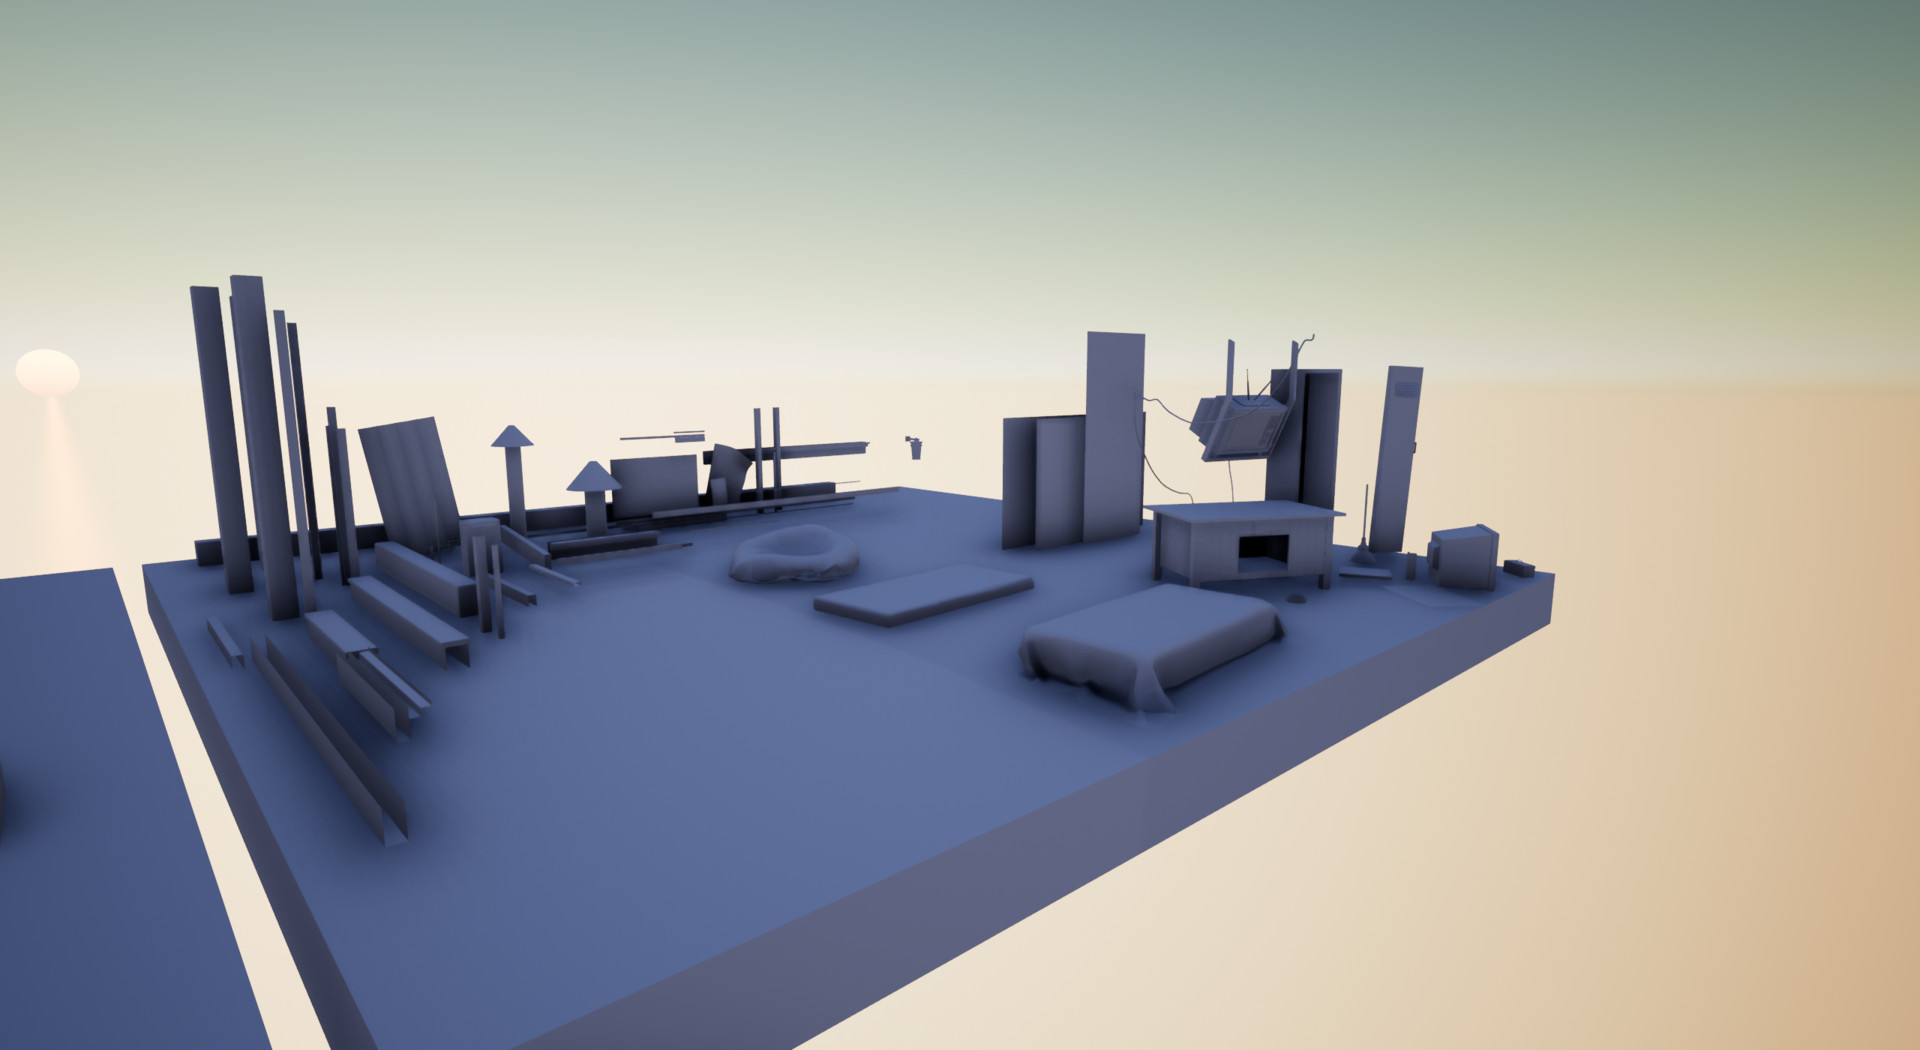
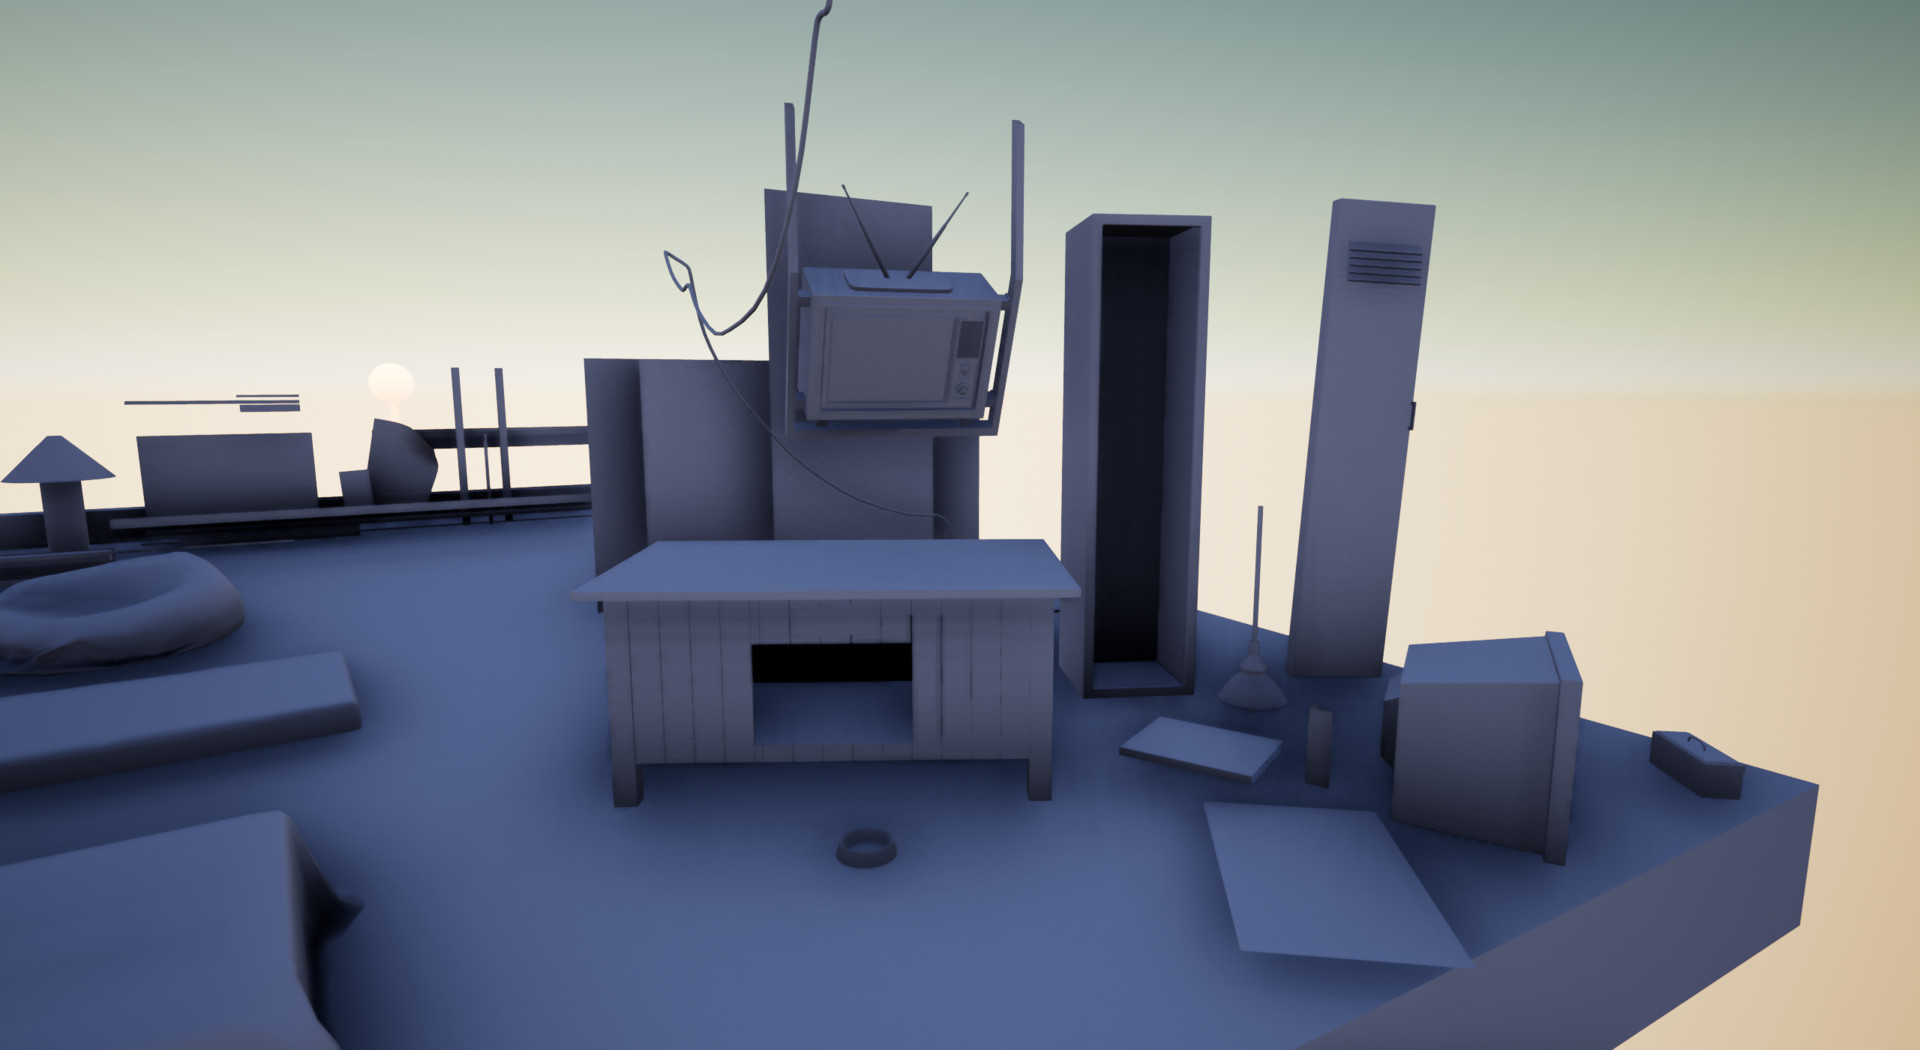
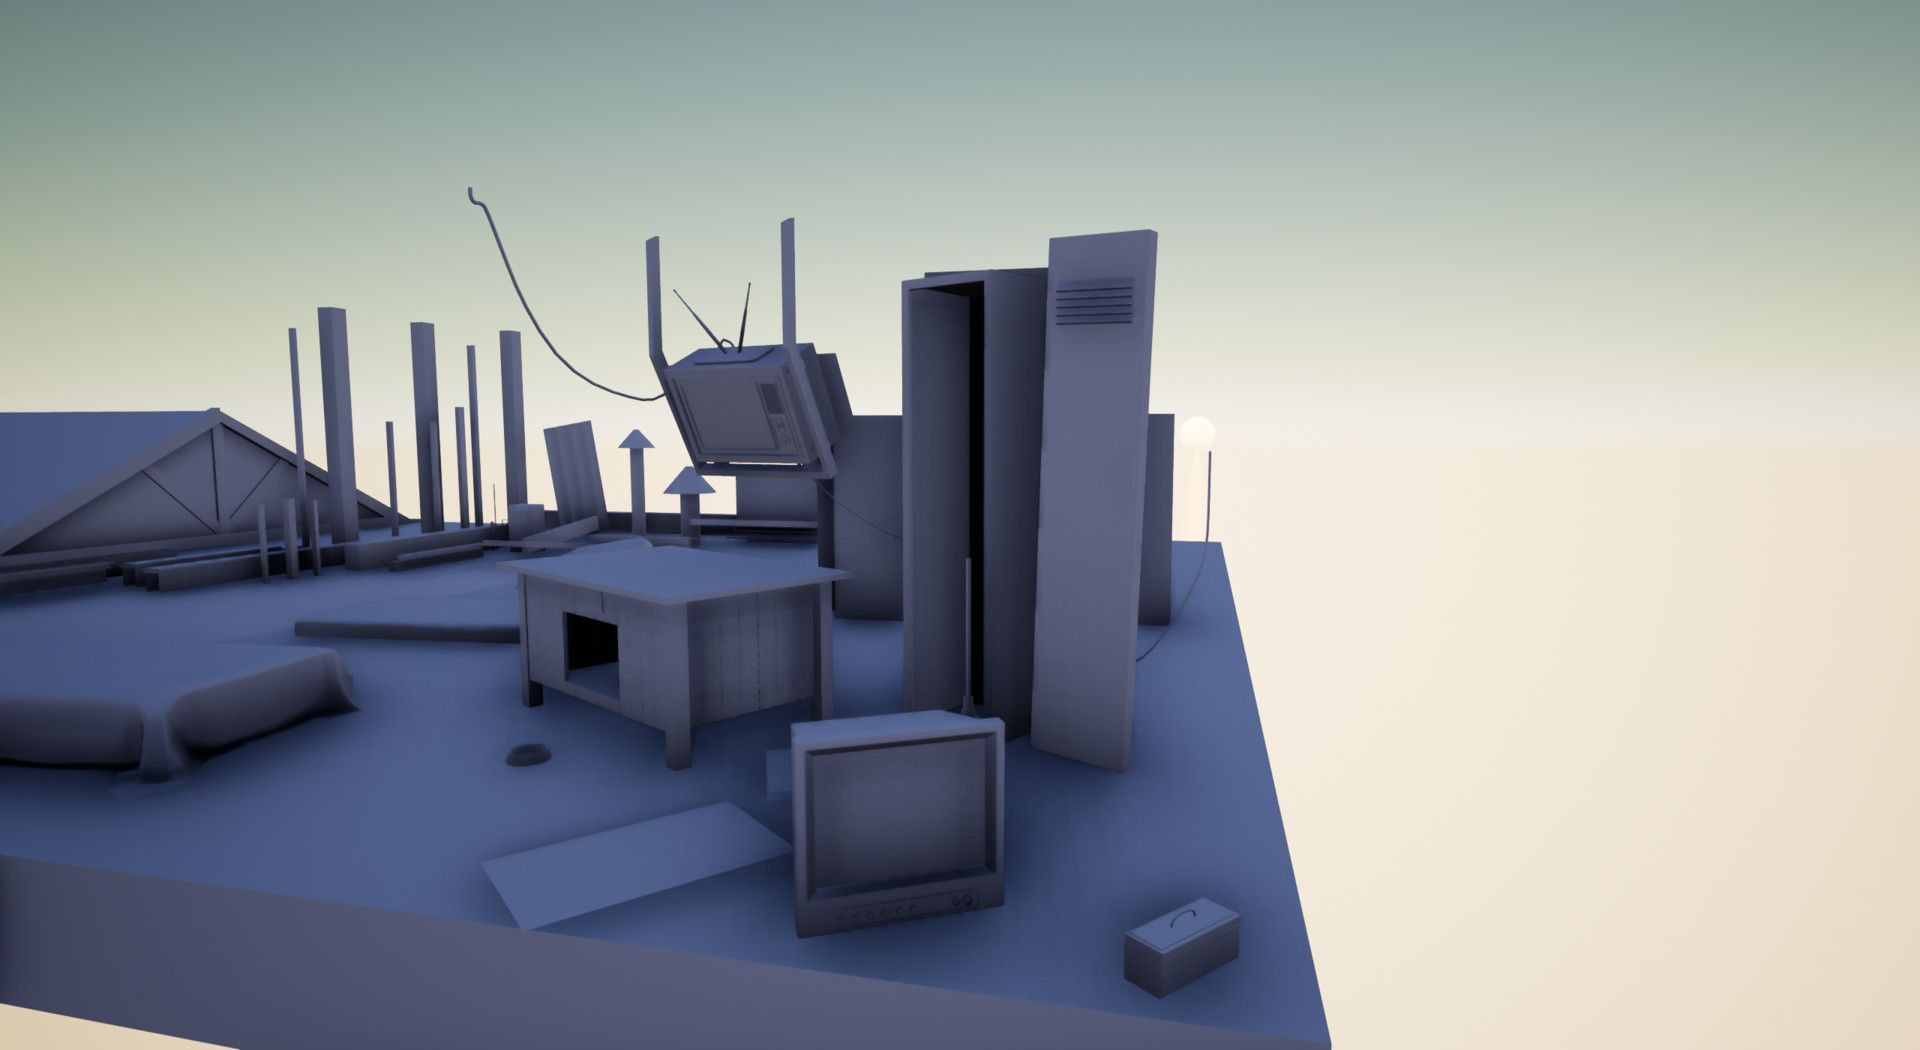
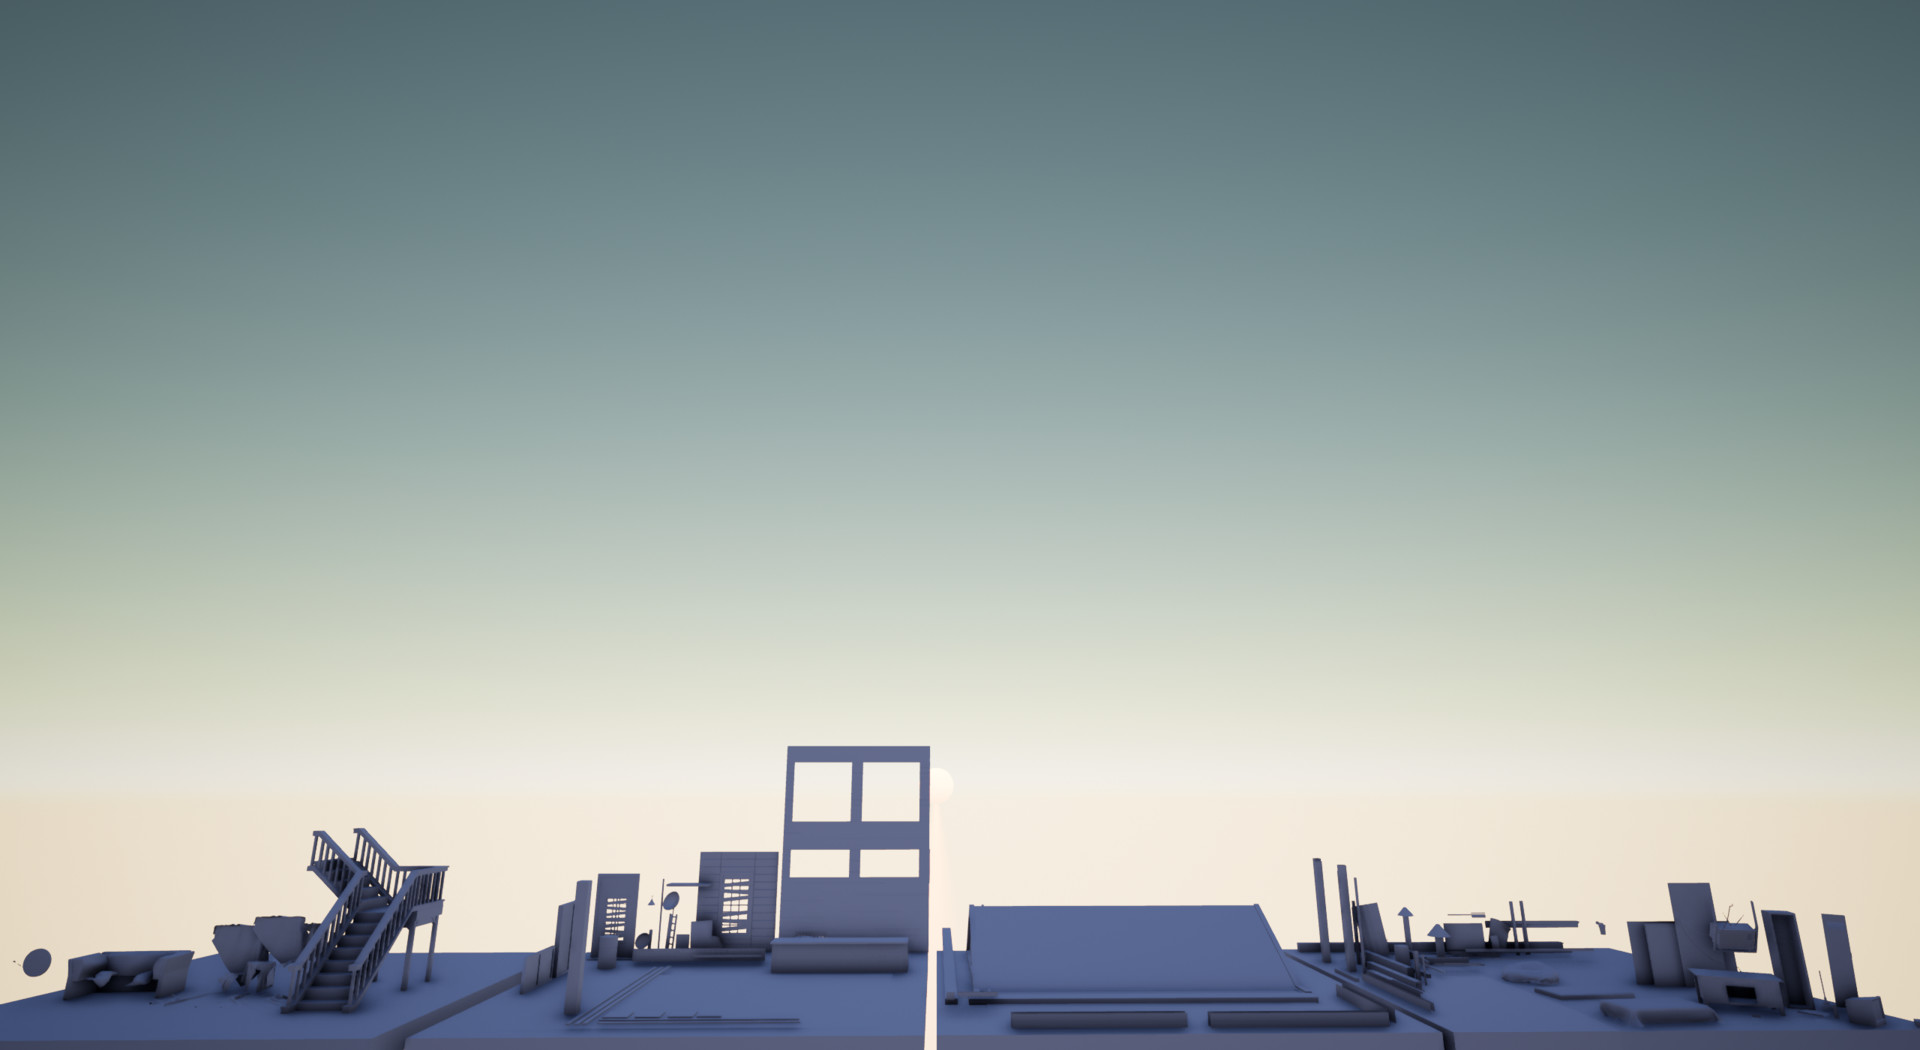
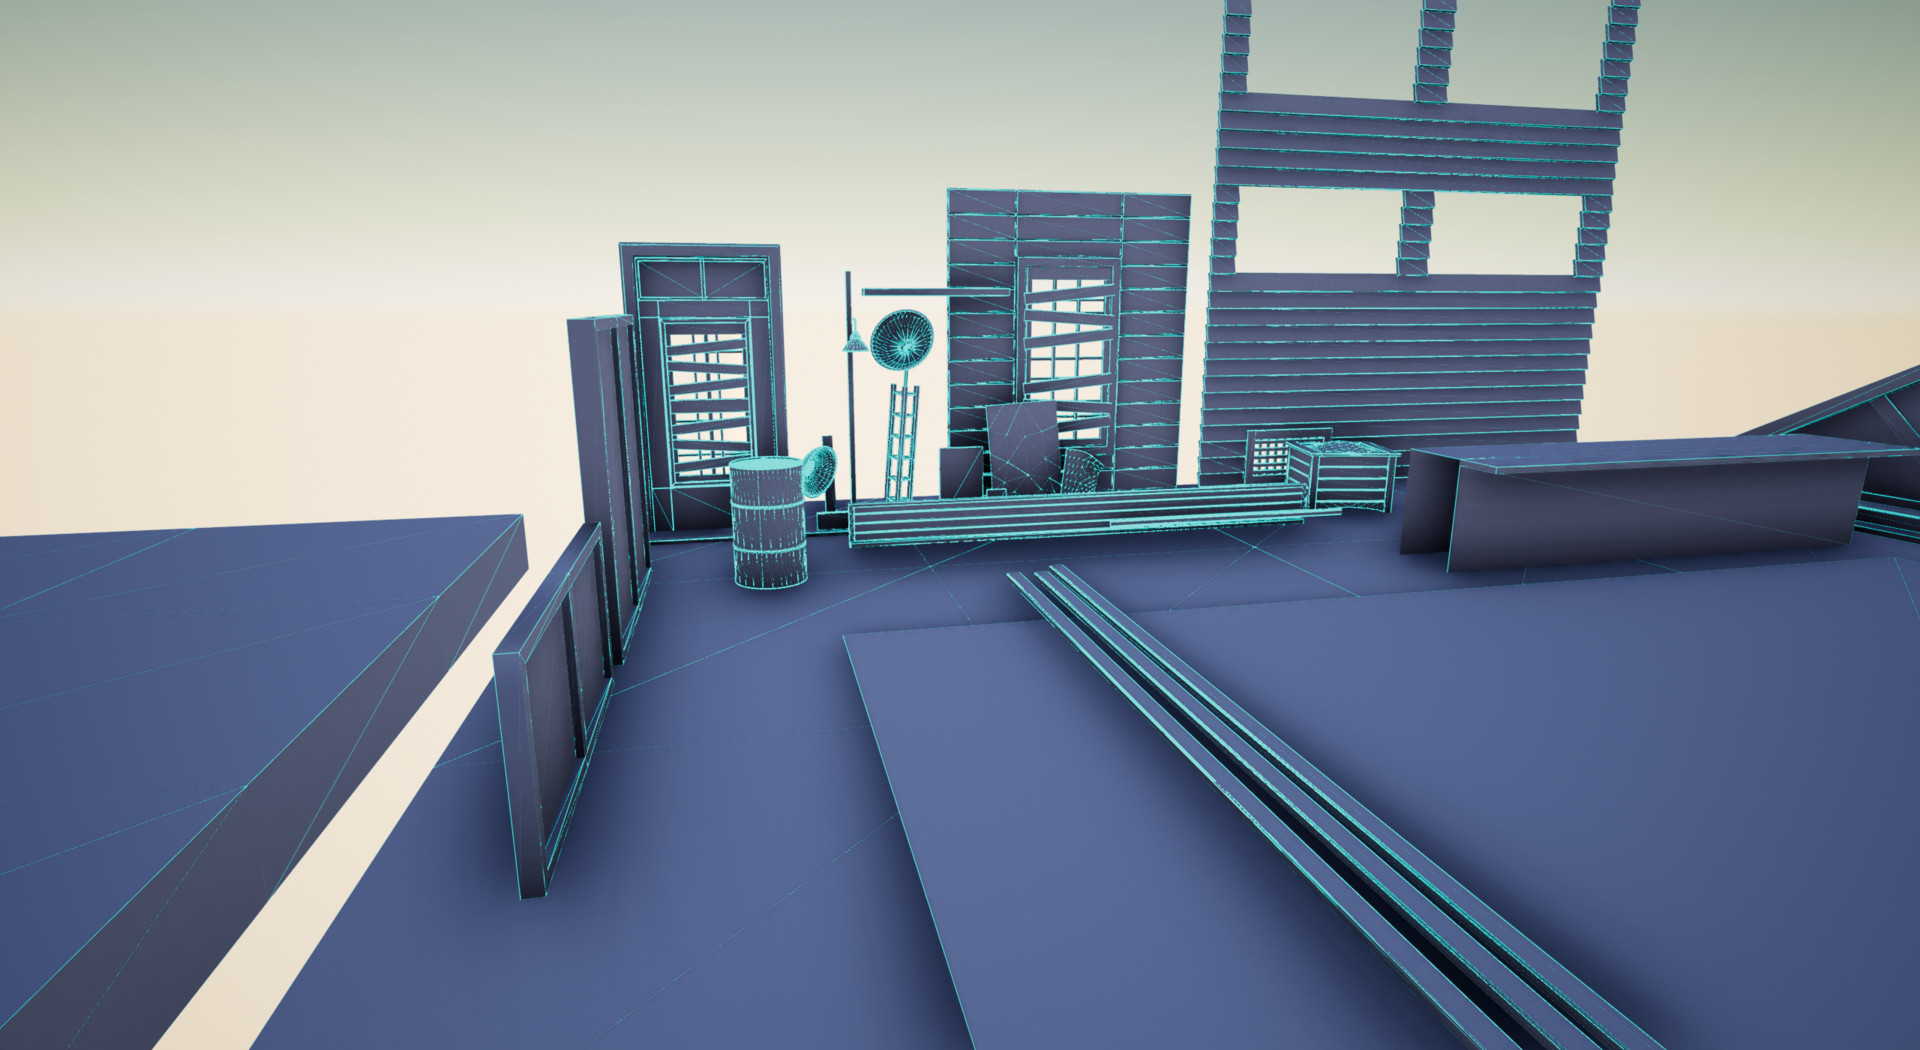
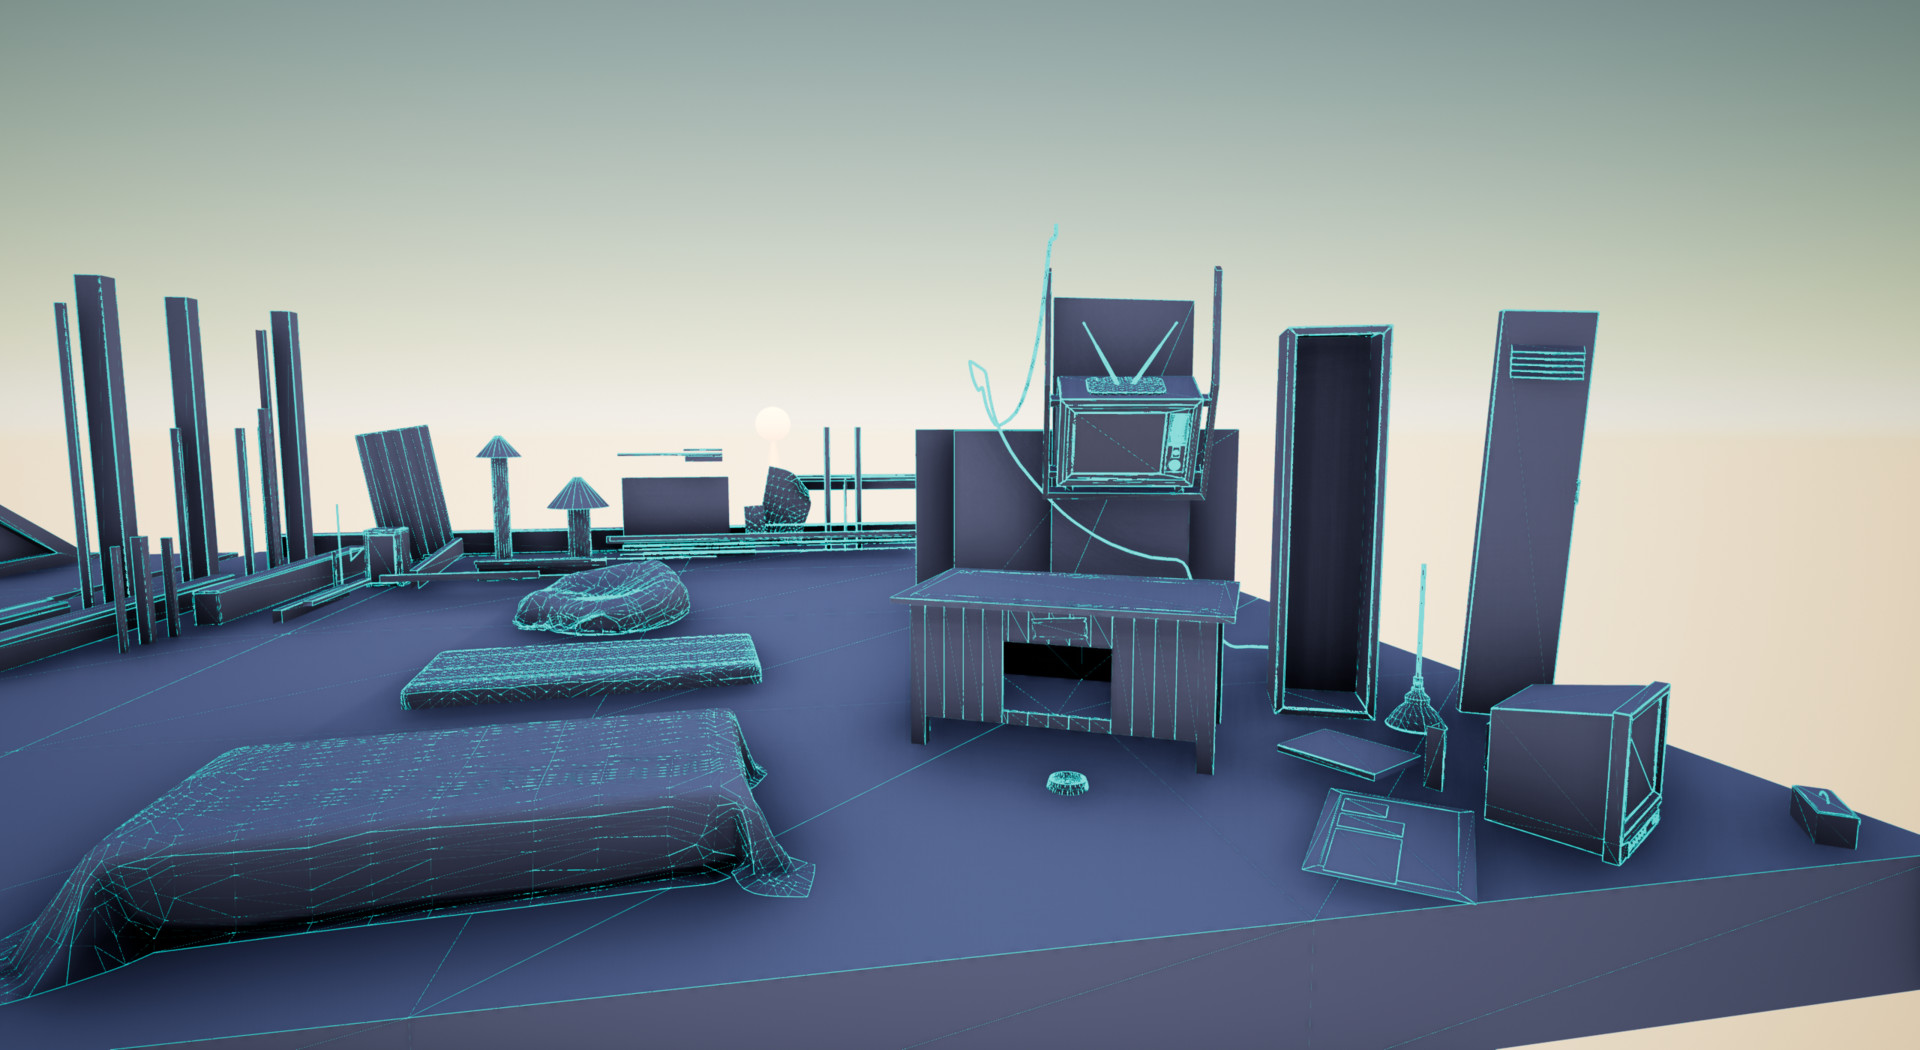
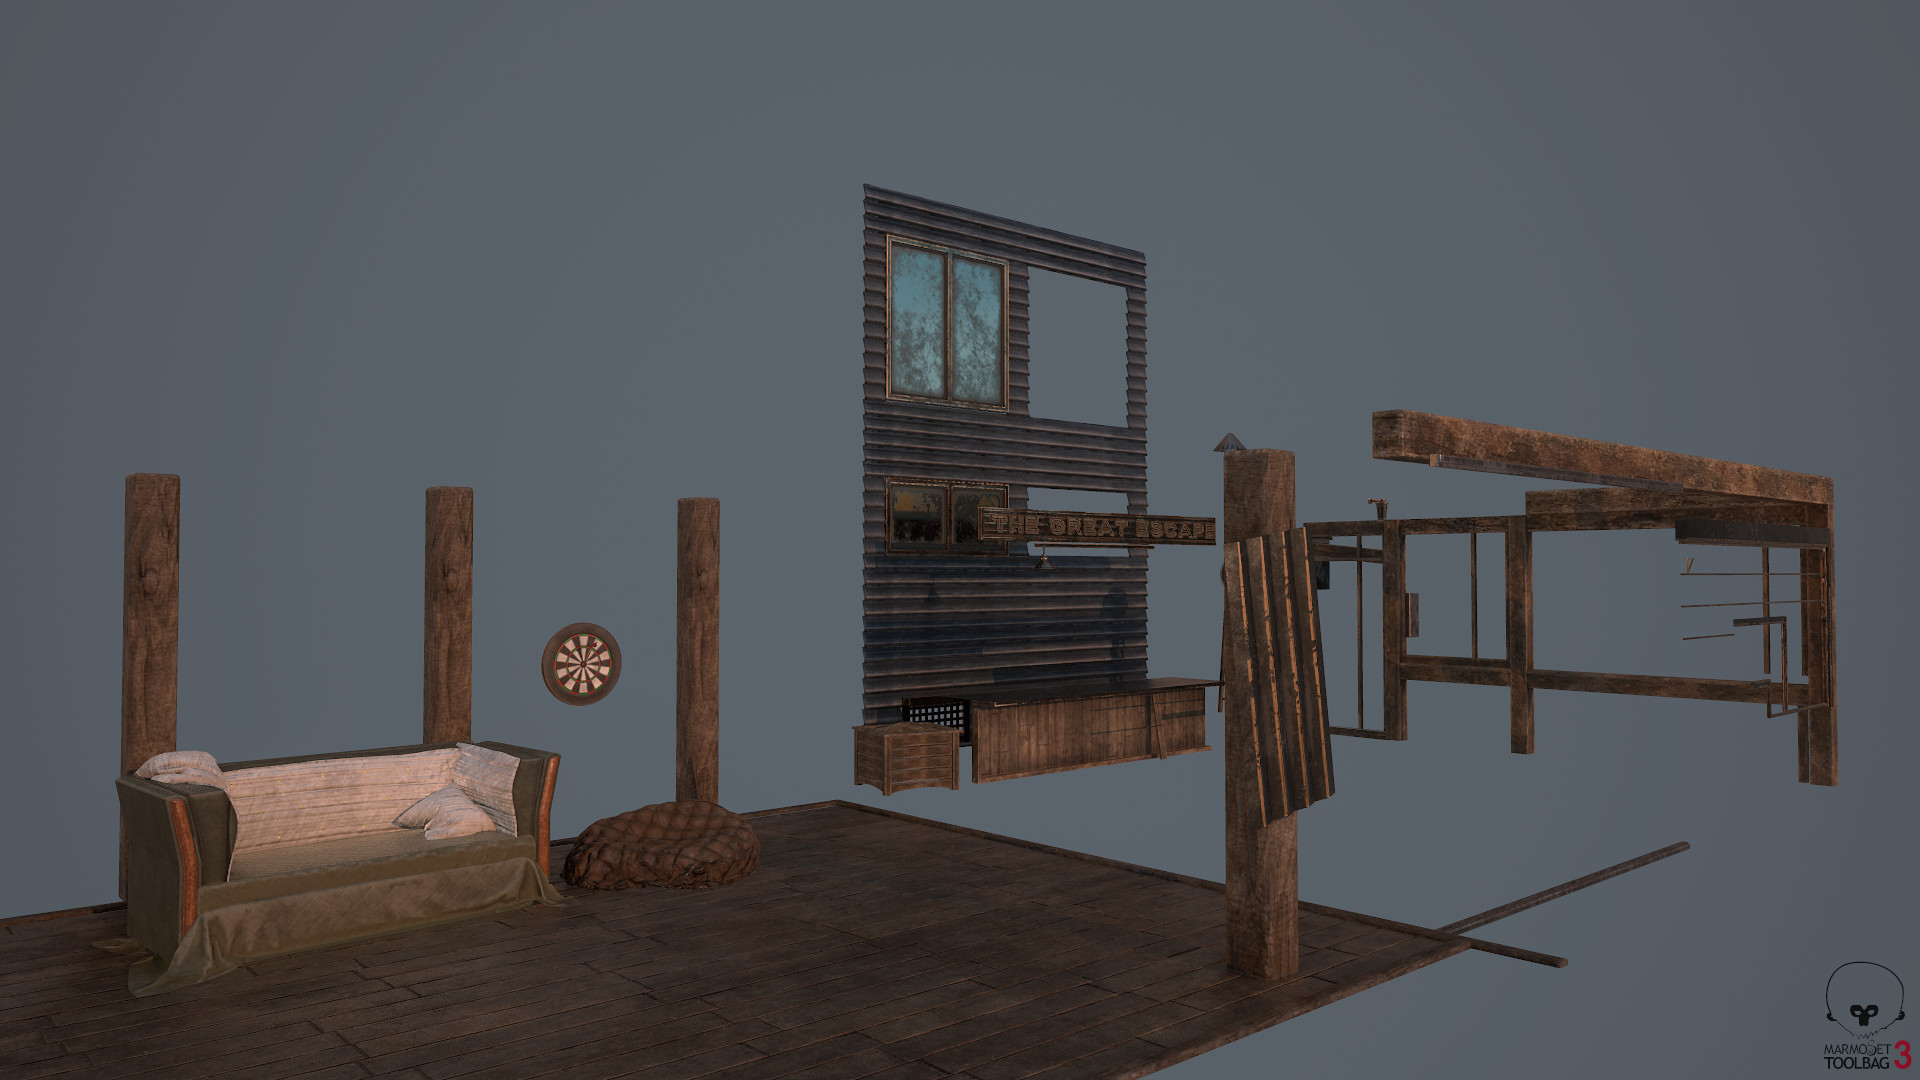
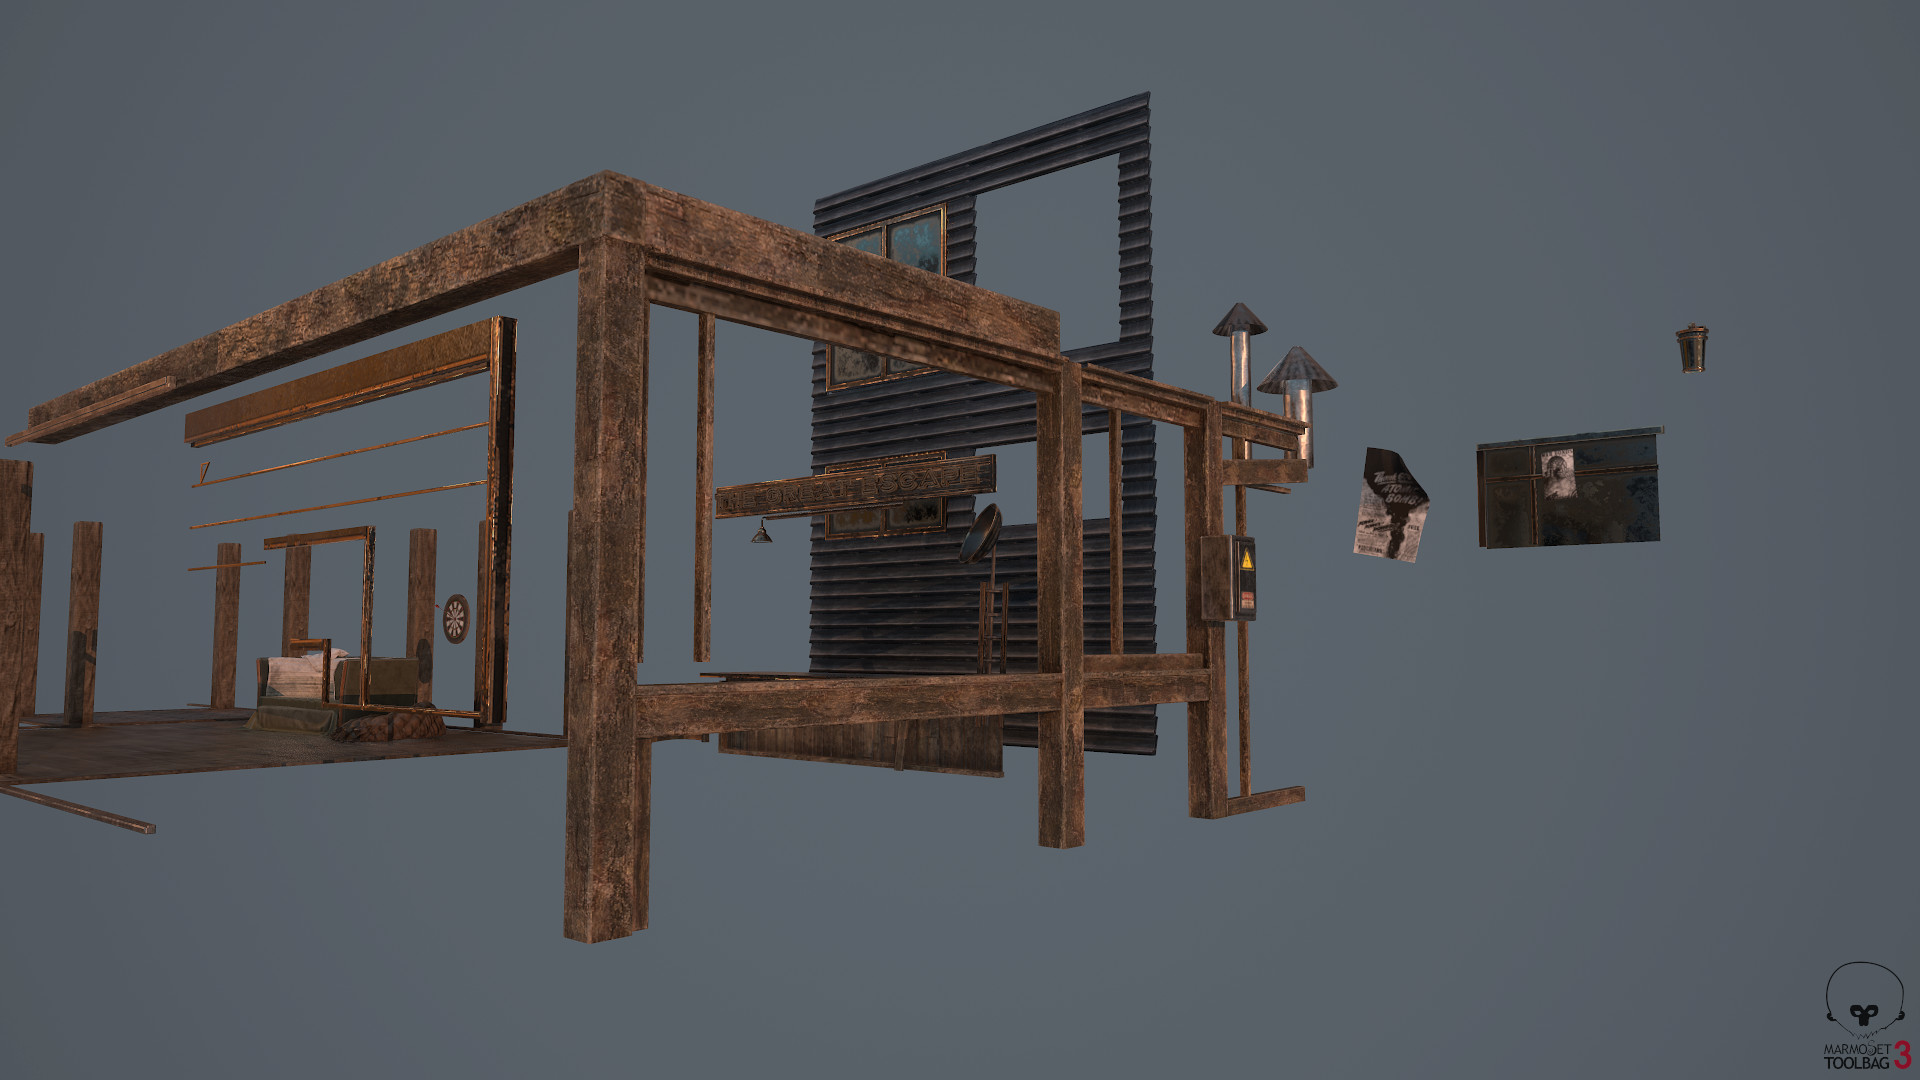
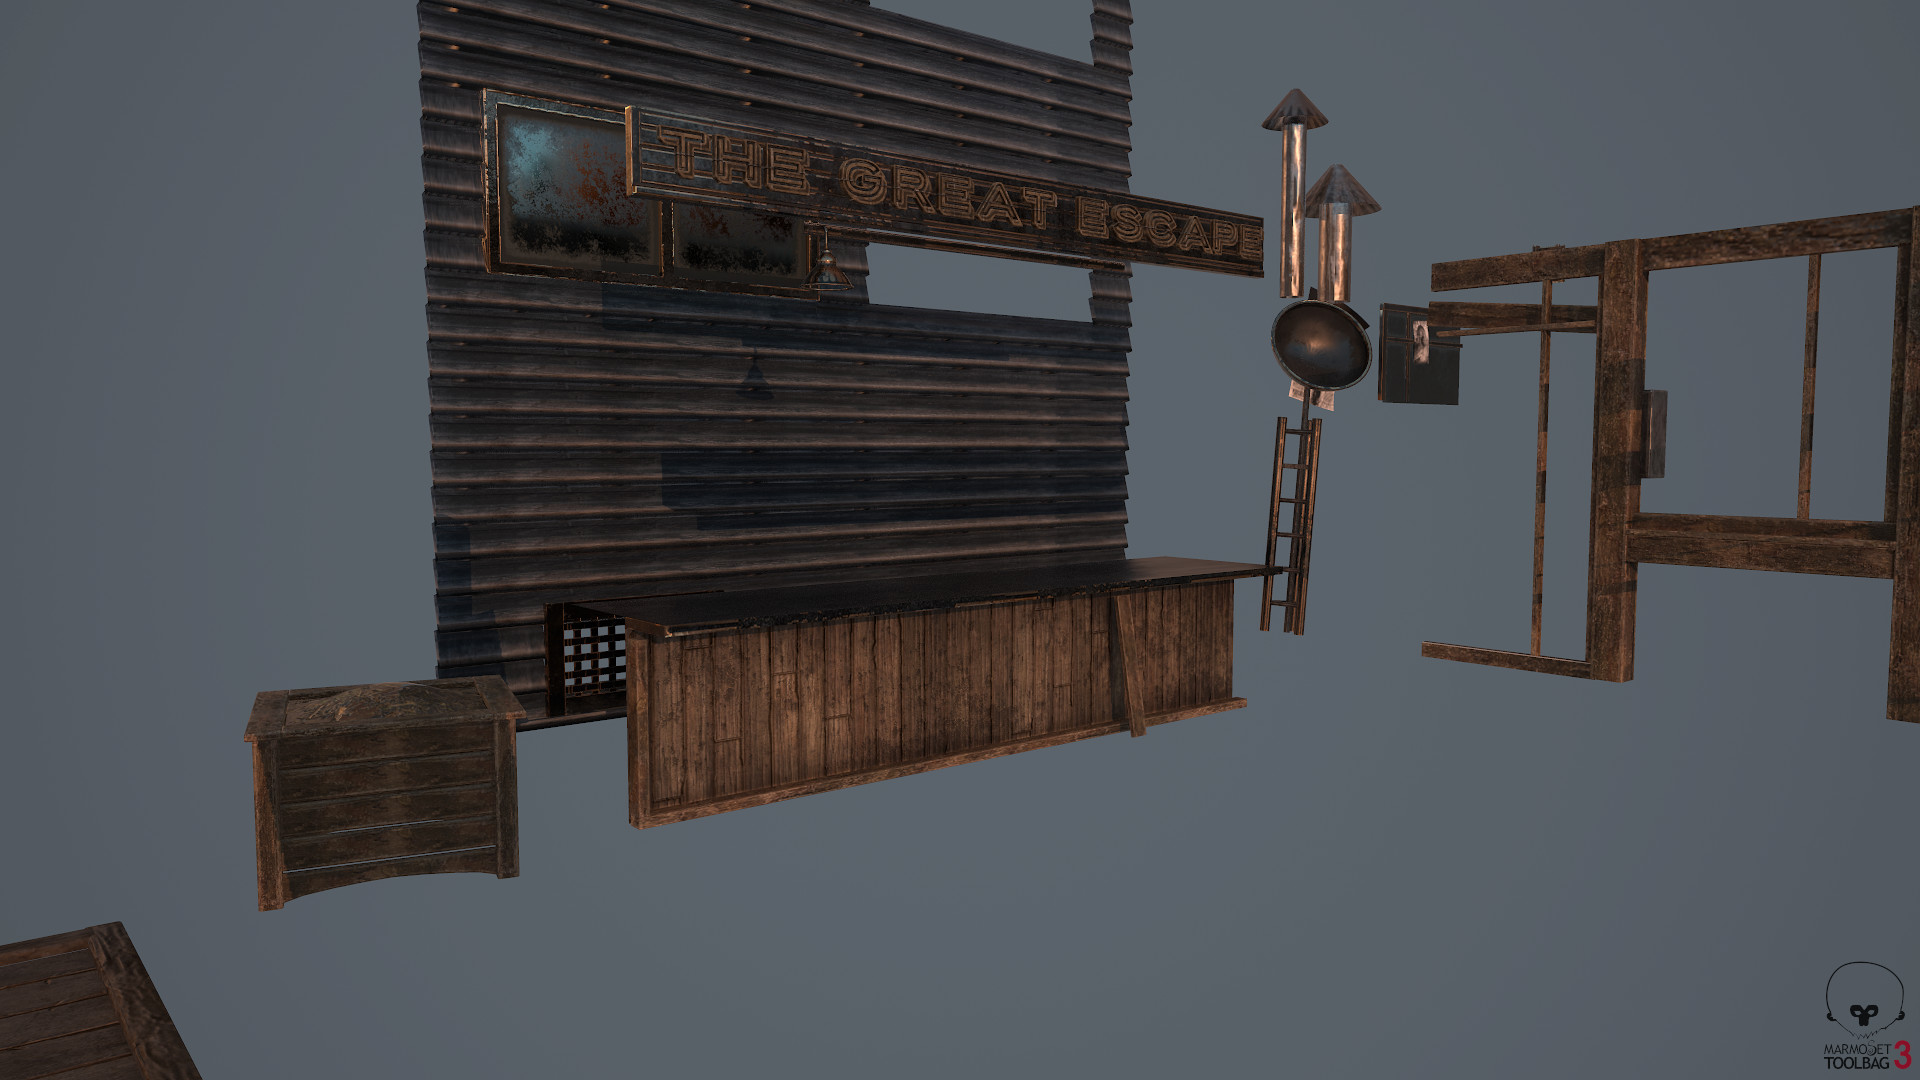
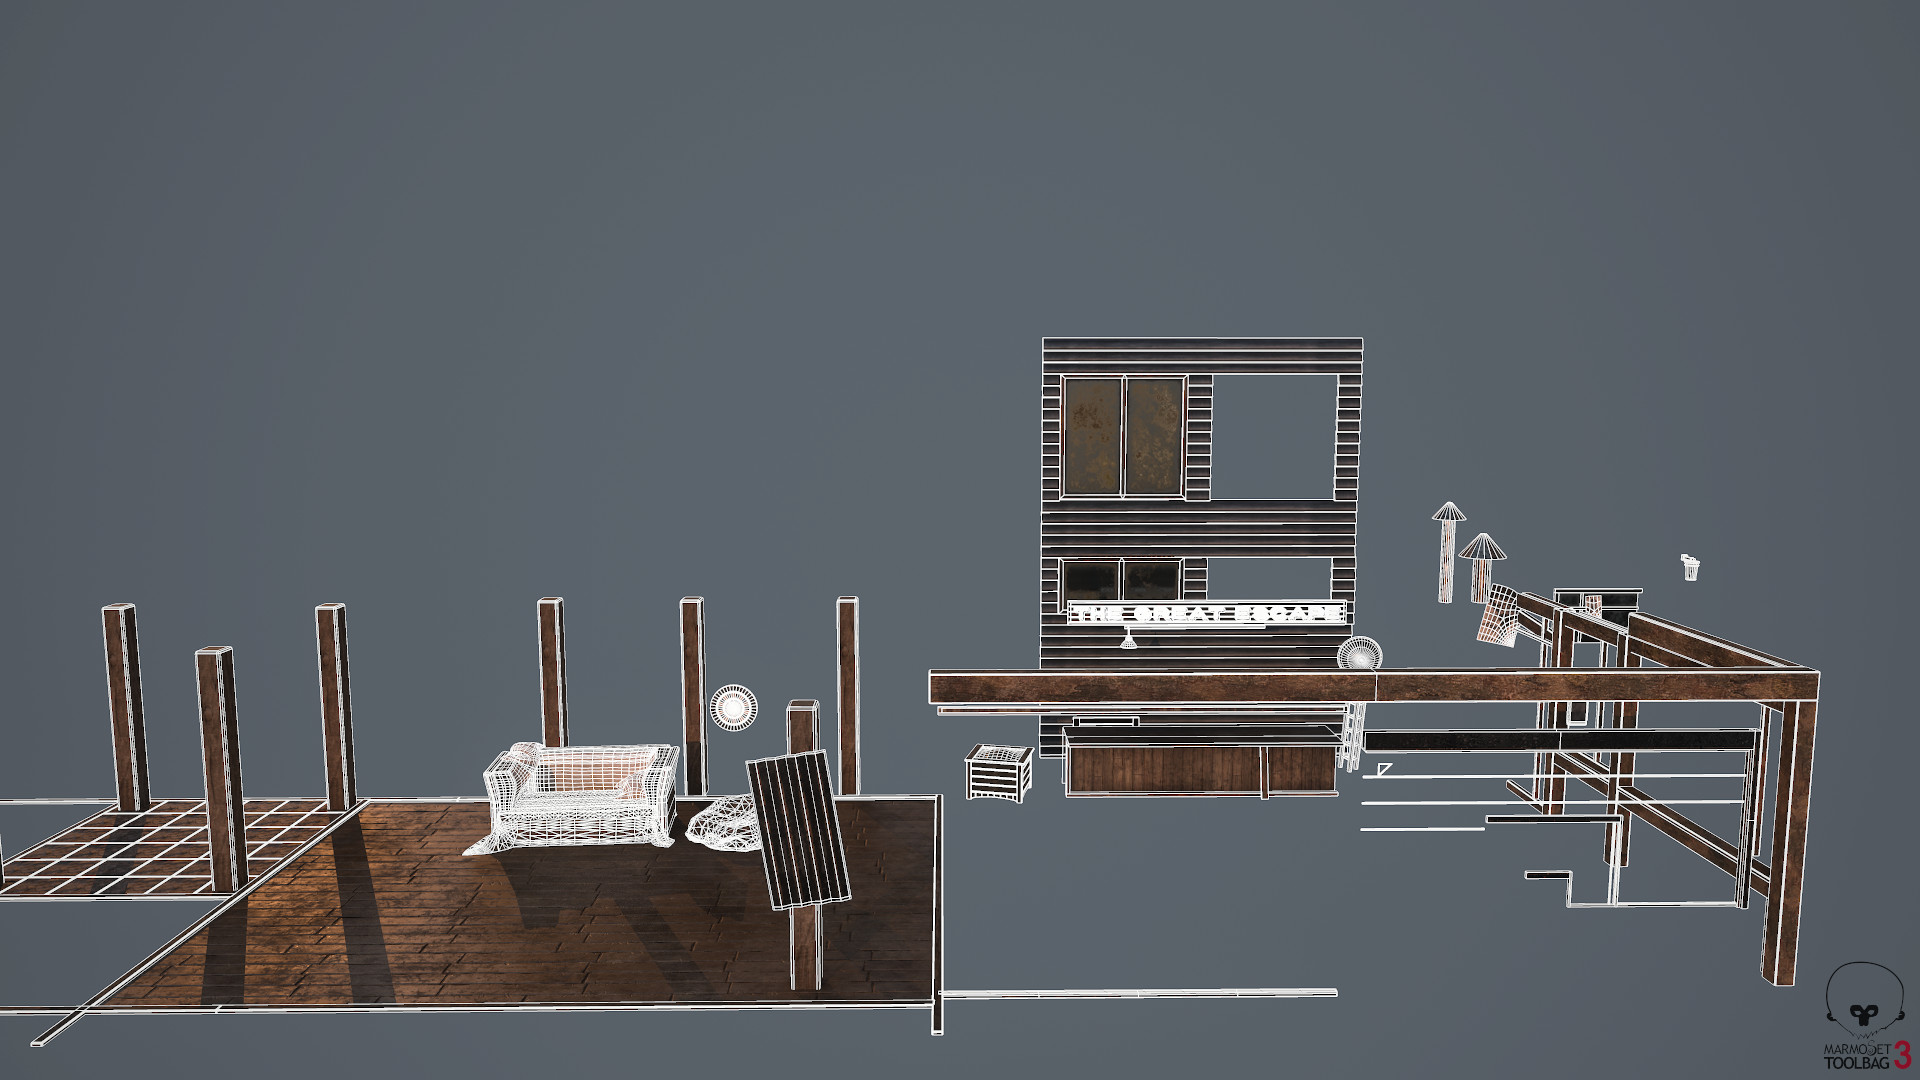
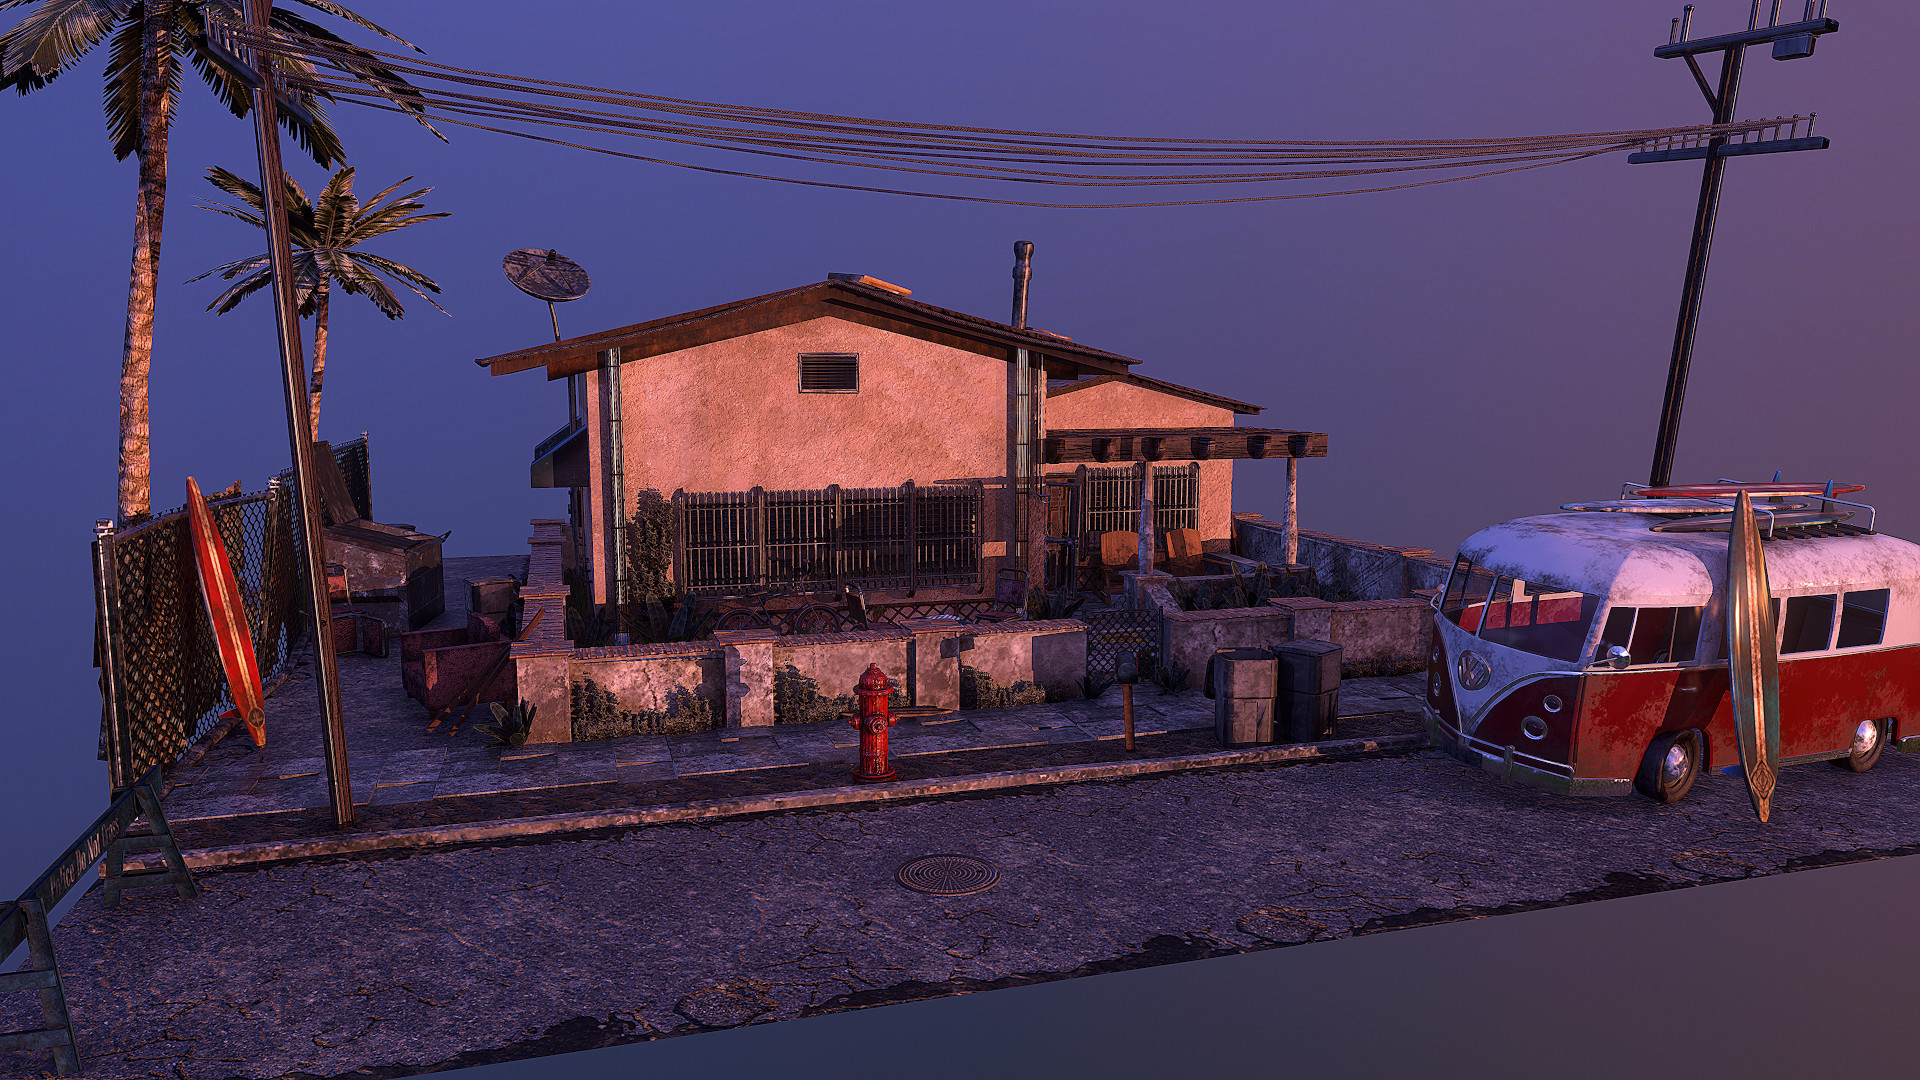
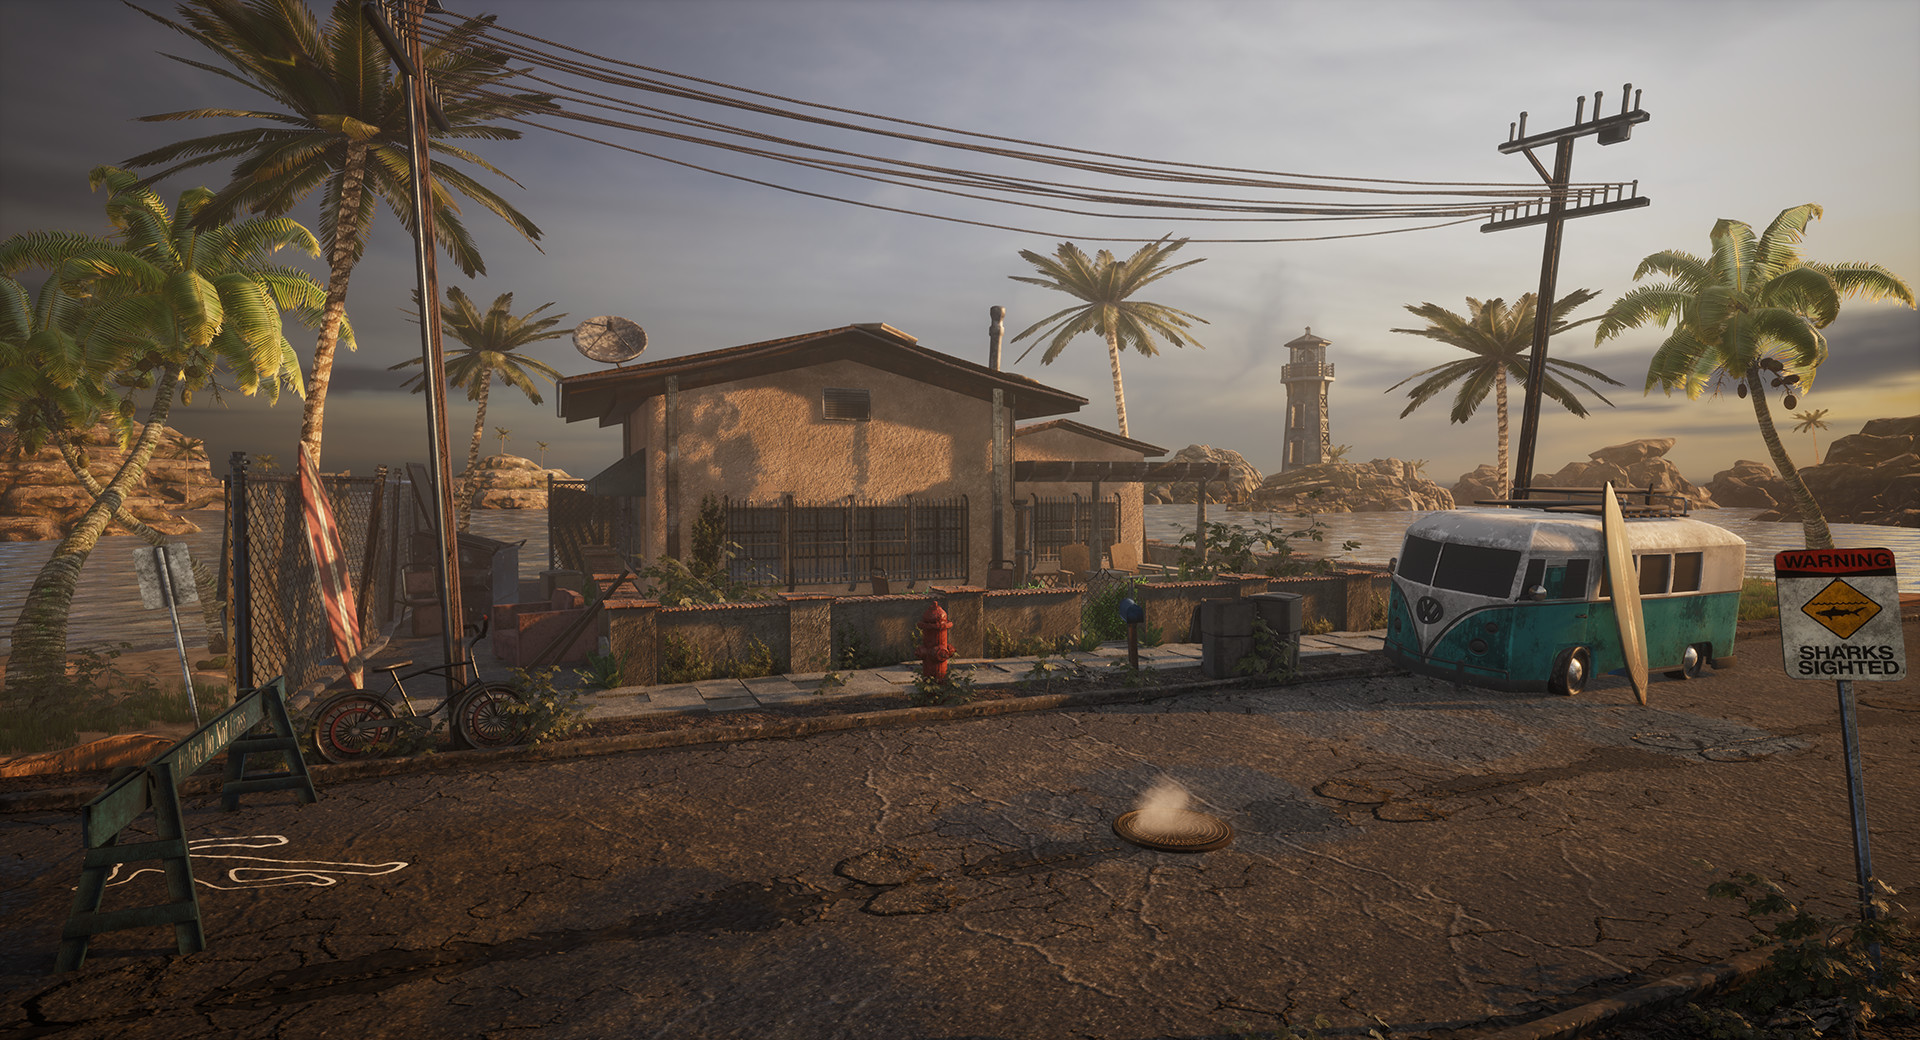
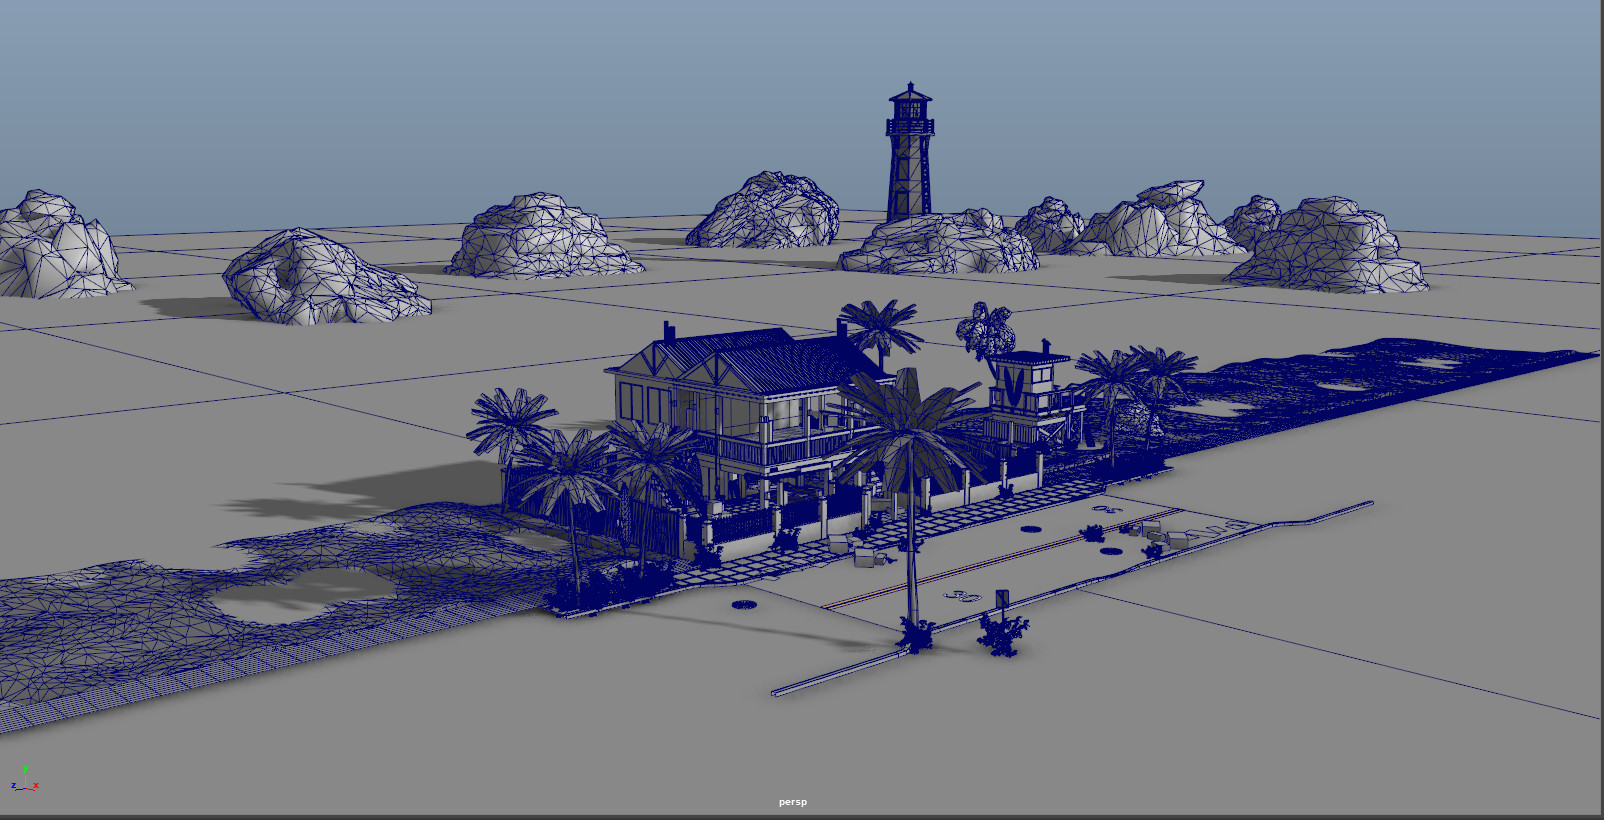
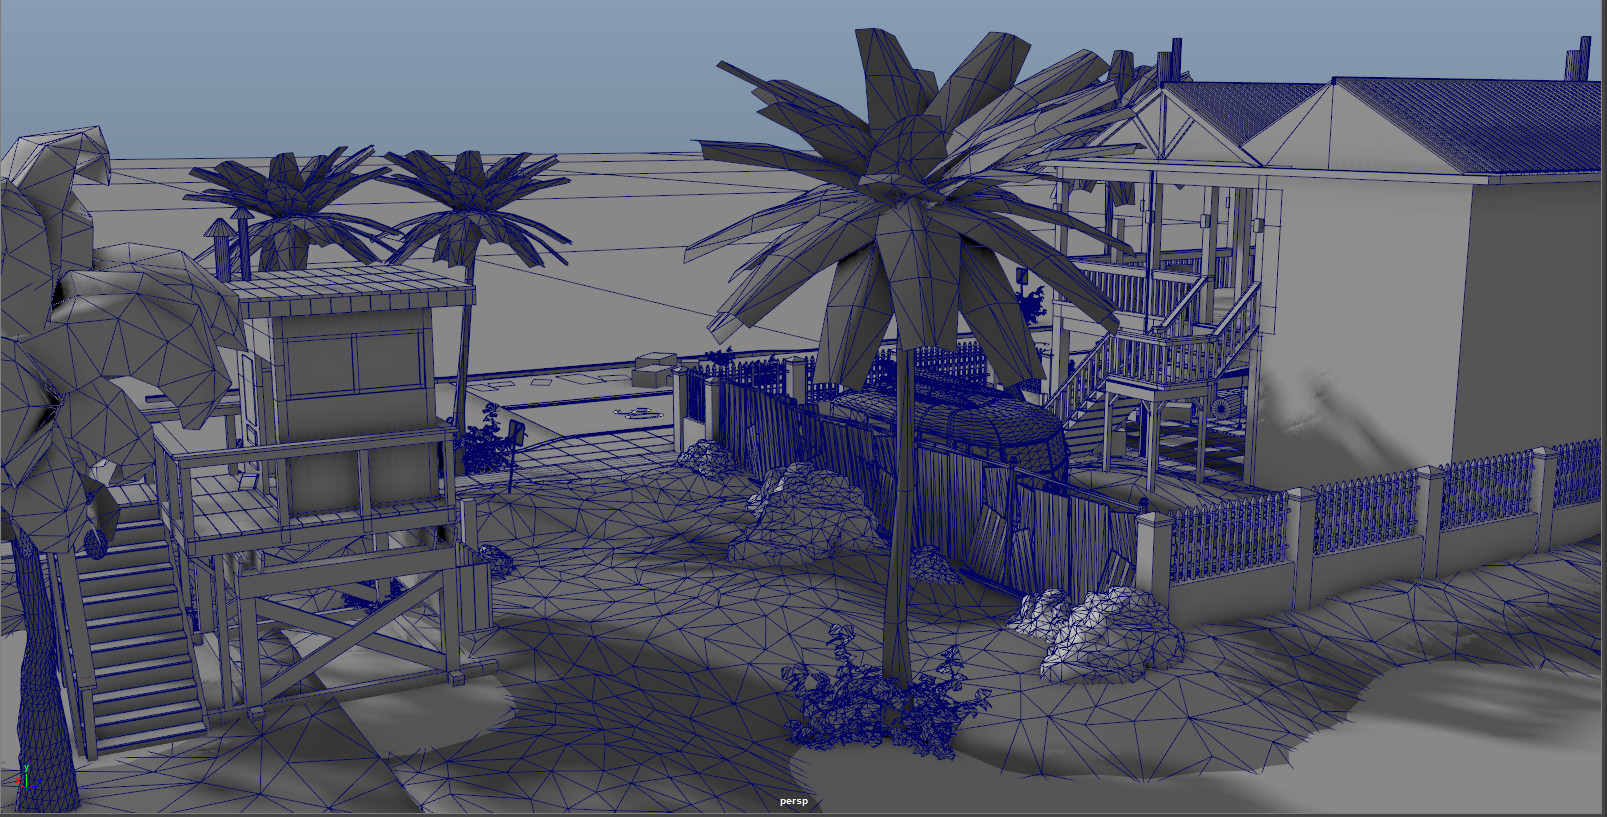
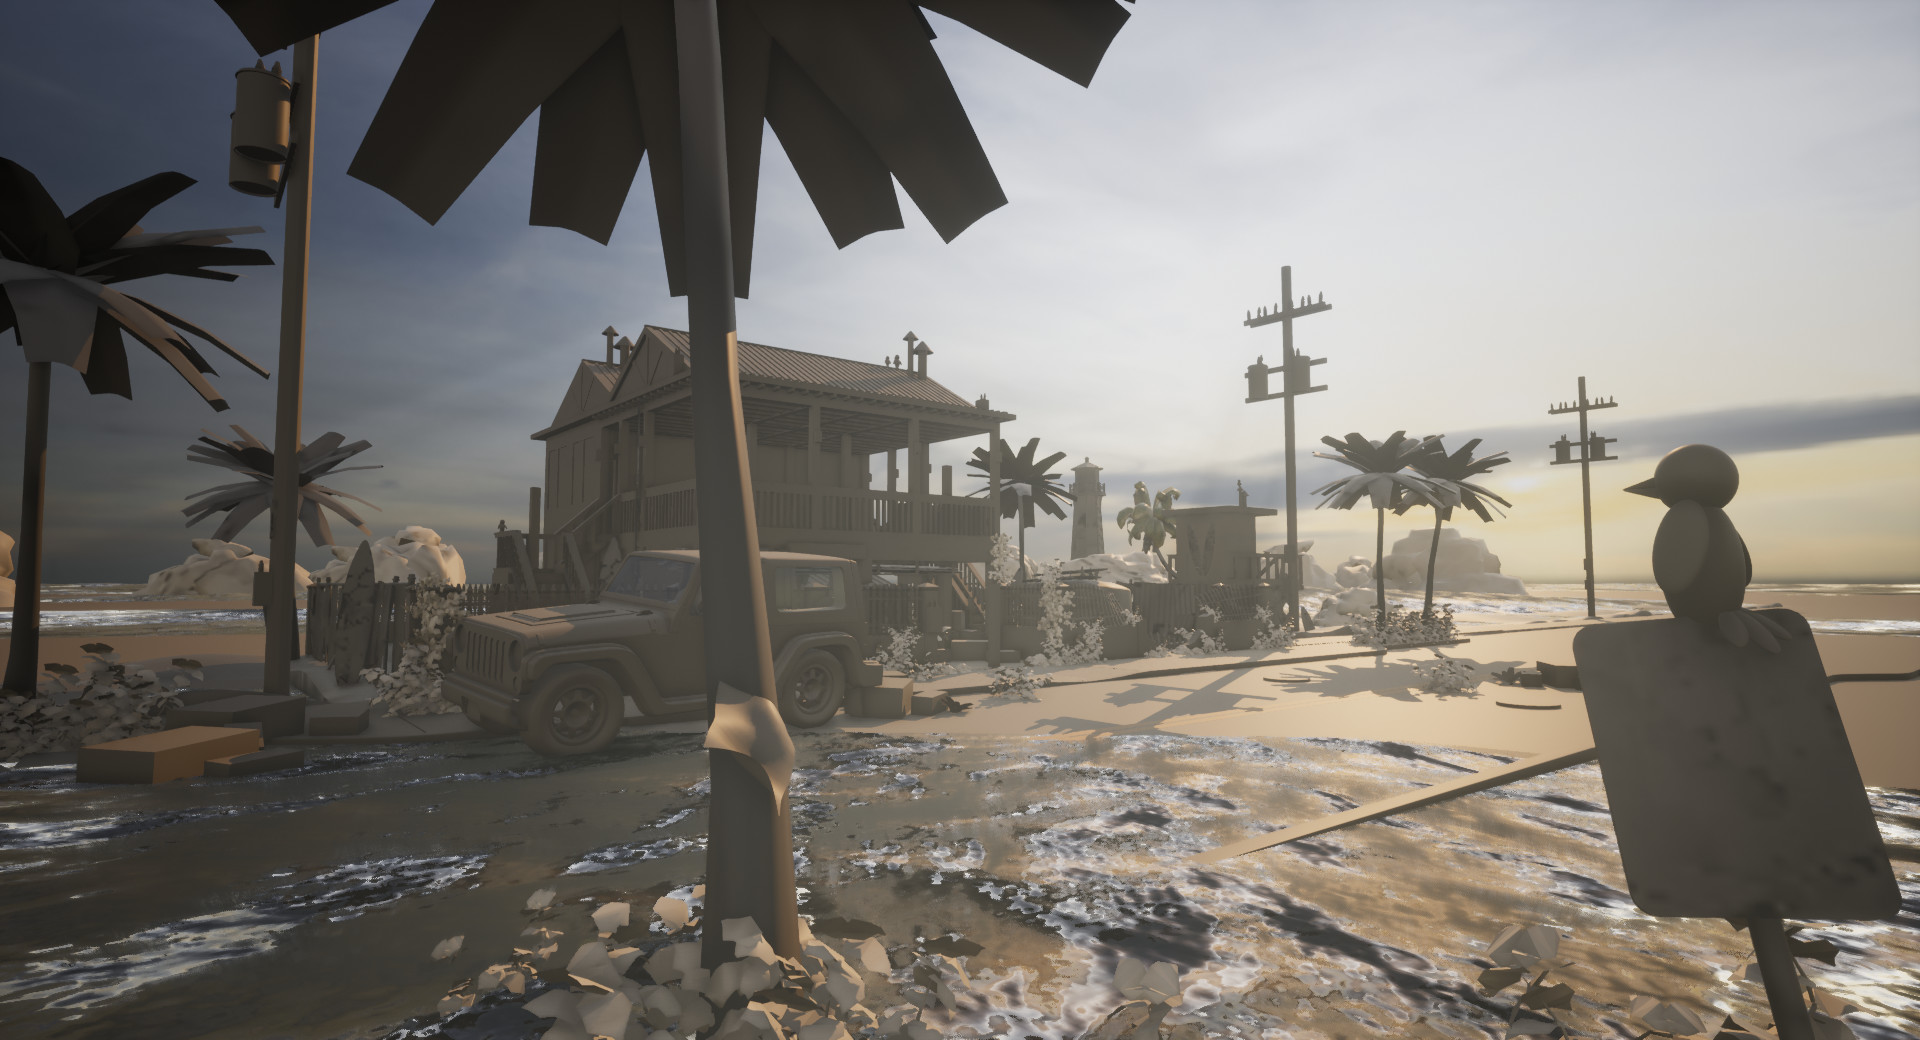
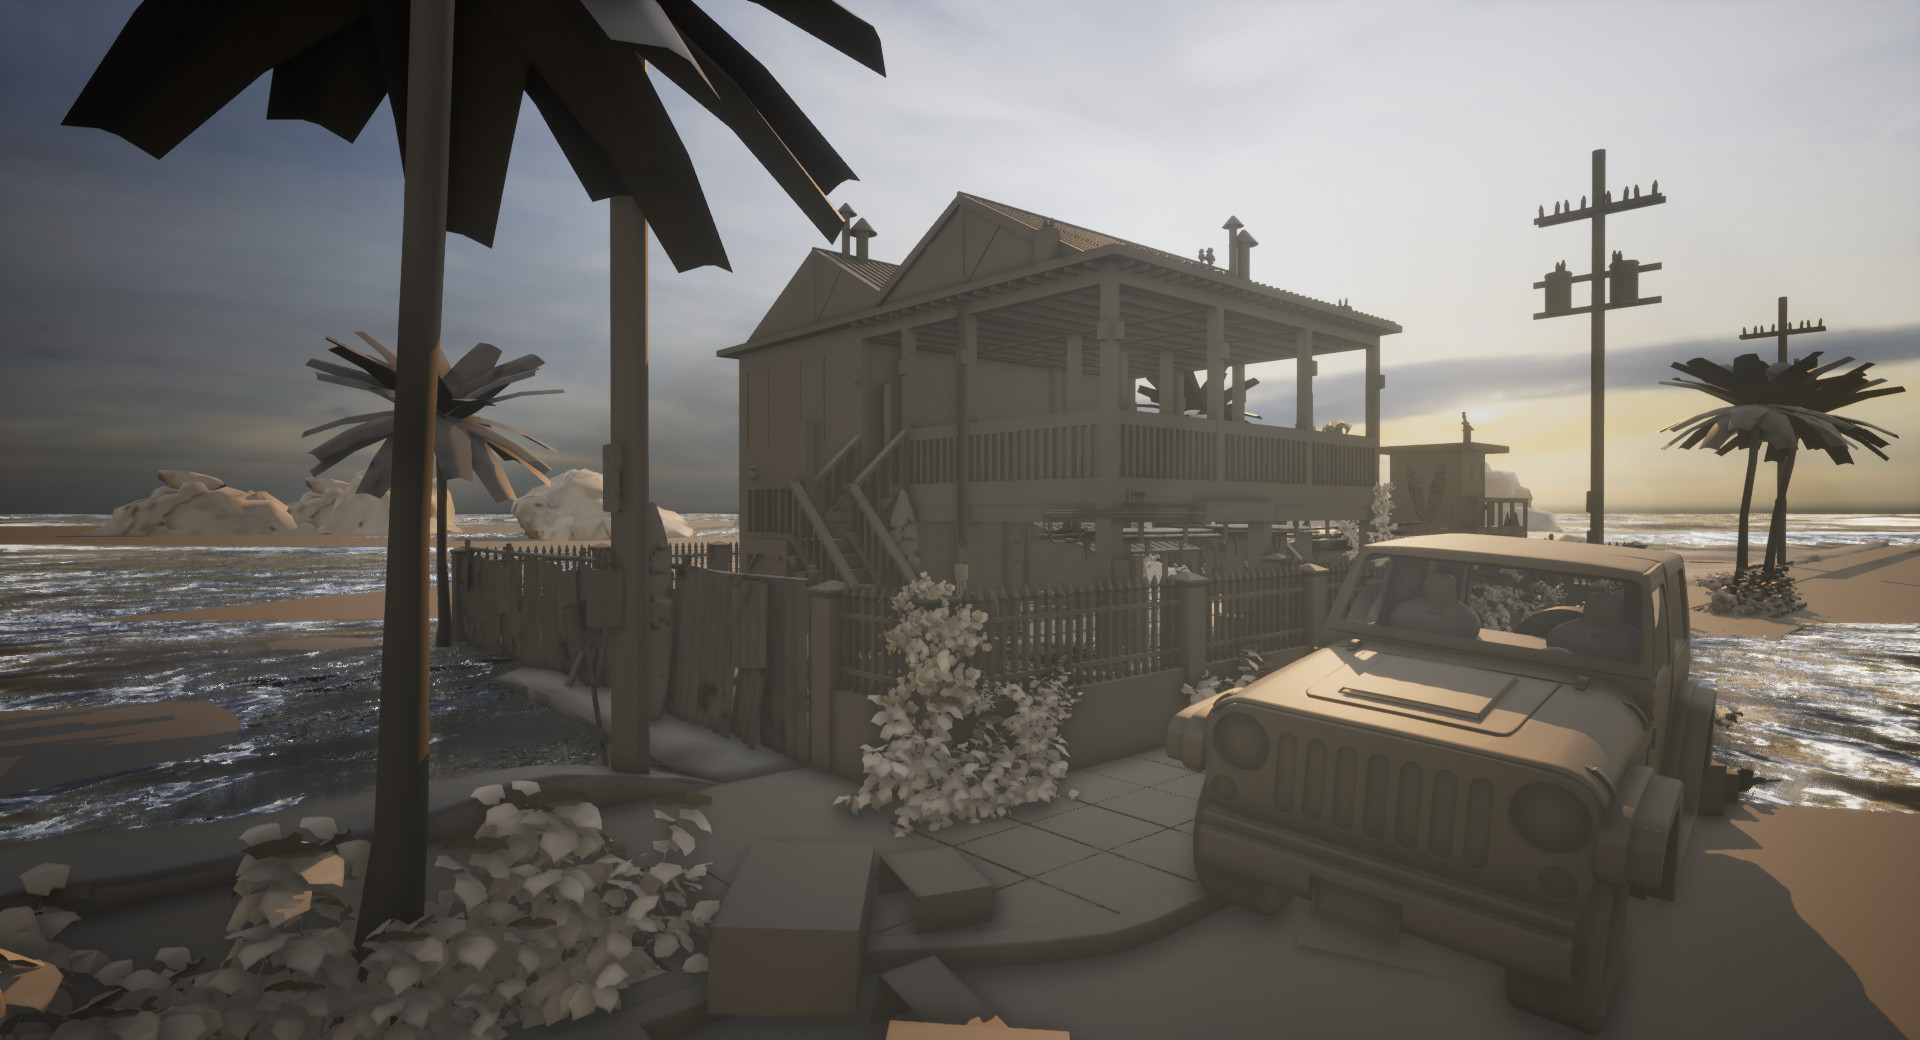
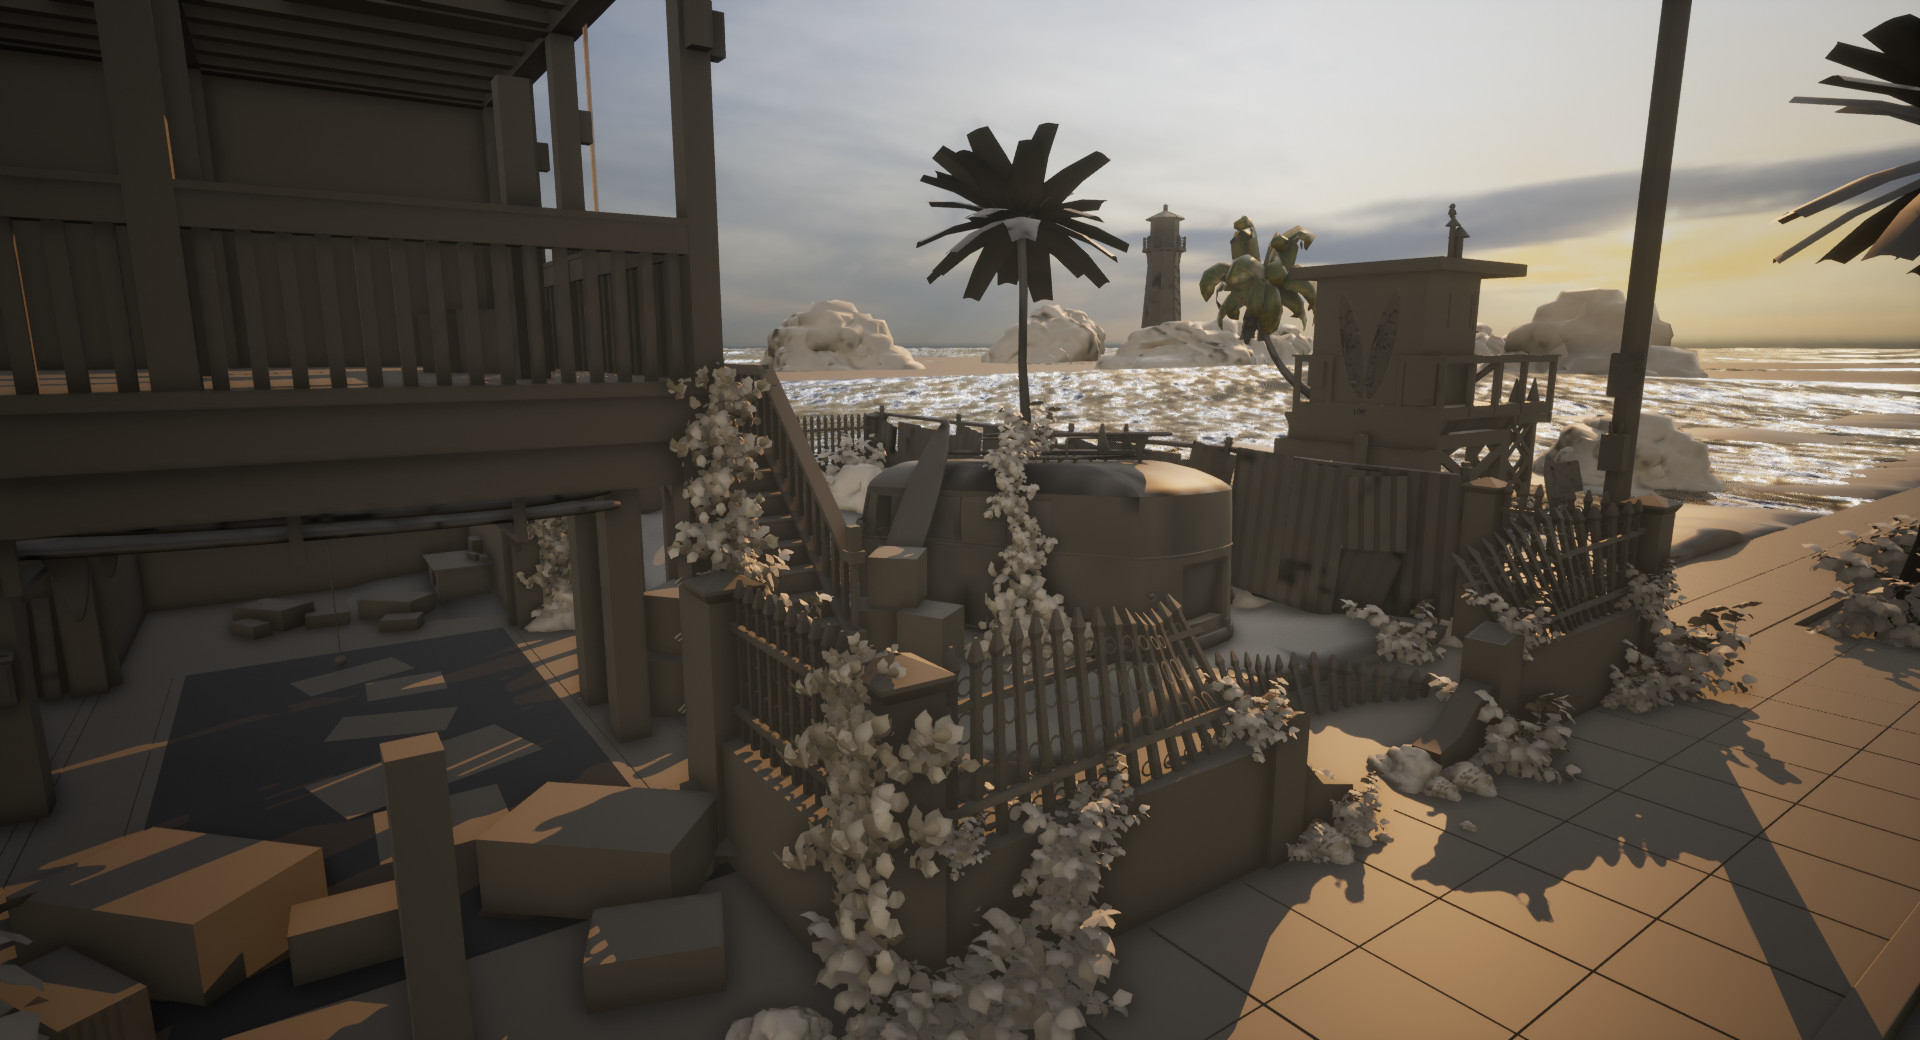
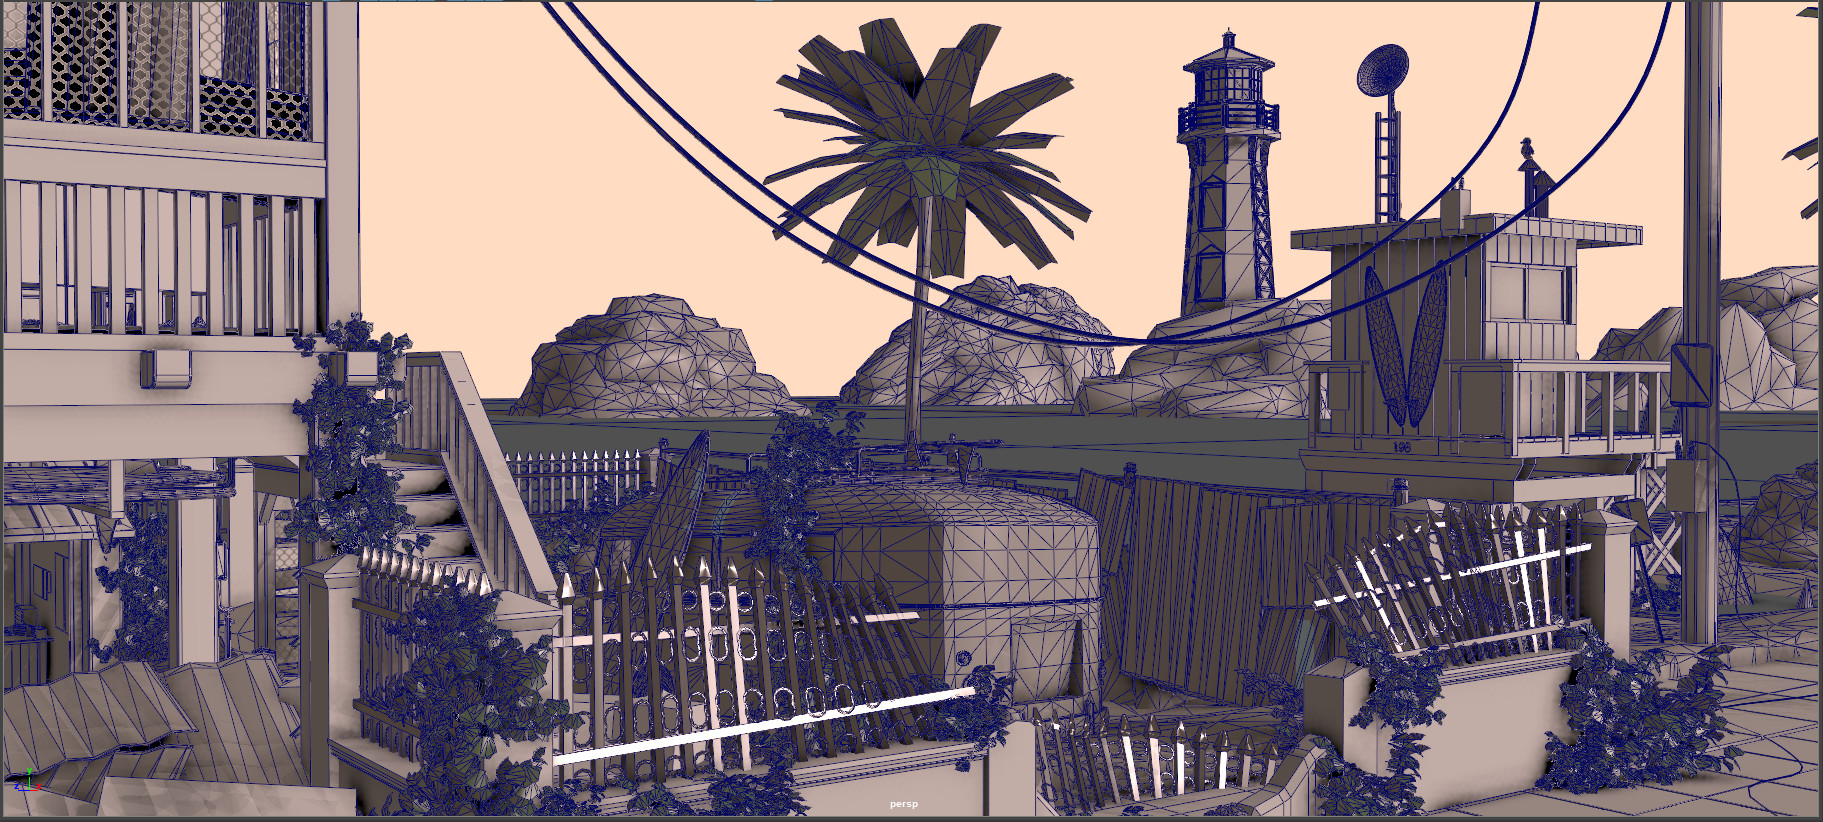
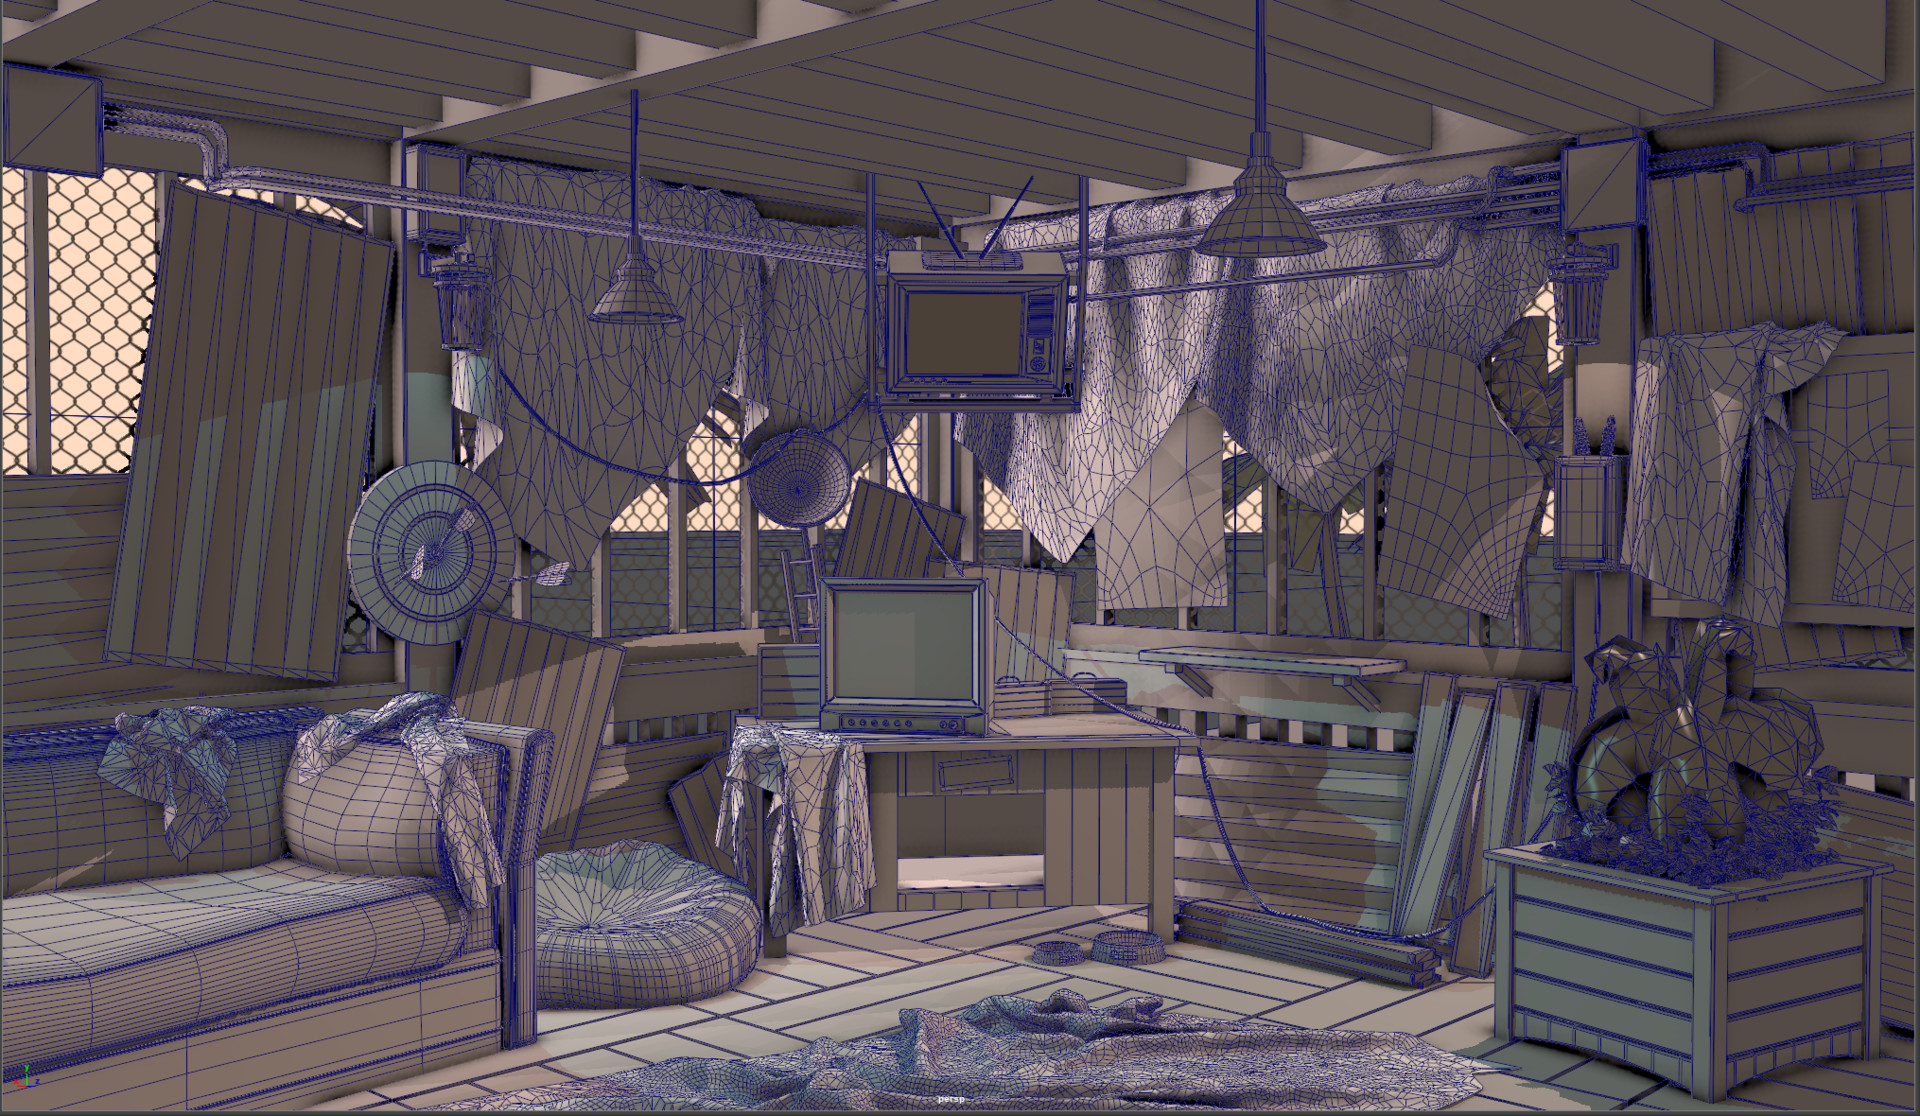
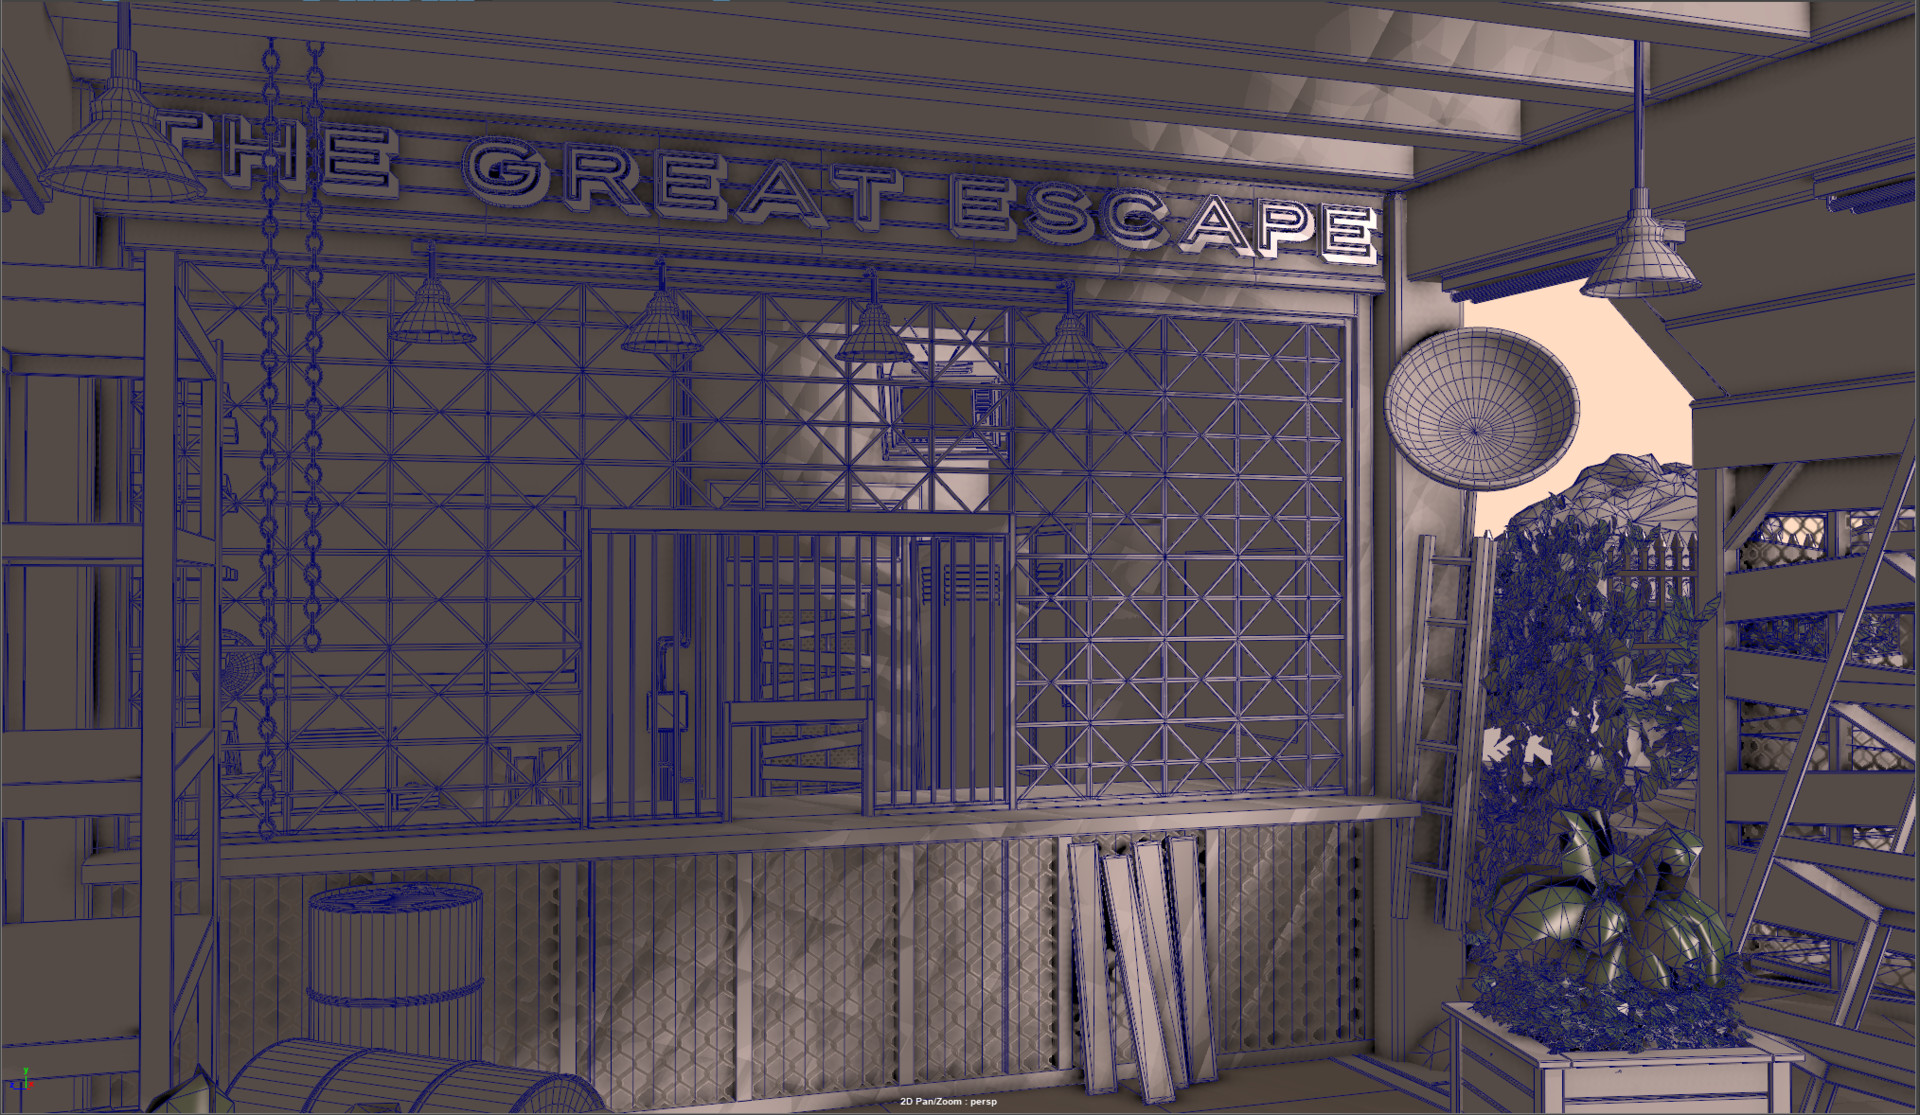
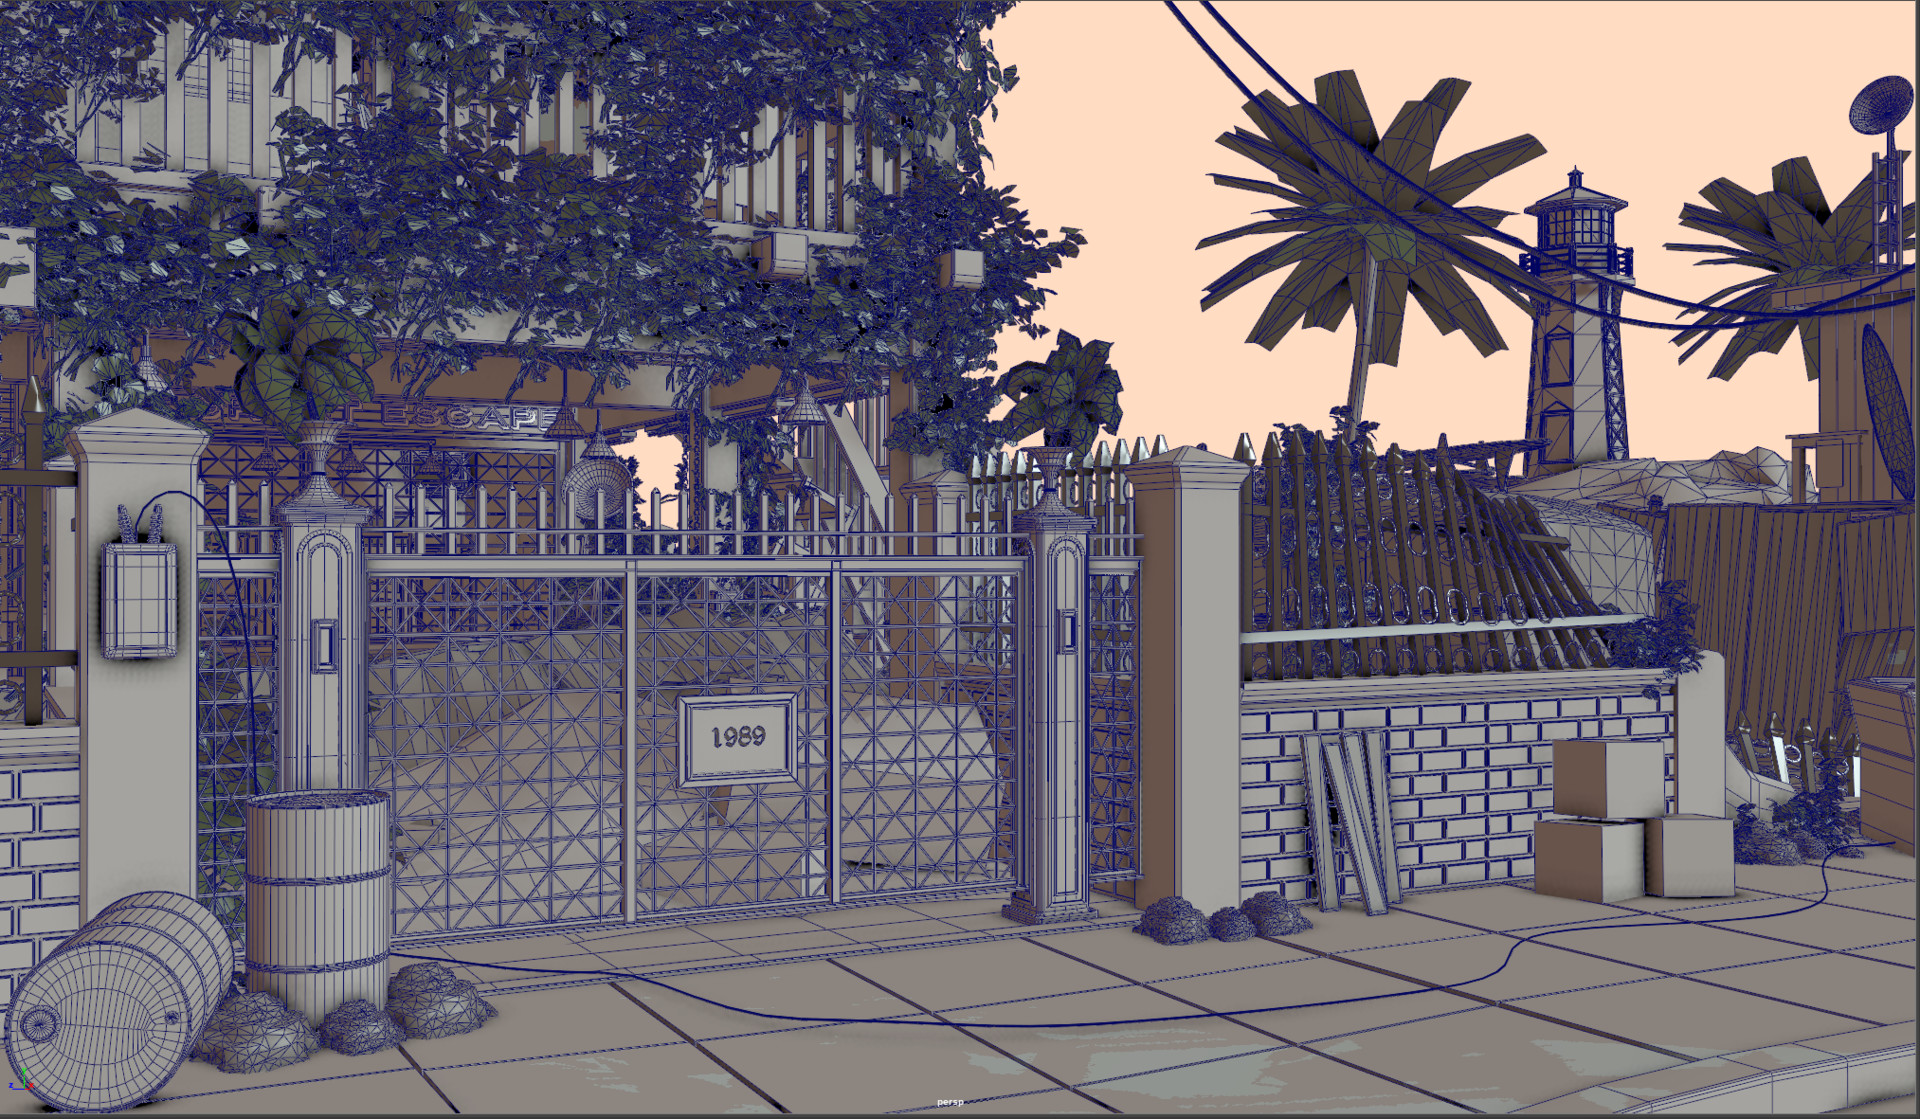
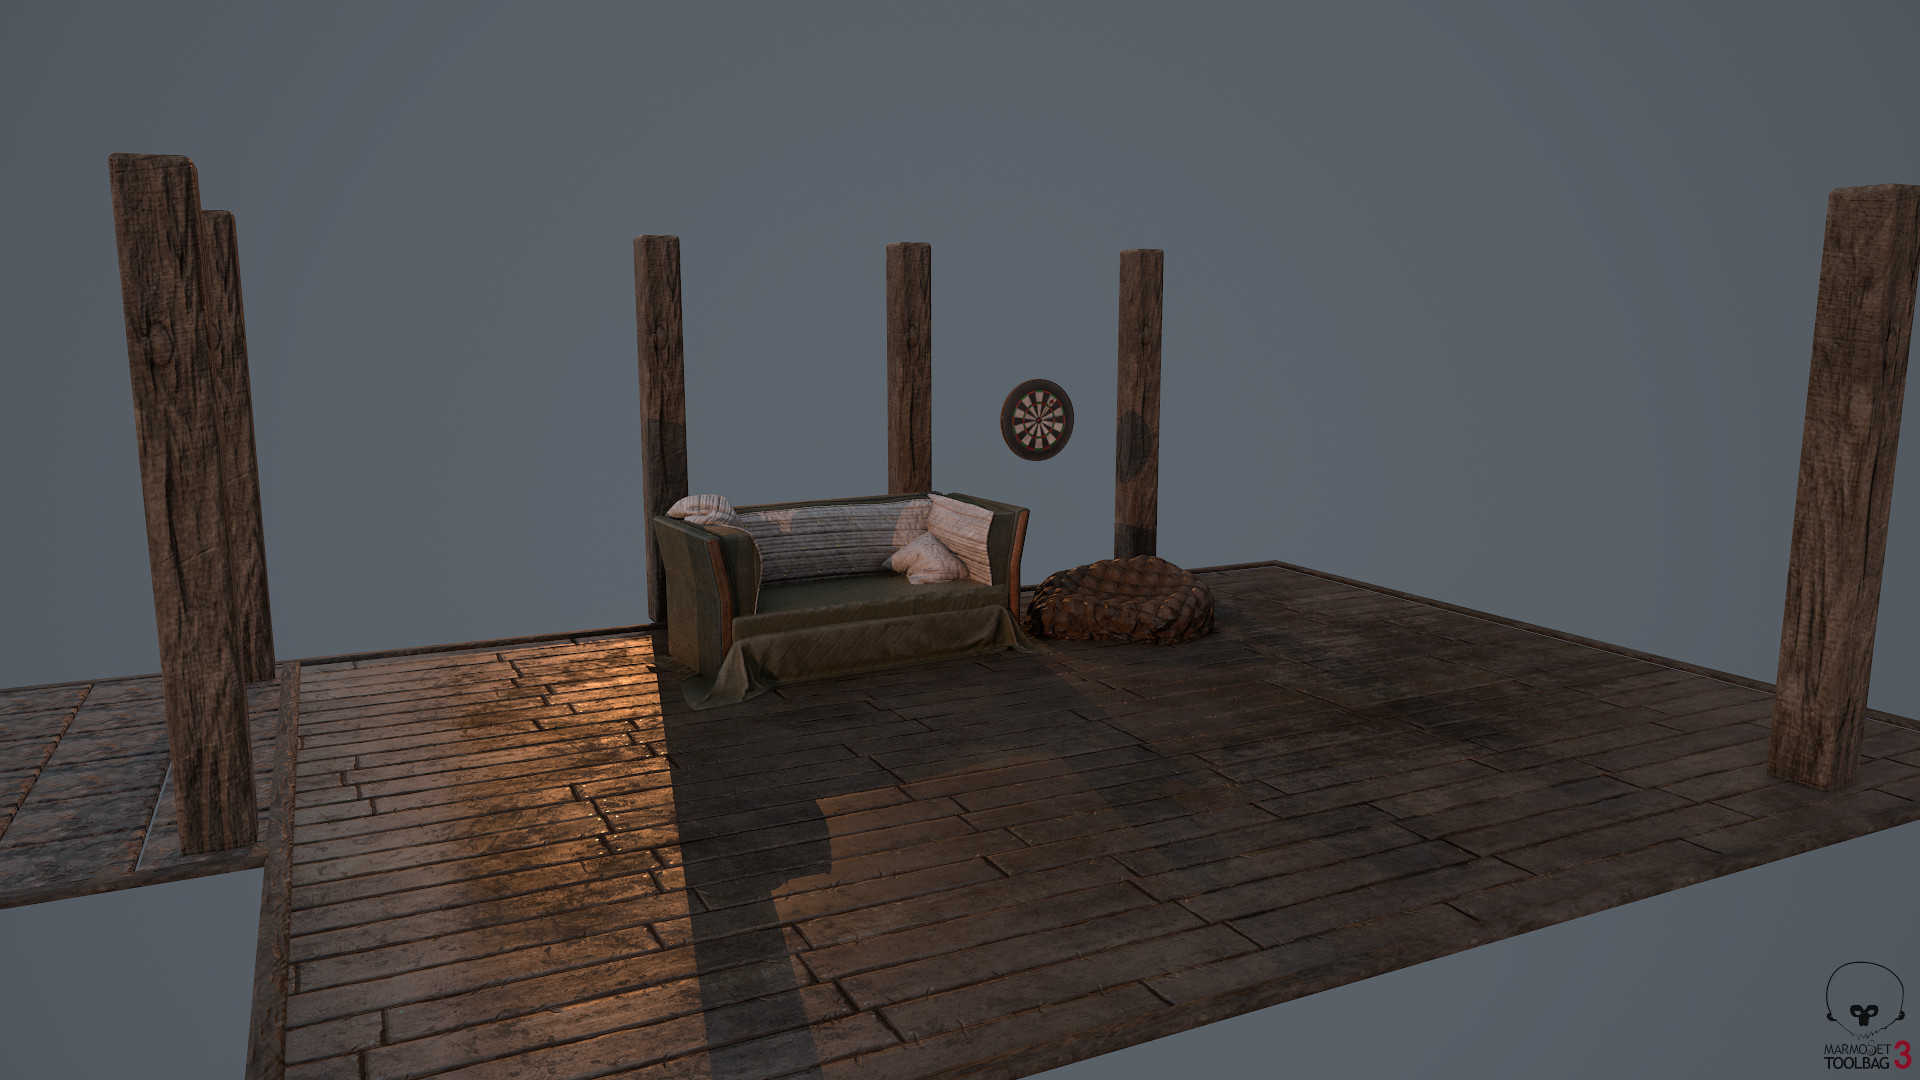
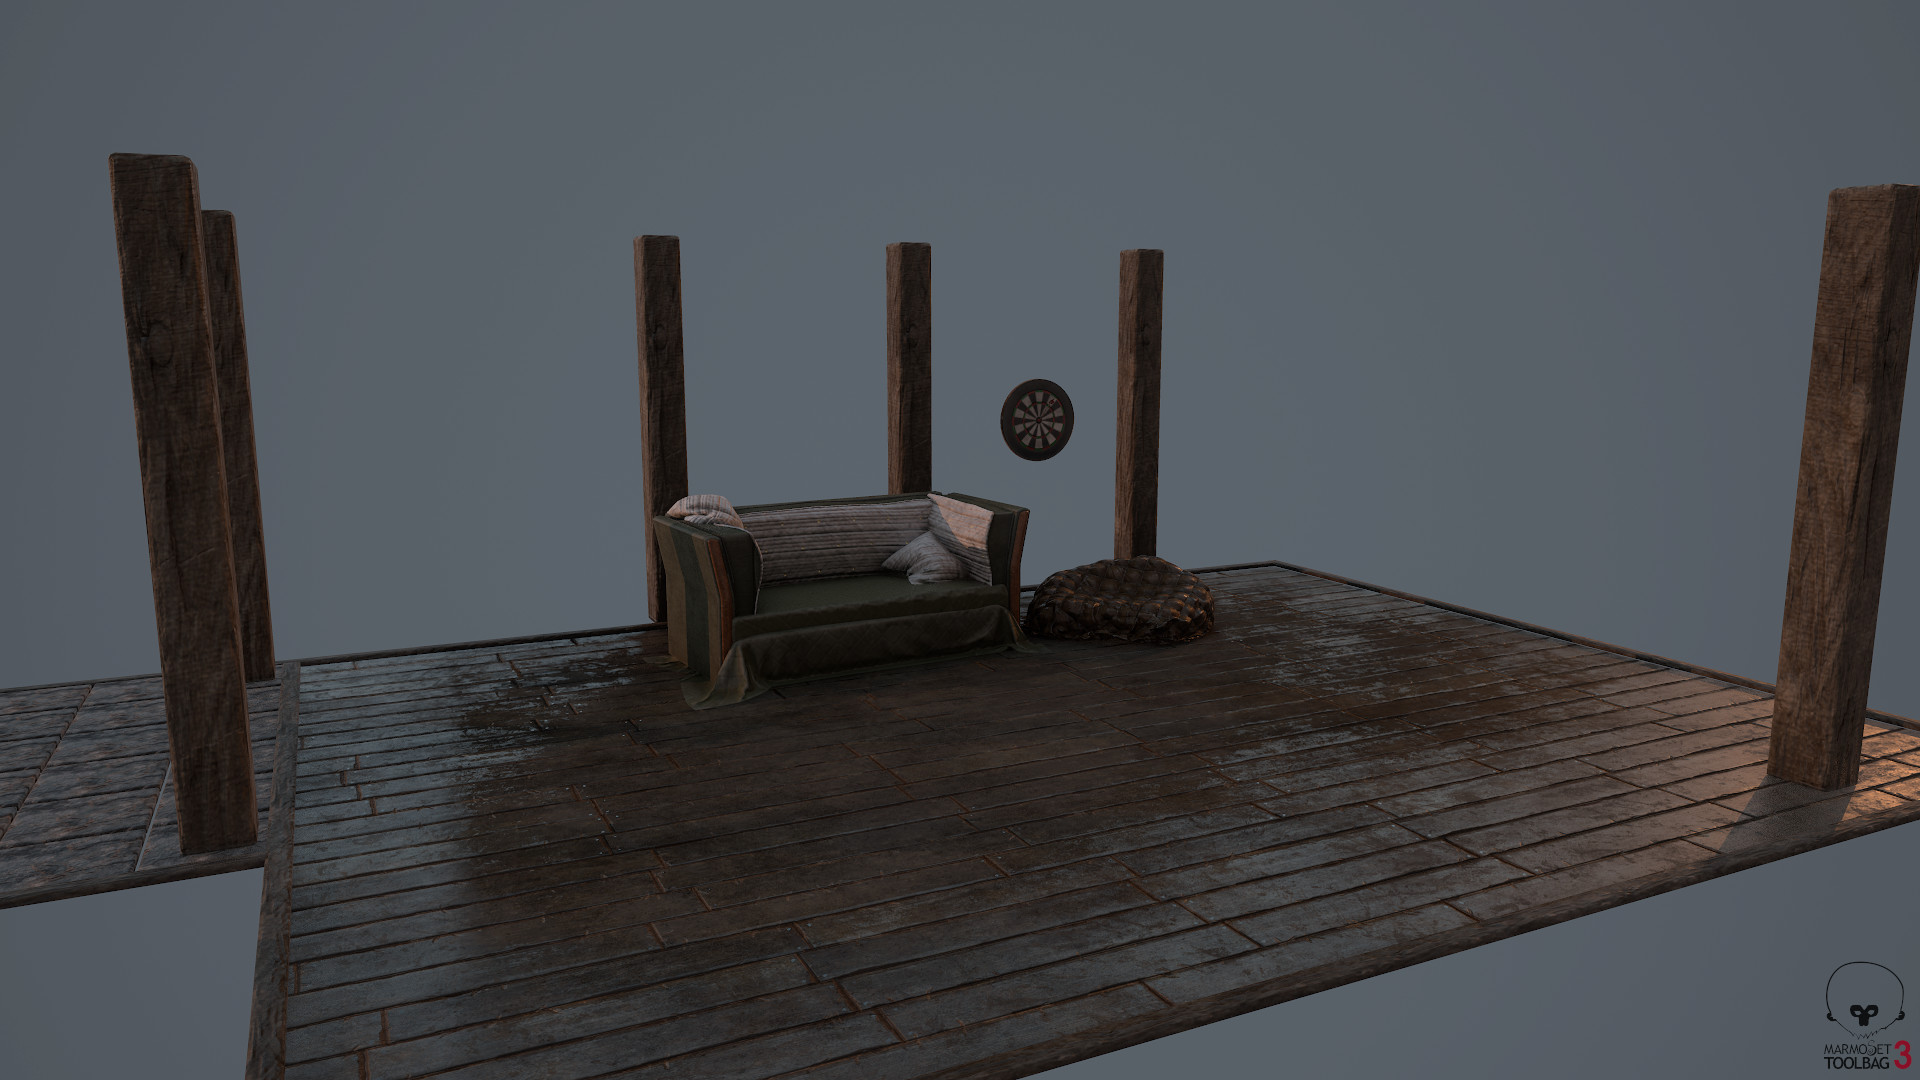
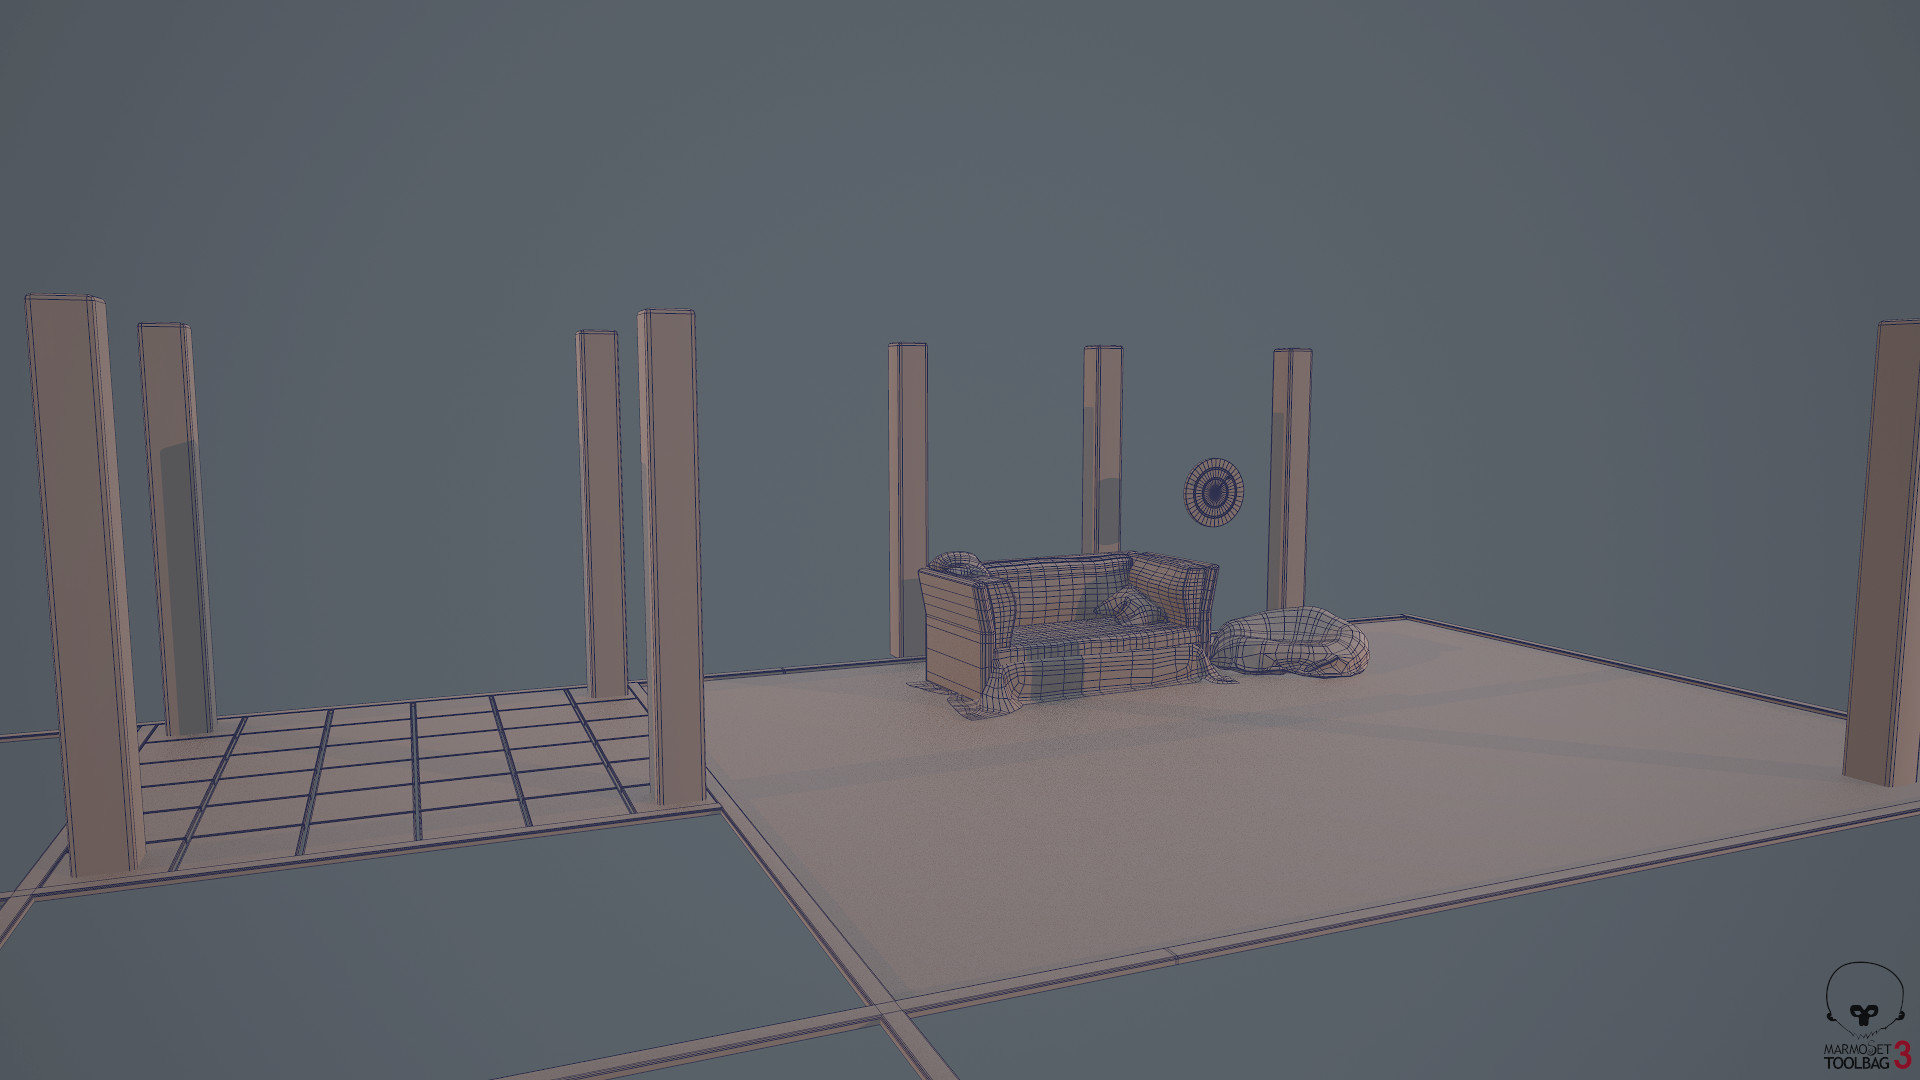
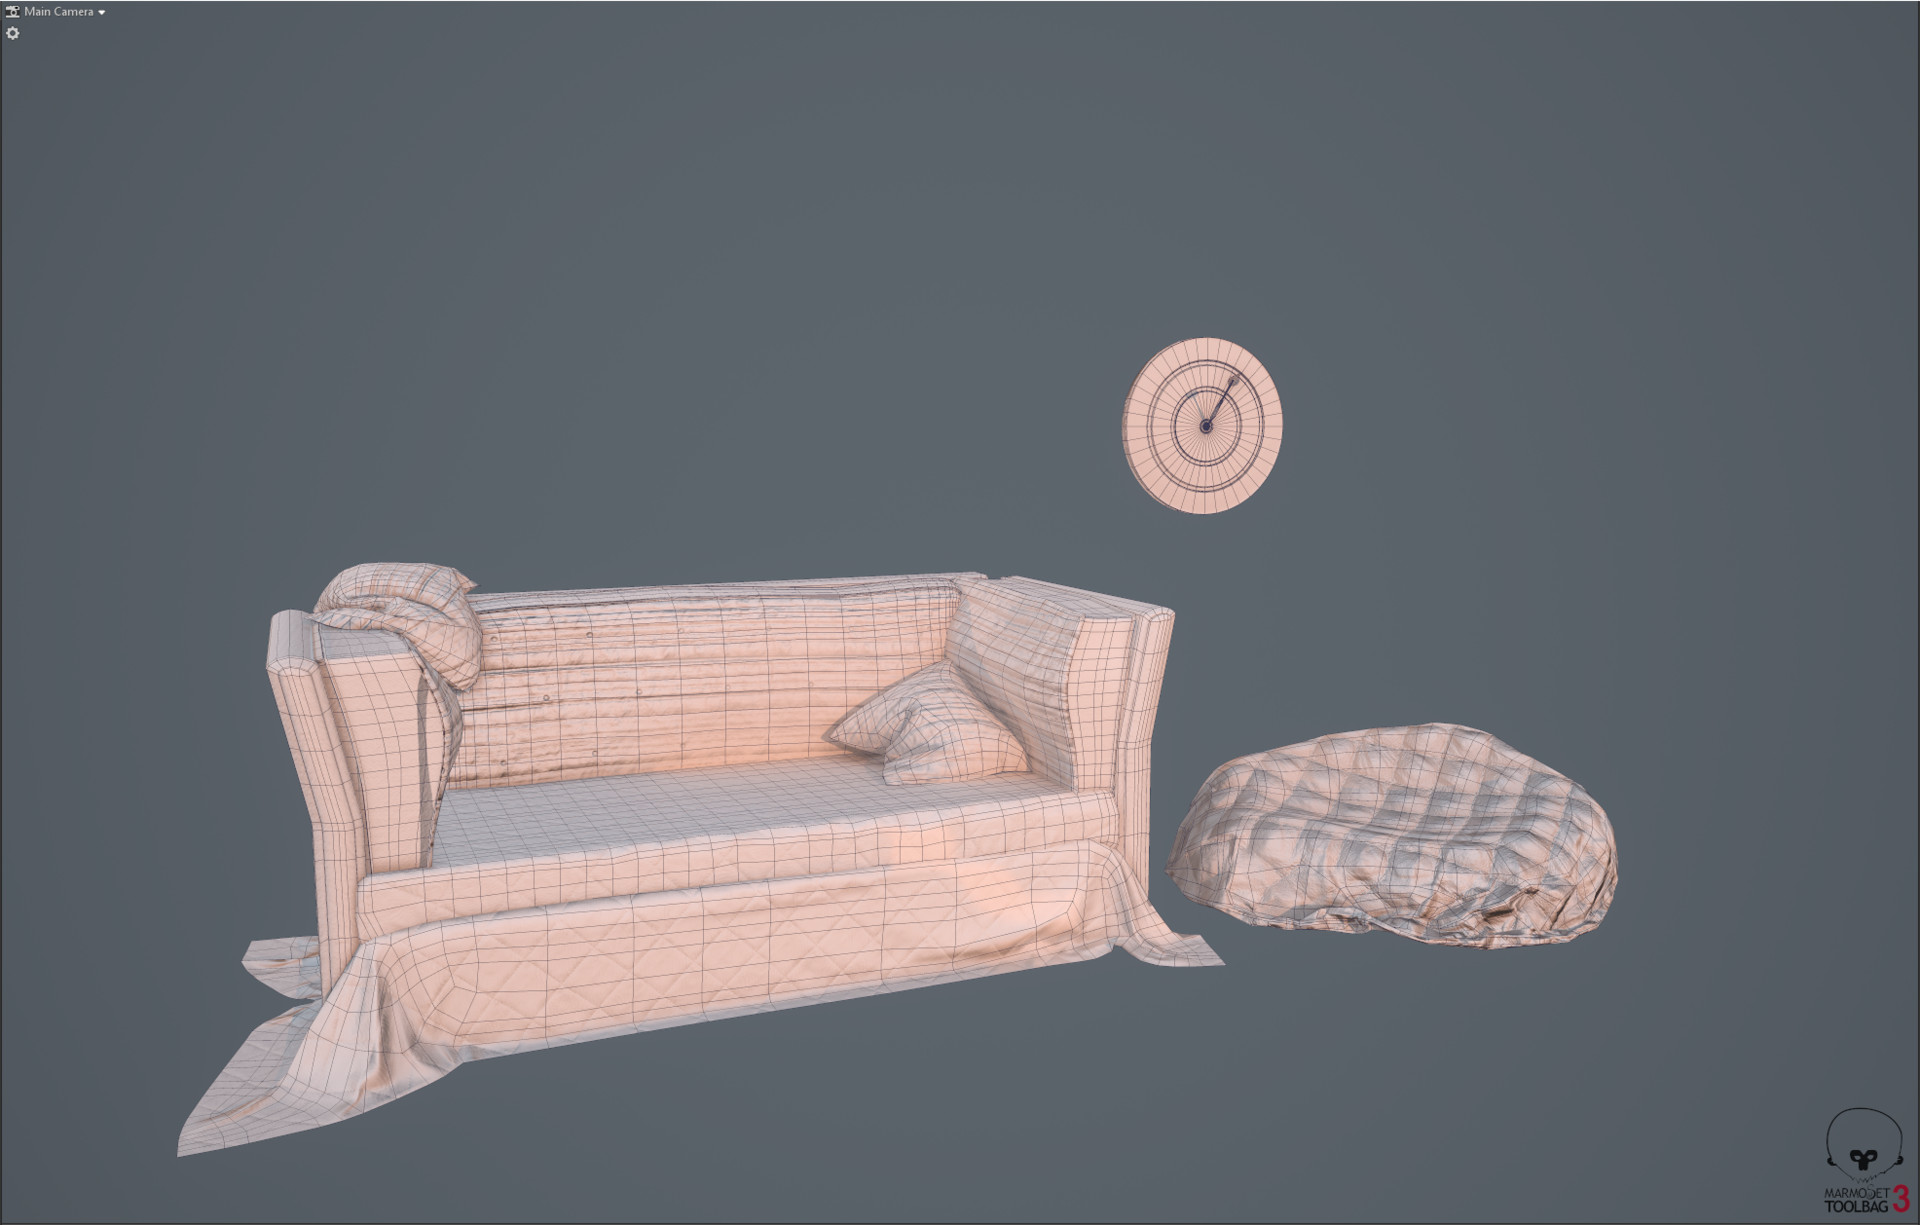
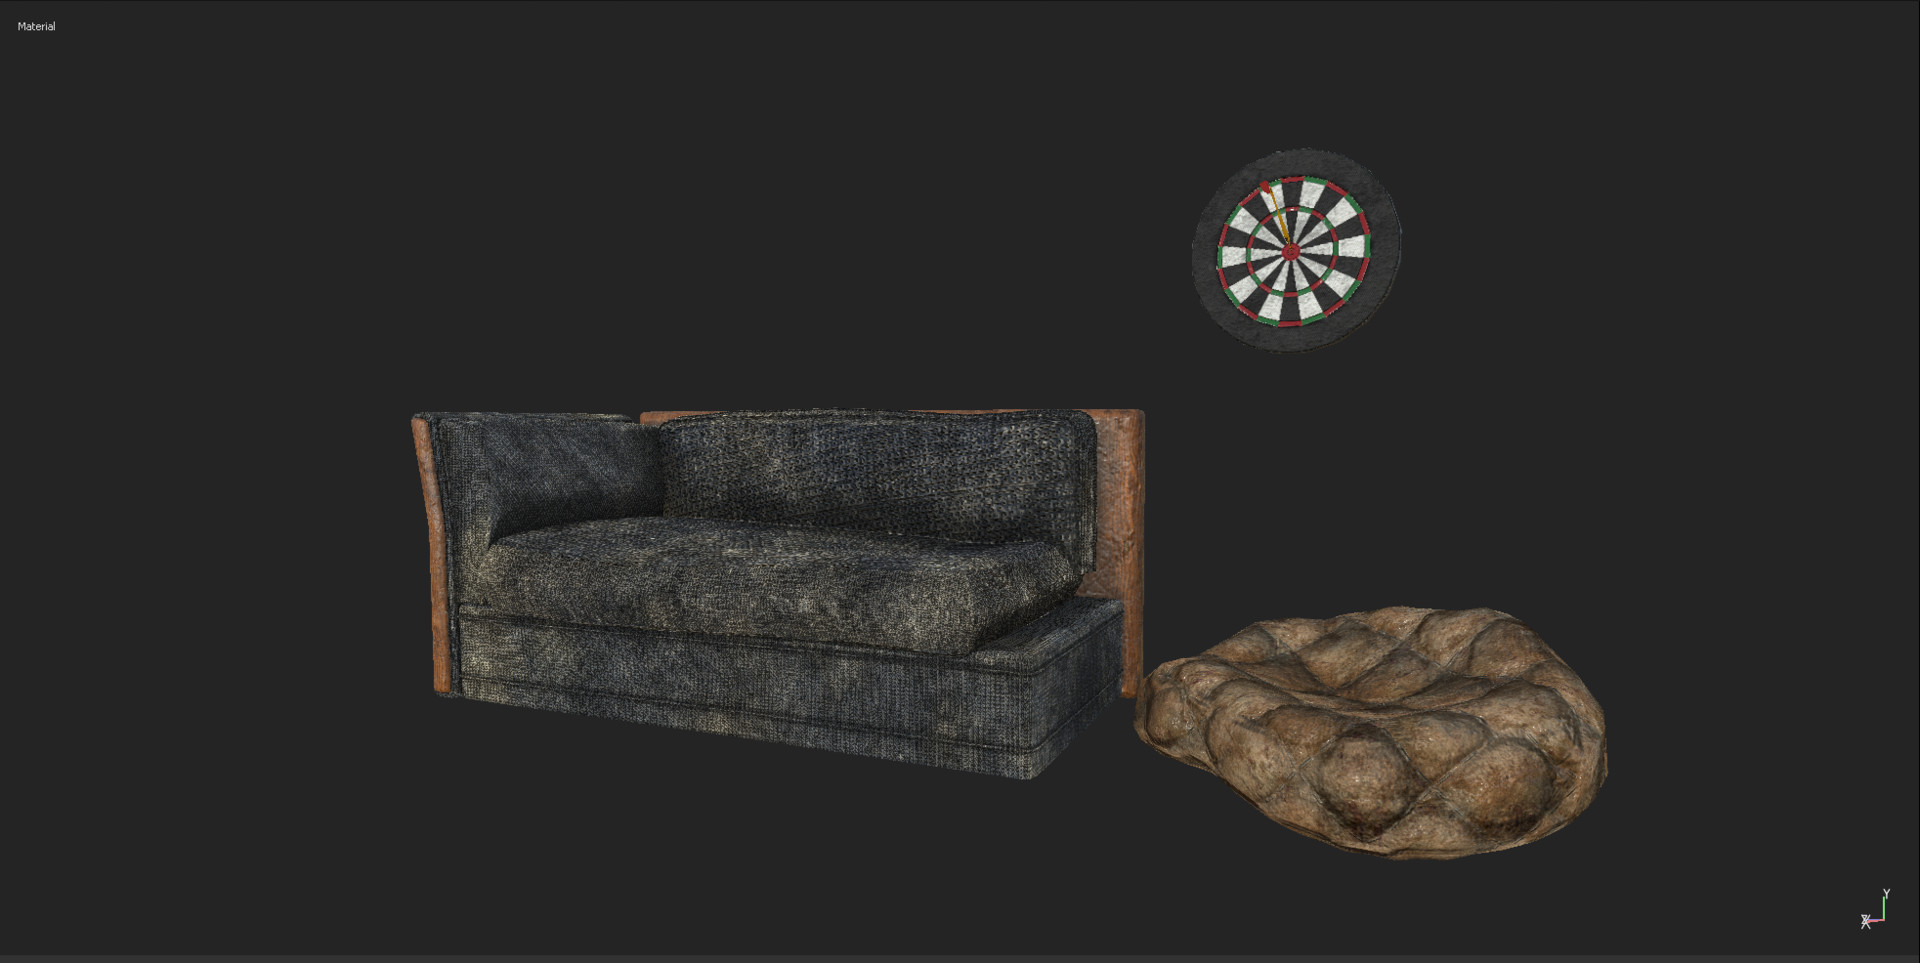
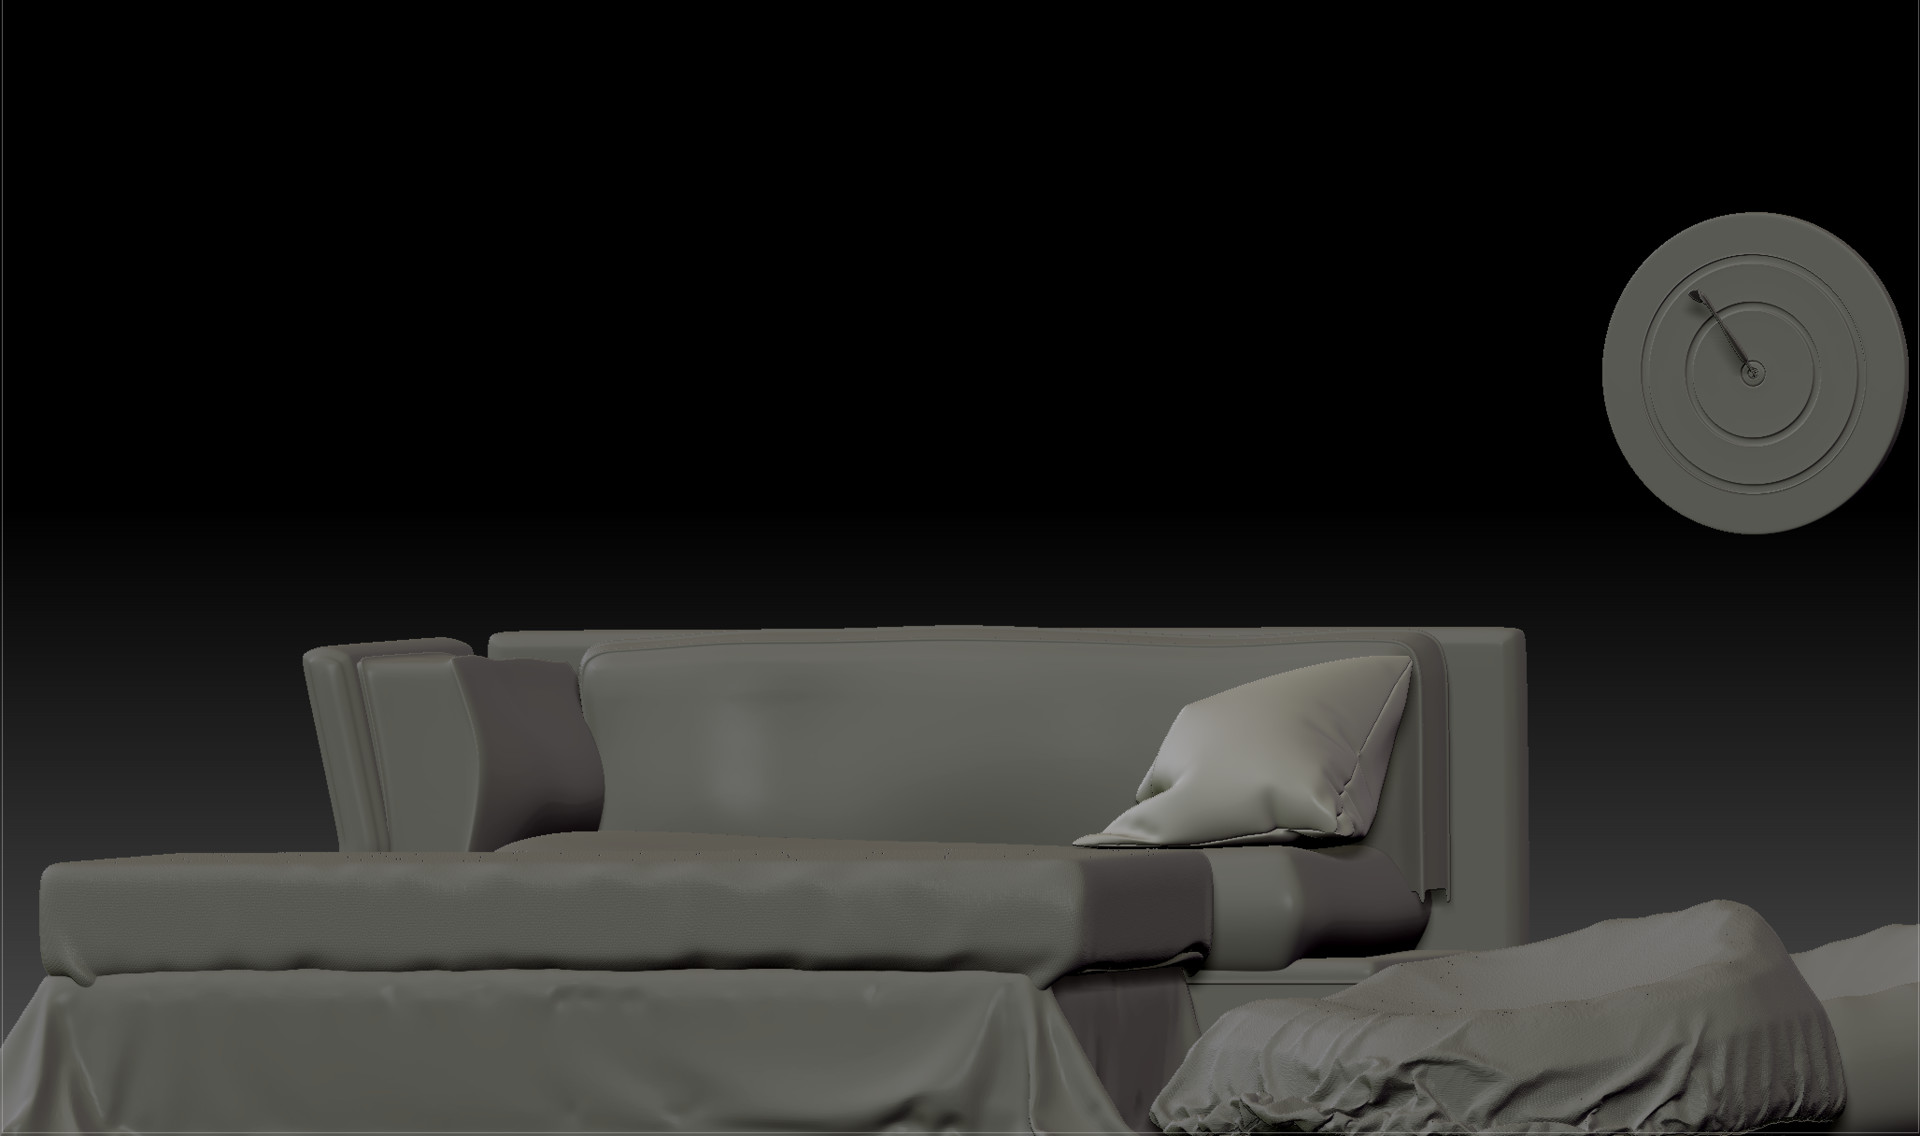
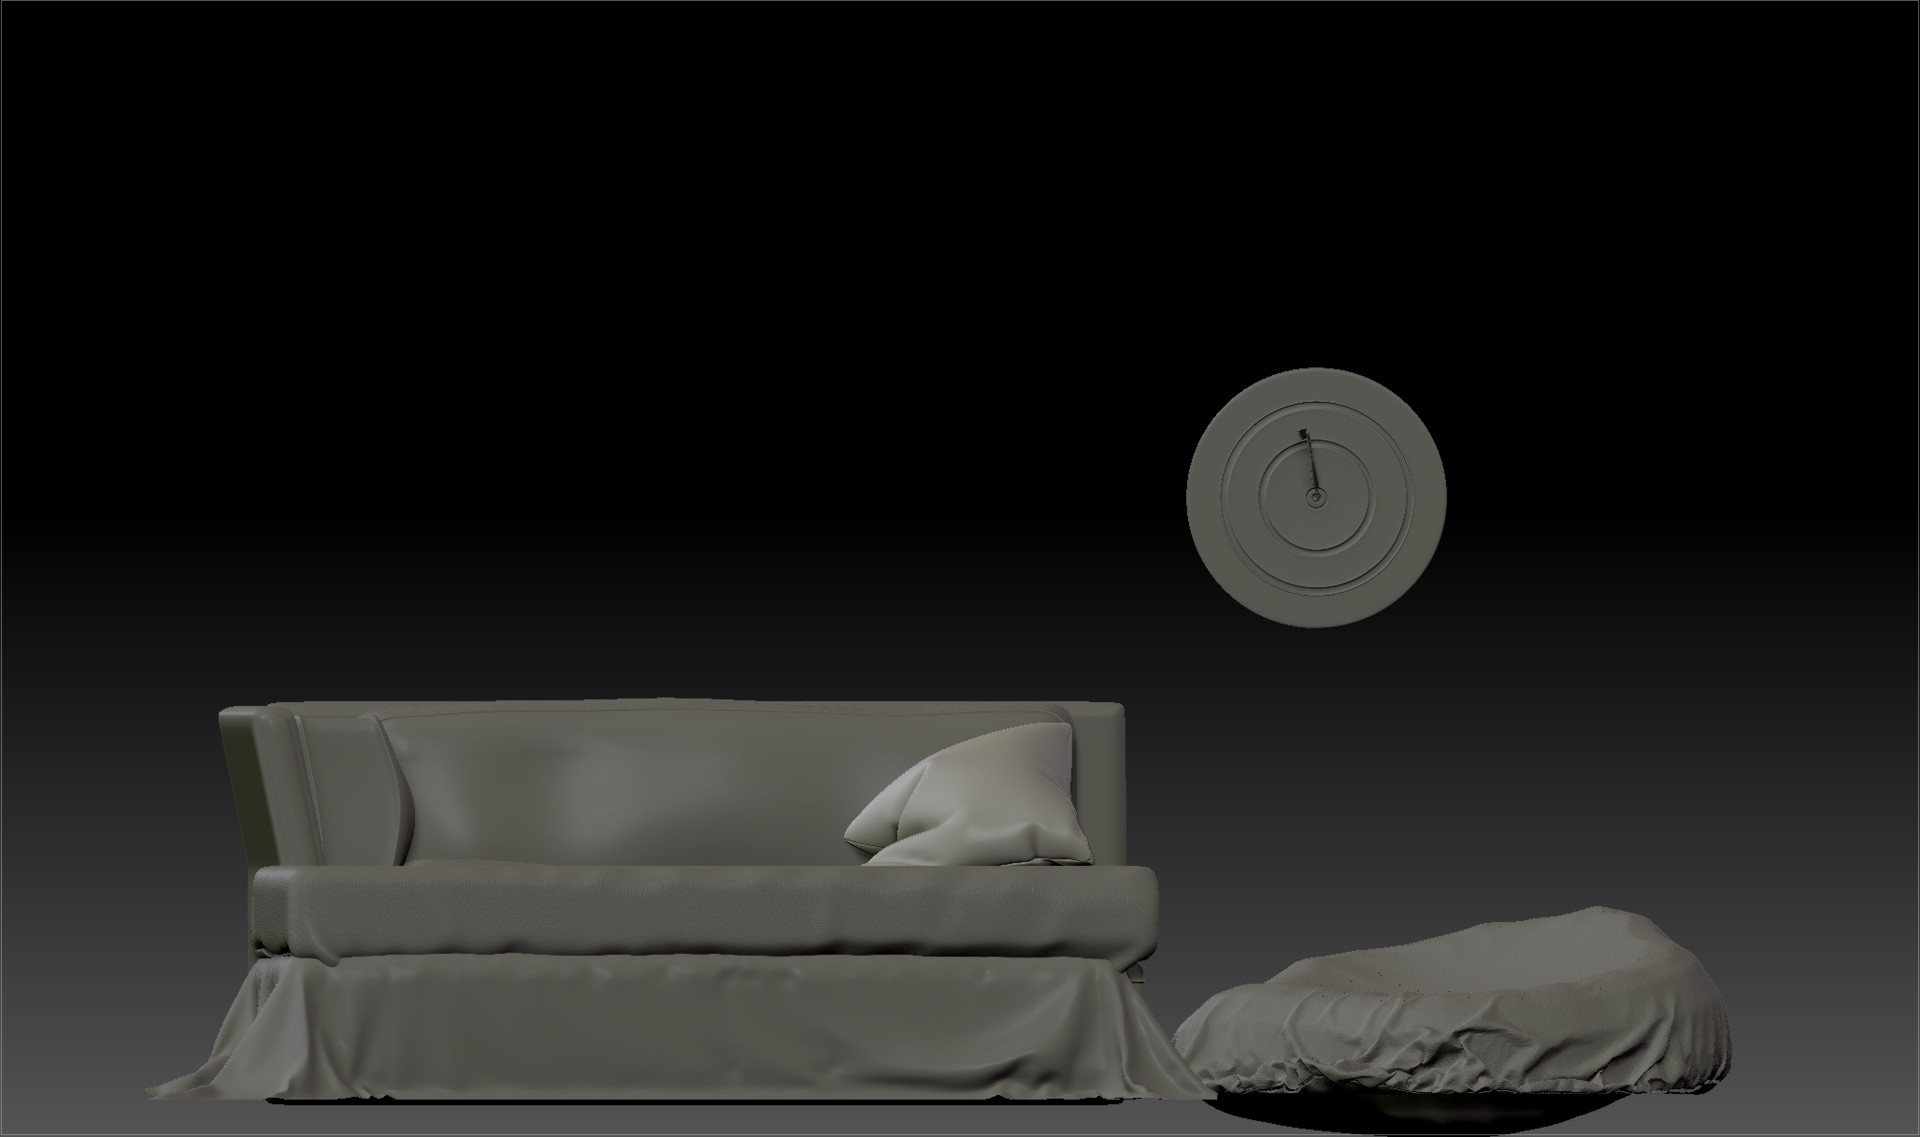
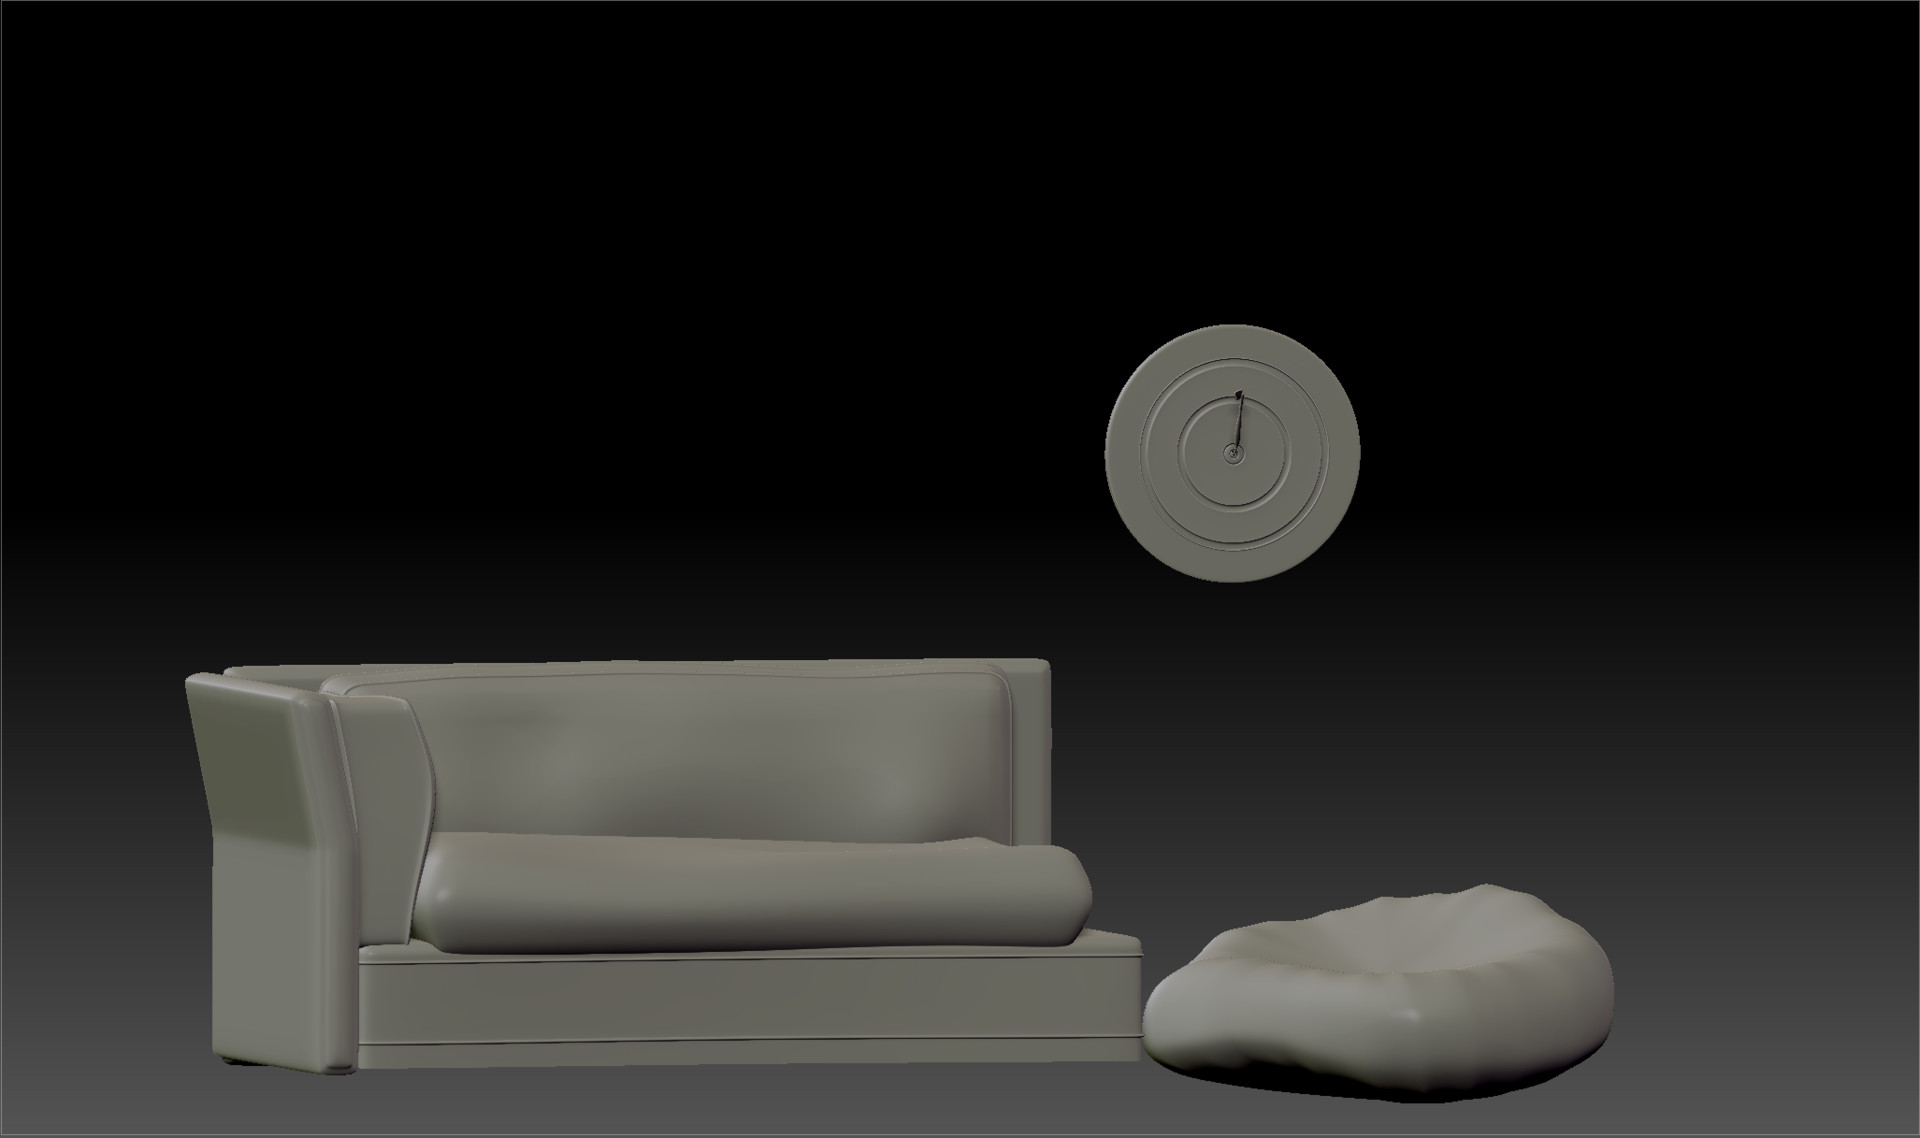
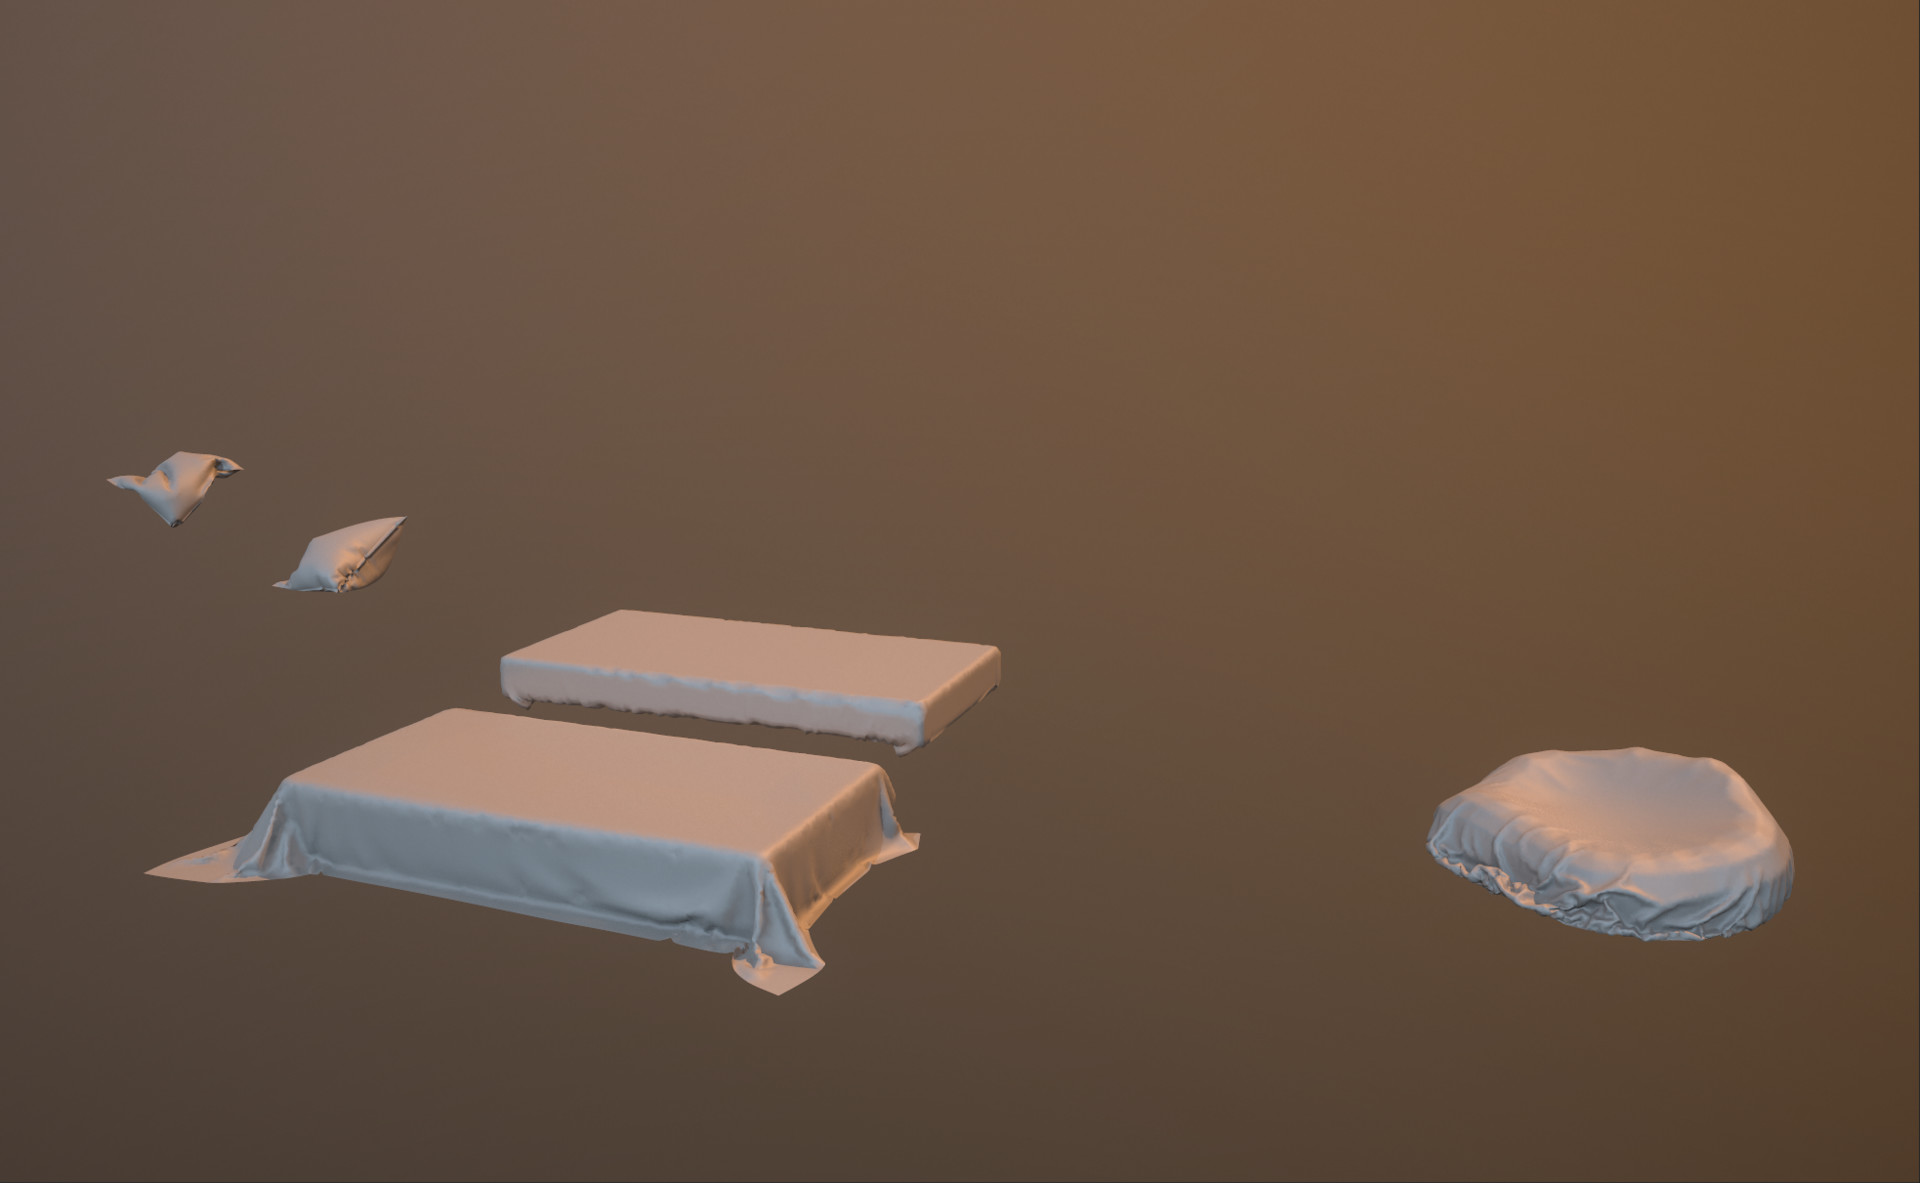
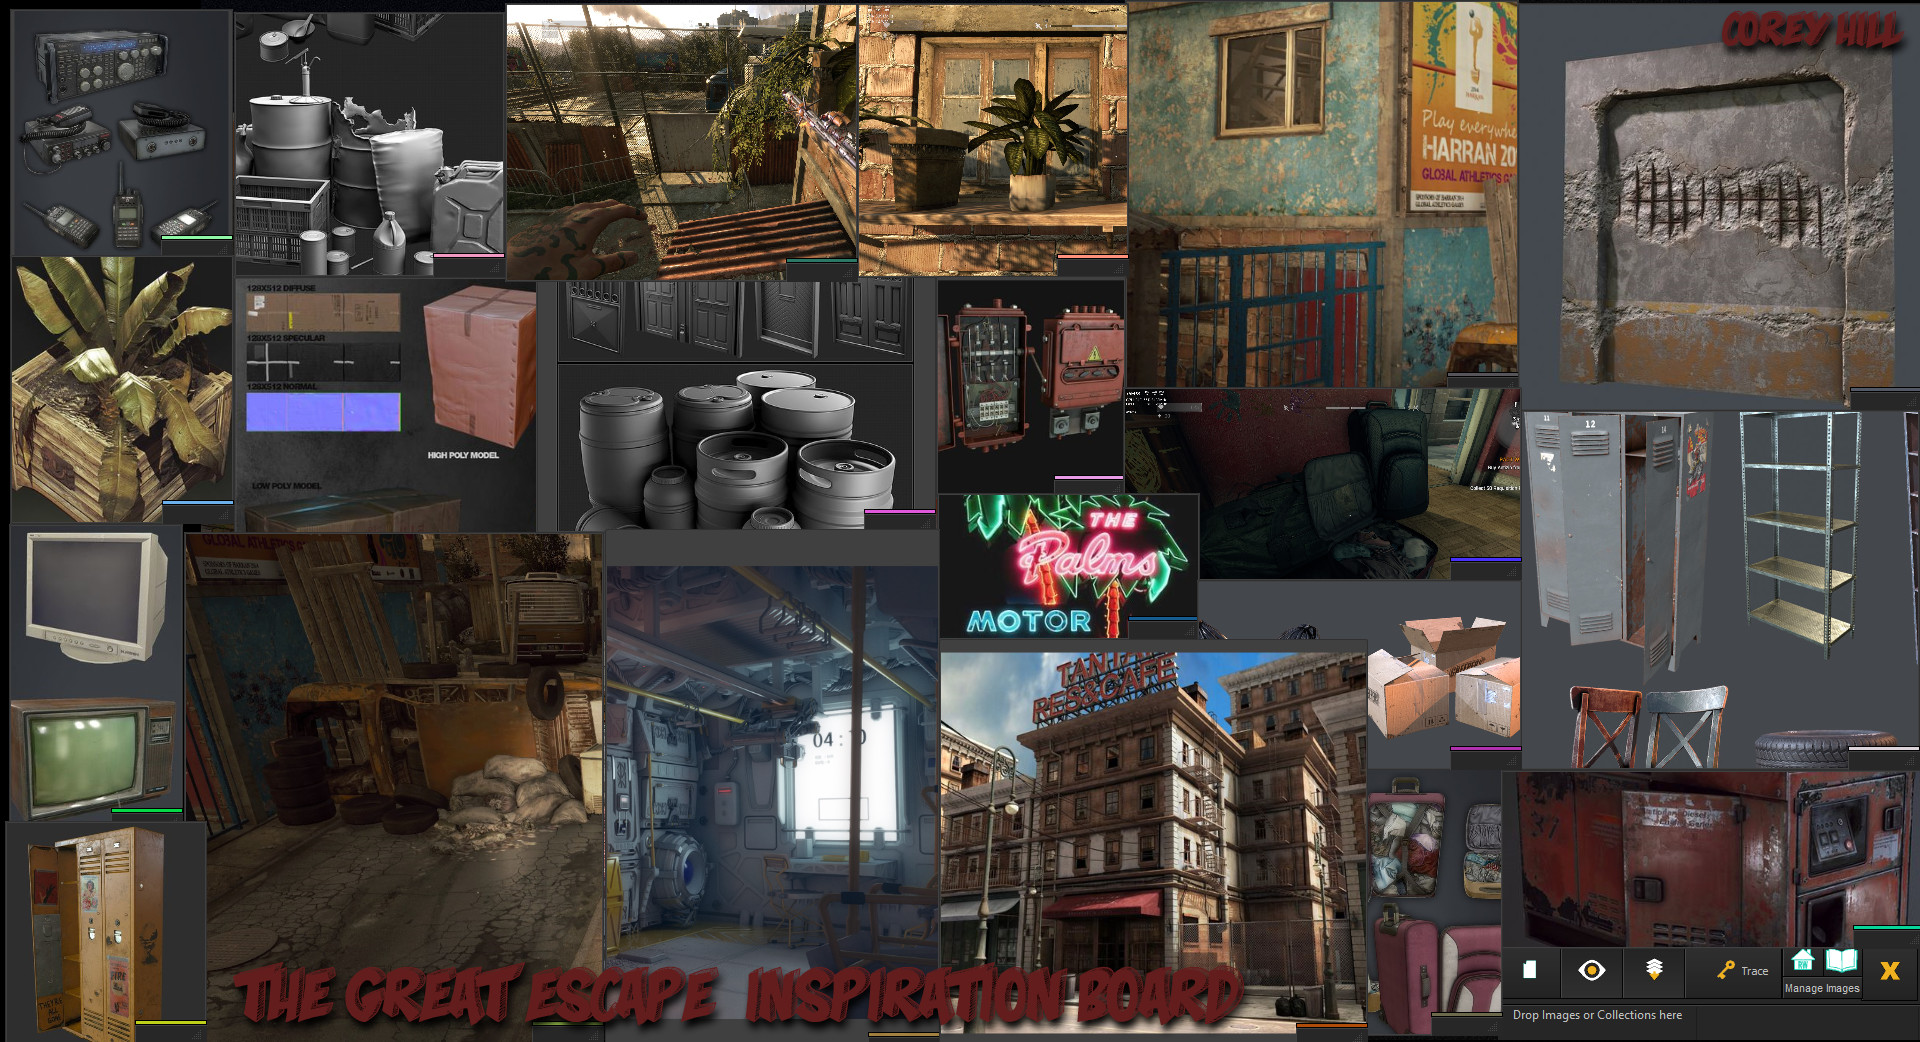
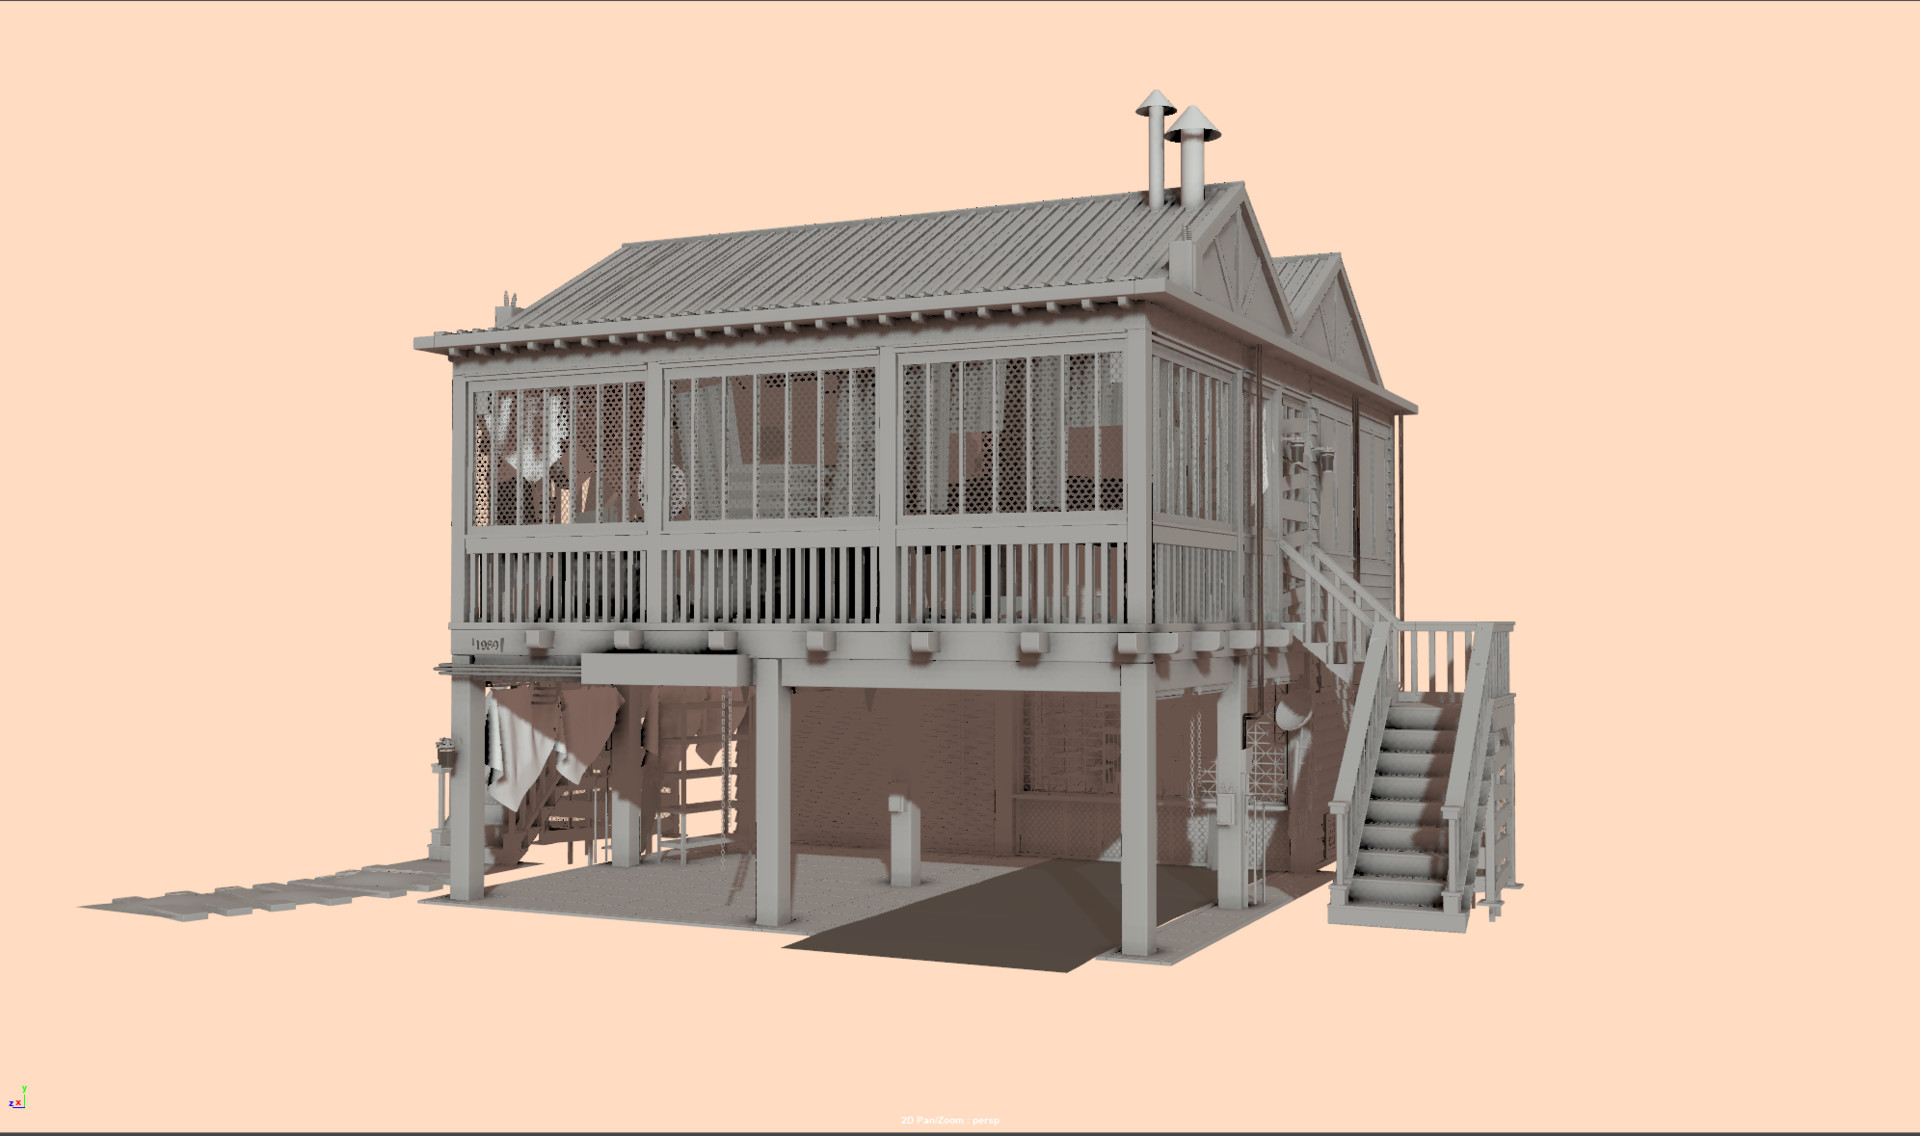
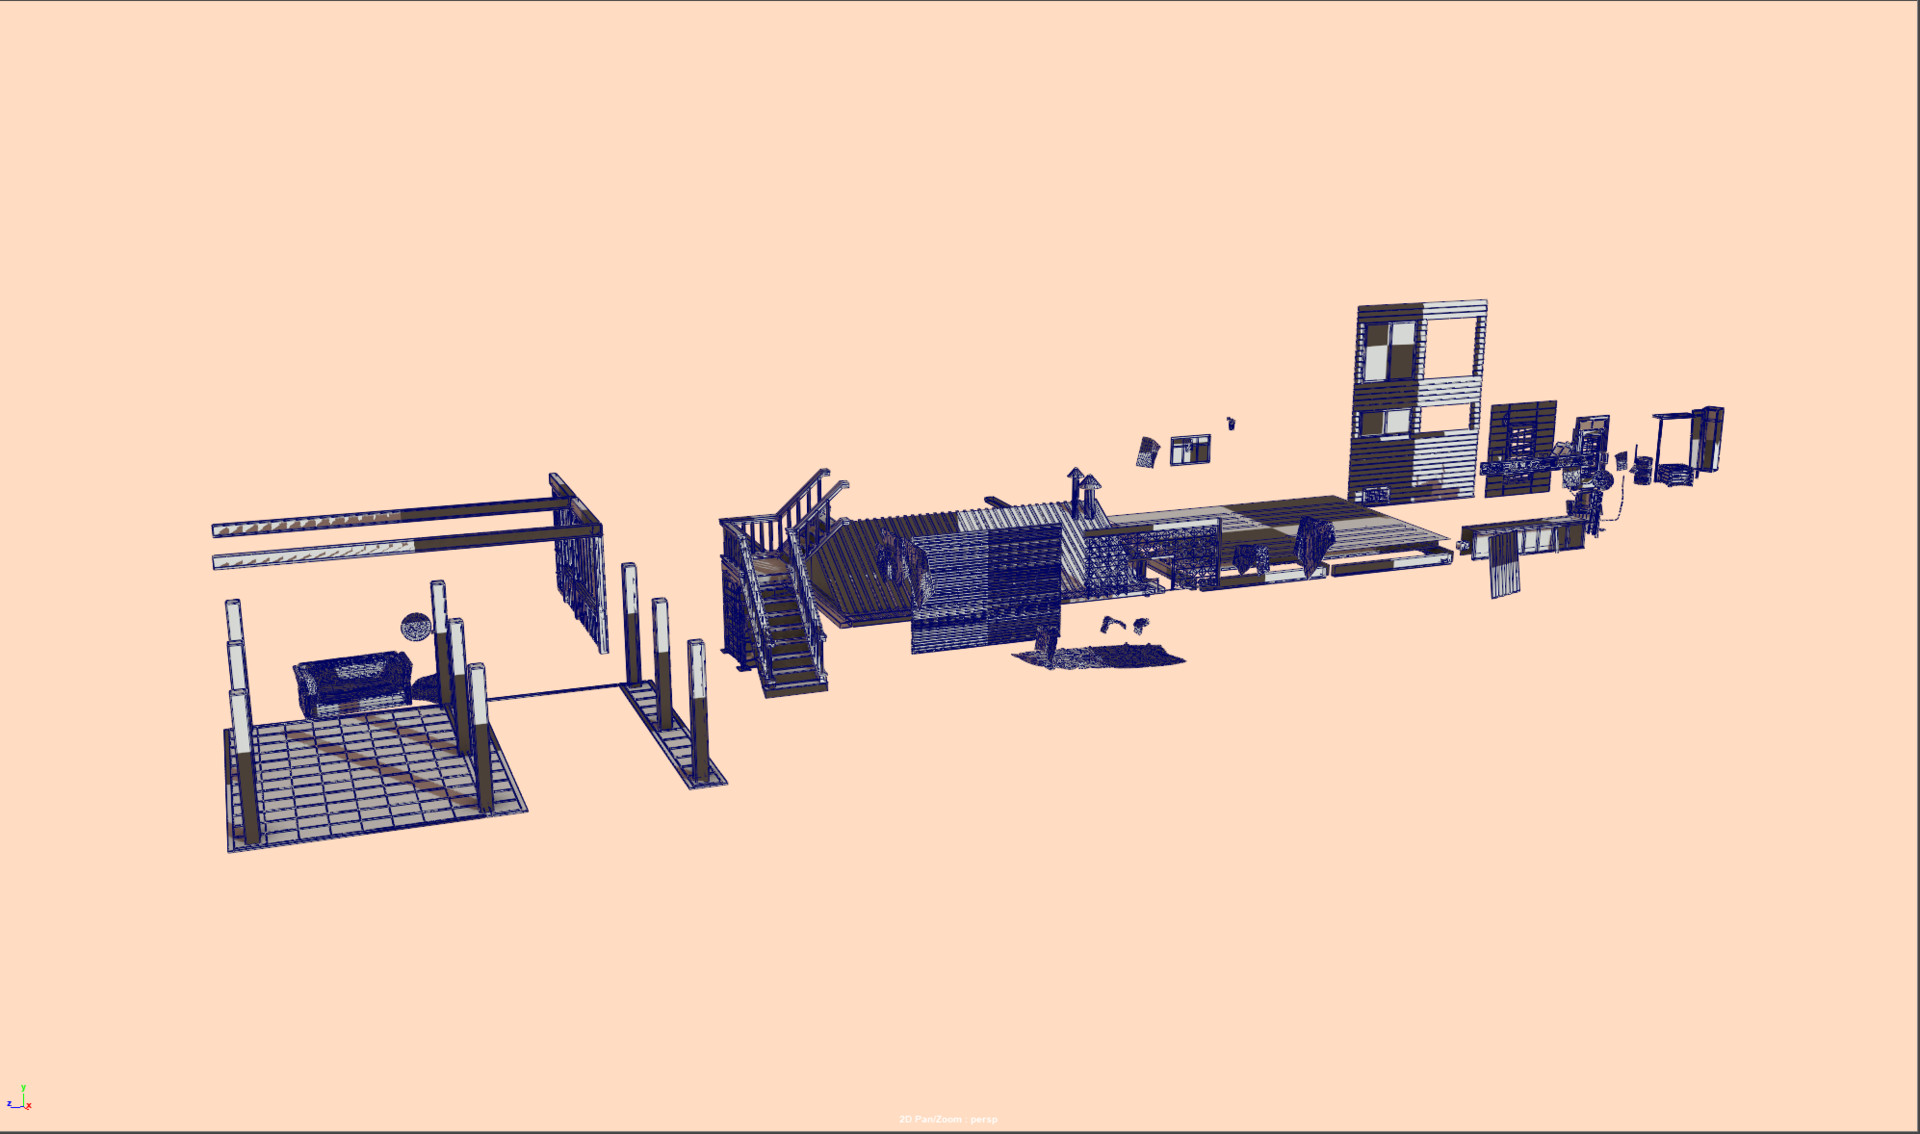
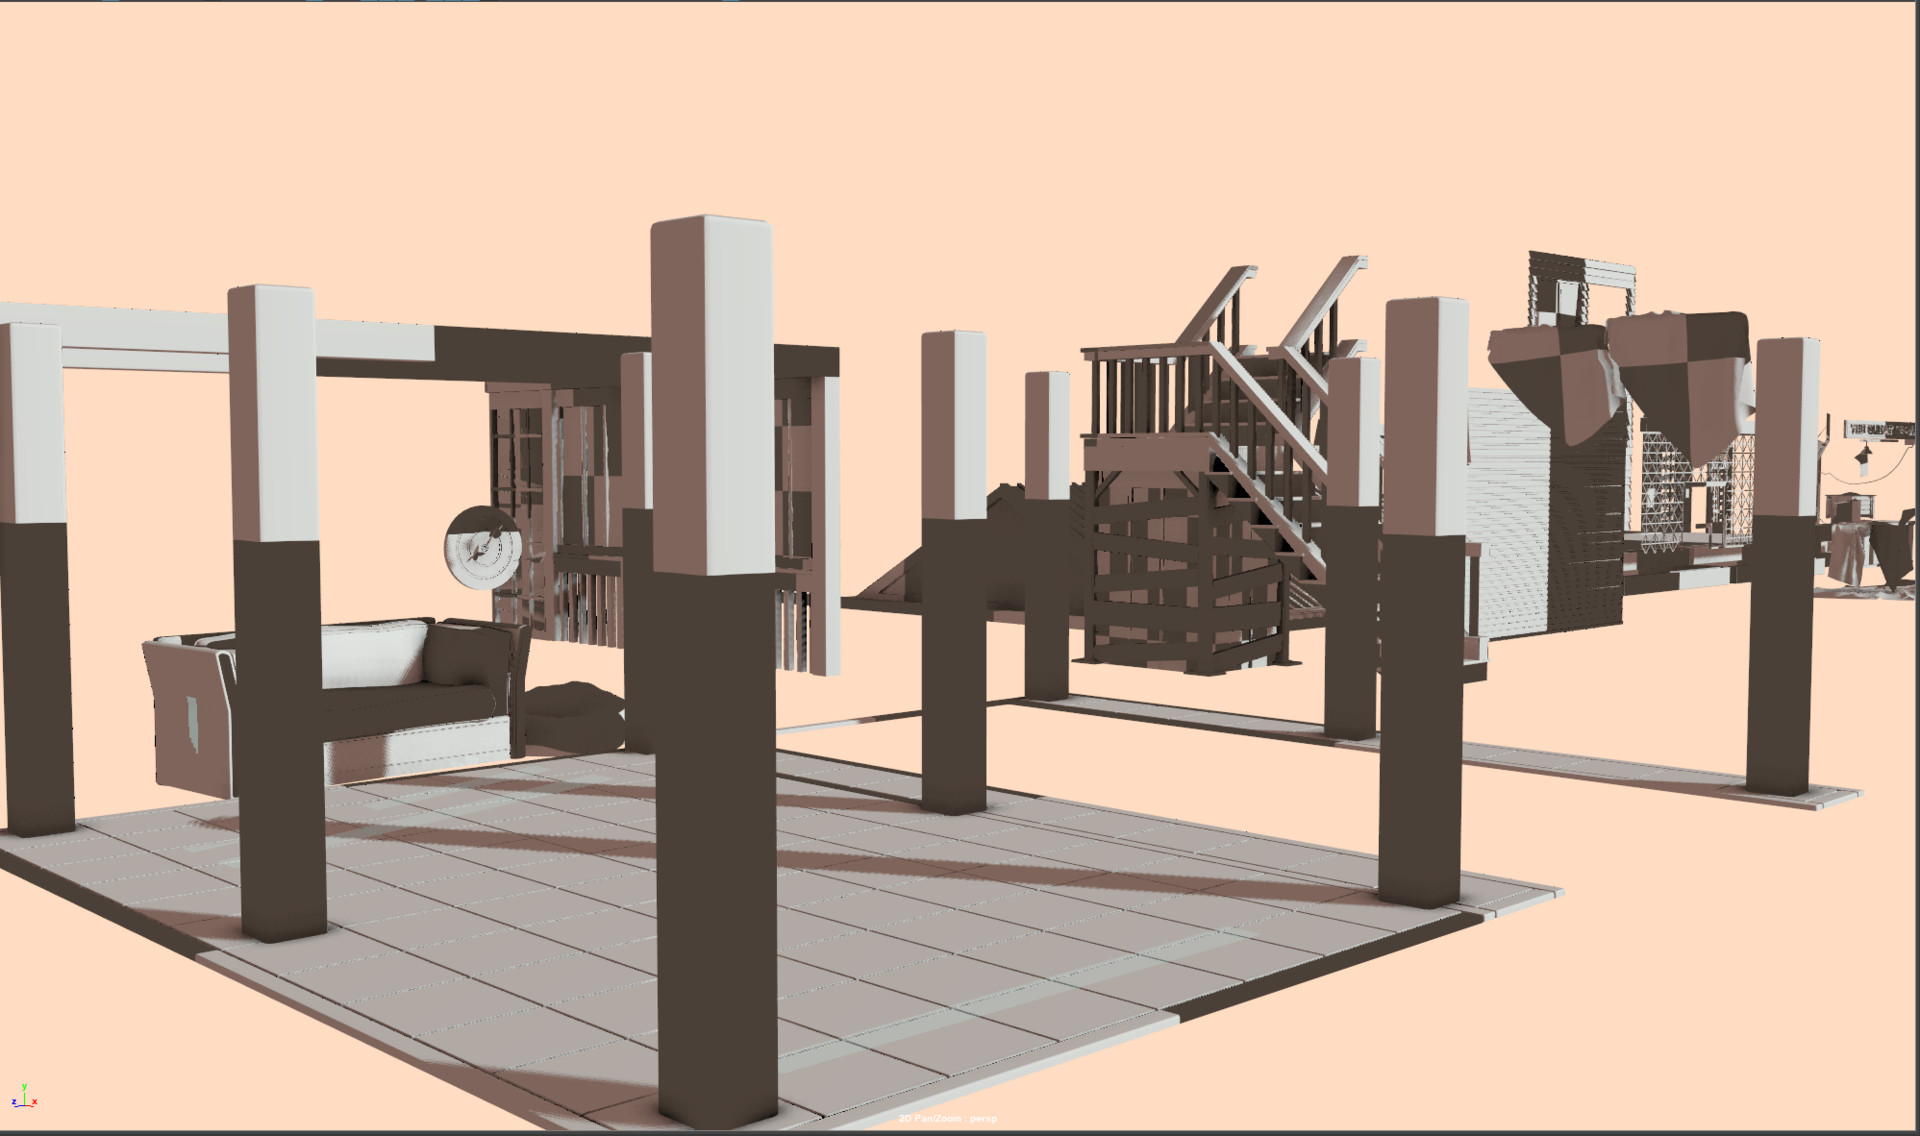
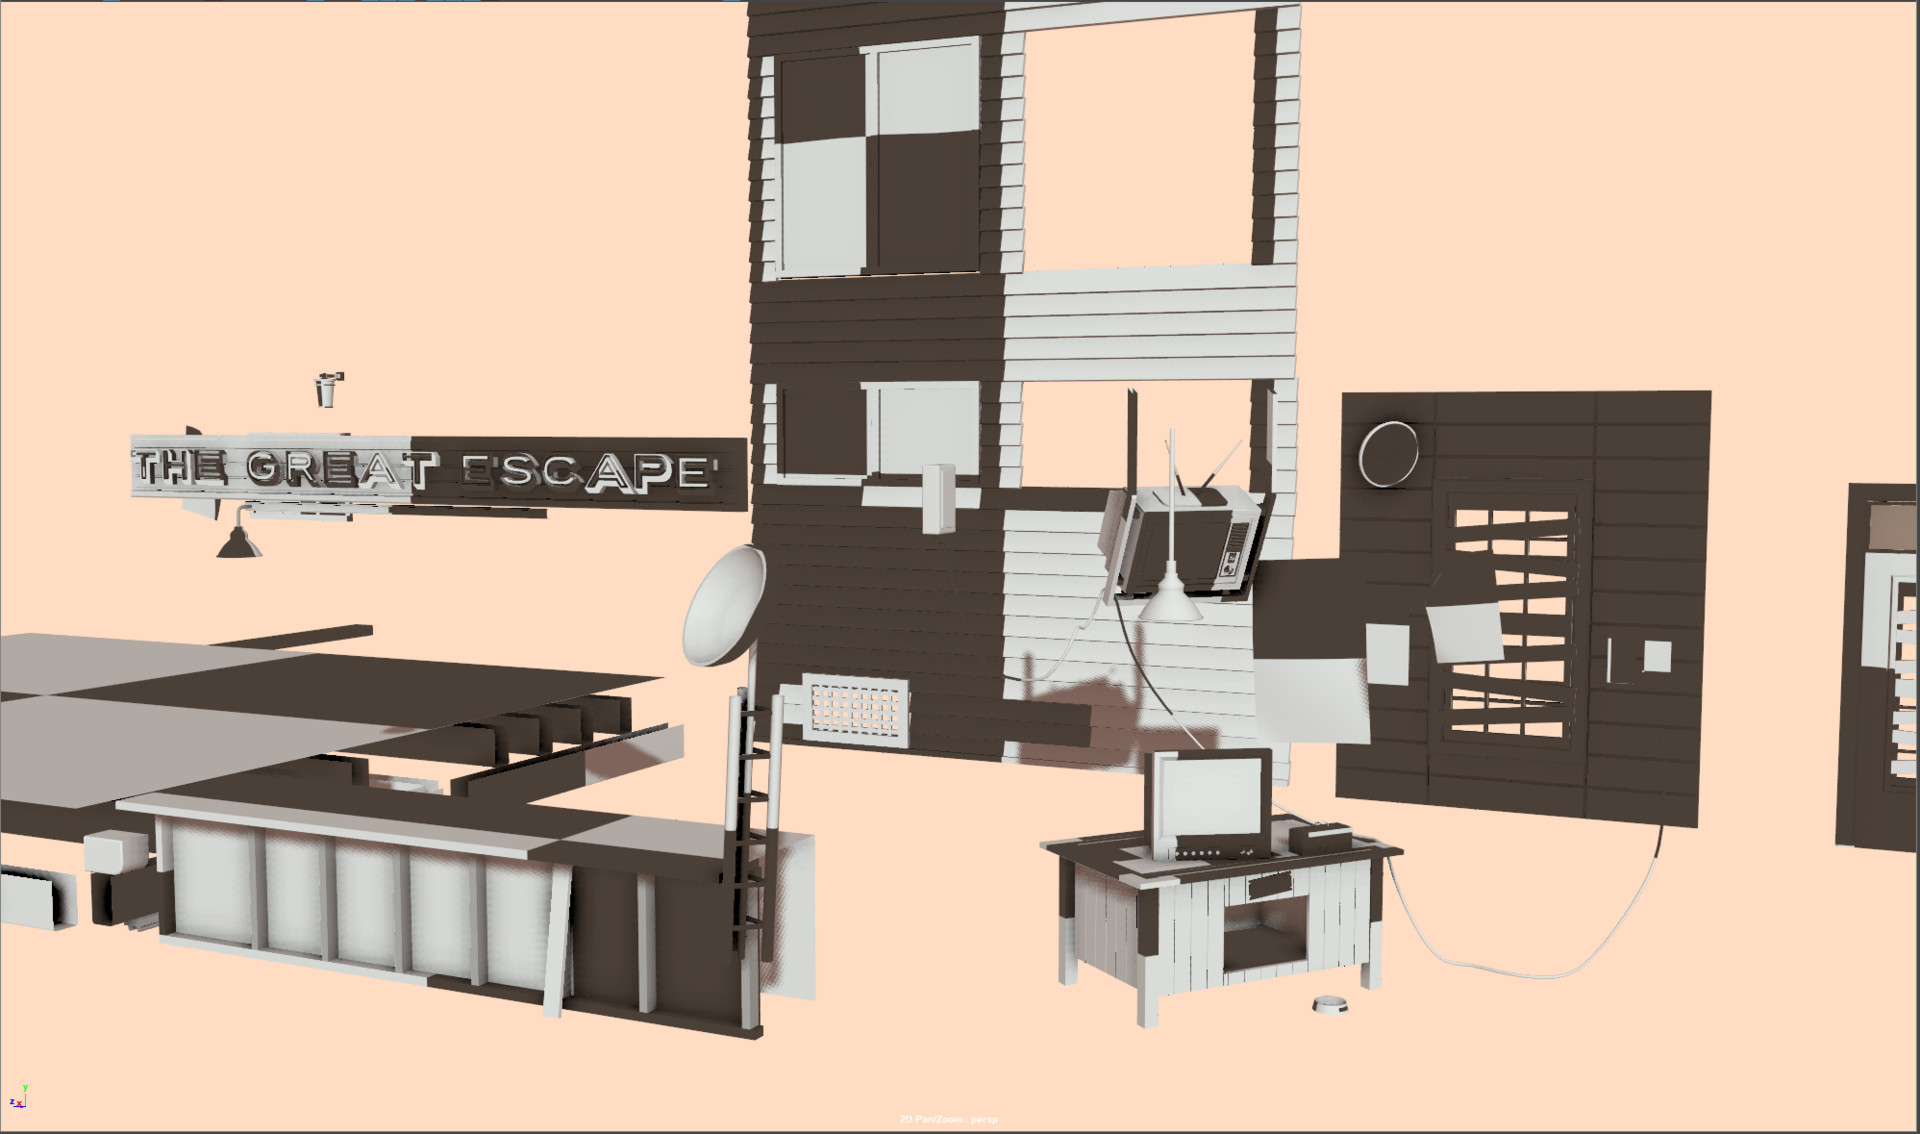
Screenshots!

Hidden Work & Heavy Lifting

General / 11 January 2018

Hidden Work & Heavy Lifting

Many of us often have pieces that never see the light of day; a donkey kong like hoard, probably locked somewhere deep in our parent's attic of pieces of work that seem irrelevant now but further on down the line can save immense amounts of time.

Generally I keep a Hard-drive, a back-up drive, and a general separate drive of all my old props and work that I can pull from at any given moment.

As time goes on generally I stray away from the re-use of assets, however, past files, projects, and monthly downloadables from sites like speedtree can really help speed up the process. (pun intended >=) ).

Unreal Engine Update 003: The Circle of Life

Boy oh boy do I love telling stories in my work. Often when I find myself re-working scenes I would approach a scene from the viewpoint of how I could improve the experience overall. A full 360 experience that feels like the emotions we feel for our favorite characters. It IS important. At least to me =)

This time around I often would take a step back from my work, often when getting stressed, and meditate for a bit and place myself in my own environment. It sounds W-E-I-R-D I know, but hear me out. Generally I will pop up my own reference board of previous screenshots of my work. Really dive into the story and goal I was trying to accomplish, then toss on some quite ambient white noise like rain and really put myself in my environment. It's often like playing a video game, and the best part is that it's a video game that doesn't yet exist, but IT CAN!

All ideas and art starts out small, and knowing and recognizing that art, much like many experiences in life is a marathon and not a race, a pyramid in which we slowly add building blocks in hopes that our tower stretches farther than all the others and our pleas for attention go noticed. It's great when people think you've done something cool, and sometimes it even inspires others to get into the career themselves, so really what I am trying to say is that when broadcasting your art, no piece is a final piece and that you should never try to beat yourself up too much. Because you can always take the previous lessons and get back to work, often approaching it from a different angle, and with cool ideas from friends and colleagues.

Booyah Screenshot Time!

Previously I took some small prop update shots so you guys didn't get too lost when I plopped a giant color and foliage and lighting update on y'all.

Section 01: I like a lot of saturation/de-saturation!

Section 02: Yesterday/This Morning's Agenda

The scene was looking a quite a bit empty, so as previously mentioned I like to place myself in my scenes in an attempt to have it feel a bit more lived in, even with the dystopian/end of the world vibes. 

So let's use this as a teaching moment, how are some ways to improve?

Generally, I have quite a bit of props in the scene currently that give the scene an overall heavy lean to the left. 

One way I accomplish a lot of the heavy lifting is composition and framing. A long time ago, when my old merlin body participated in artstations first challenge I was inspired by peoples composition and rendering skills. Not only did their modeling, story-telling, and framing skills exceed mine, they did so much so in a way I realized I needed to improve. Those are great people to be around, befriend them and stick to them like glue without getting a restraining order or being a pest, use common sense.

Section 03: Screenshots


Onto Thirsty Thursday Ladies and Gents! 

Enjoy your Thursday, and happy early weekend all!

Cheers,

Corey

The Great Escape: Almost Ready for moving in?

General / 10 January 2018

Hey cool kids! Update time!

Man, this beast has been a long time coming! If you import all the pieces separately its over 880 props and propsets!


Unreal Update 002:

This is probably the first visual update that you guys can see both the base textures I laid down on the house, paired with the greymesh I spent a week or so planning out.

One of my favorite things about Artstation and their blogs is now my ability to go back and bring up previous images to refresh people on the original layout. So without further ado let's recap shall we?

Original Visual Update:

First Re-work Idea(Wasn't a happy camper):

Porting some of my old assets (Kitbashing some others); 

Note:  Trees and Foliage are from speed tree and are in no way mine =) Huge time saver.

Generally settled on comp(Suprised myself):

Re-works can be worth it if you put in effort!

Unreal Engine Lighting Update 002:

As someone who prefers to be in engine set dressing and storytelling, this phase is always far and away my favorite. 

Cheers, Happy Wednesday guys!

Textures and some Kitbashing!

General / 09 January 2018

Unreal Engine Update 002

Tossed in the Unreal Engine 4 (Packed) textures into maya, created the materials and plugged in the nodes accordingly. Lots of little uv issues to fix and some stretching and seam issues. But all in all generally looking pretty decent. 

Next Steps: 

  • Setup all the kitbash sets accordingly to the general block-out I previously established.
  • Block in landmass for Sand Dunes that the House and surrounding area resides on.
  • Add in Lighthouse, rocks, general foliage set, and prep vehicles for texturing.

Unreal Engine Update 001

General / 08 January 2018

Hey guys! Small updates are in tune for the coming weeks. Most of it will just be quick in-engine screenshots to give an update on the progress. Next steps: Import and hook up materials, kitbash props into appropriate prop sets, sculpt and texture sand dunes in substance designer and a water shader with some landscape slope blending for the sand and water.


Large Project Update 2.0!

General / 03 January 2018

1/3/2017 - Wall Siding and Scrap Shop Update!

Hey there guys, it's a doozy of an update but it catches up the entire project as blogging did not exist on artstation when I was working on this project that has become a bit of a fun beast I plan on taming!

So my past few updates have been rather monotonous in discussion so first off as someone who is a bit newer to this, and looking to make this as easily accessible and learnable as possible, please let me know if there is anyway I can improve, thanks!


Onto today's update:

For most of this scene my main idea was a warm comforting lighting scheme due to it's proximity to the beach, with key elements and metals being of complimentary colors. ex; cobalt blues, or any blue color being the complimentary of the direct warm orange I will be using later on this month in Unreal 4.18.

New Workflow for Organizing;

Before we delve into the substance painter and marmoset screen grabs I wanted to show you generally my uv and kitbashing layout for Maya. 

My uv window is located to the left; this window is docked within the general outliner panel, also the uv toolkit is to the immediate right docked next to the uv editor for quick access to arrange, layout, and transform tools.

In the right window, I've use the create>type as a font, and spaced out the remainder of my scene into how I plan to kitbash the elements. 

Ex; Font type added; text changed to Kitbash Assembly, uv sets and shading groups are then assigned based on similar elements.

Let's break it down real quick for anyone who might be curious:

The immediate left of the screen has wood siding panels with boarded up windows, a similar nearby element is the door with similar elements.

My next steps would be; To then delete modular elements out; 1 wood plank suffices for each window, the wood siding I will keep. 

The oil drum is the modular grounding prop and general when I do personal work I like to be much more free and splice in one non modular element as it makes texturing soooooo much more interesting sometimes in painter when working on so many modular elements. *thumbs up*


Marmoset Toolbag 3: First pass Textures and Wireframes


Screenshot Progression of this Project through the years:

I have no idea if I am different as far as the general public goes when it comes to portfolio approach, however, I personally approach mine as a constant ever evolving re-work. I often take down and put up the same pieces as if I was an interior designer making wallpaper choices, and sometimes this serves me well, and moving forward I definitely plan on continuing this because it feels like my very own way of doing things which feels nice nowadays as an artist.

Originally a few summers ago I had the chance to play Battlefield Hardline and I thought it was such a different take and was incredibly inspired as a student that I thought I would give it a shot. Substance Painter was WAYYYY different back then. Allegorithmic has done such a great job evolving and while it was already setting the standard of pbr design for games, it's nice to see continued pushes for improvement. Rendered in Marmoset Toolbag (1 I believe, maybe 2?) Heh.

By then I decided I had progressed as a student enough to move from Marmoset (not an insult to toolbag by any means) to move onto testing these assets in a game engine like unity or unreal. I chose unreal.

On my first pass I thought night would be a great challenge and attempted to match my reference info.

After taking this piece down and putting it back up many times I progressed to a point that you will see before the giant re-work occured.

While happy that I was able to get it to this point, and well into my time at Insomniac Games I wanted to completely erase my art and design choices as I felt only the layout was of use.

Swallowing that pill took about a week, and to be honest we all have projects we genuinely are too attached too for whatever reason, but cutting it off and bringing re-work ideas to general friends and colleagues I came up with a re-work.

Shot Progressions in Maya


Quick Unreal 4 Lighting Test

Back to Maya

Chugging onwards!

General / 02 January 2018

Update time:

Previously we discussed having accountability in assets even if they are background useless props. So moving forward I wanted to provide an update. The first image is the before, followed by the second, with a small kitbash of continued asset work in Marmoset Toolbag 3.


Before: We will re-identify the issues below for those who do not wish to go back to previous blog posts. 

As previously mentioned there were a variety of problems, and ones even now I continue to notice. 


Problems: 

Too much noise for the viewer. Even if it was a hero prop the texture choices I made were generic and blended inwards into a blob of ugliness. So why did this happen?

Inconsistent Uv's. Uvs of differing sizes, not properly sewn together etc. 

Too much height information

Wood detail and shine not matching entirely well

Leather sofa uvs are on triplanar with the visible planar seam in the front.

Dart board generic and boring, will stand out in a bad way in engine. Needs better board treatment, better uvs, and more realistic roughness map likely.

After: This first set of images are in Marmoset Toolbag 3 with the new ground plane from my loft in a previous update. (in use for grounding the props in images).

Visual Re-Update Couch:

Wireframe:


Recap:

Overall it's important to see that simply setting aside an extra day or two (nice to be on vacation haha!) to properly treat my models with a bit more respect.

We revisited; Texel density, uvs, overall topology, and kitbashing. 

Before: We saw too much height info, and not enough material variety, especially for an upscale beach bungalow area that this is taking place in.

Lastly, as a minor prop, but the changes we made to the dart board was added more geo so it removed the faceting, re-did the uvs and merged some extraneous vertices to center (the needlepoint of the dart on dart board), as well as redid the beanbag entirely.

Cheers guys,

Have a dope rest of your week!

-Corey

A bit of a Stumble and a little extra effort for Storytelling

General / 31 December 2017

 So taking a break from pretty much a week or two of uving hundreds of objects I decided originally to do a quick sub divide and just bake down some smoother normals. But there were quite a bit of issues due to my over eagerness. First, stretched or inconsistent texel density as well as uvs, and secondly, while I feel the textures were somewhat cohesive the laziness needed to be corrected. 

Originally I was working on something like this: 

Substance Painter 2017

All around from the offset it has issues. Bad uvs, too detailed height and normals, chaos overall makes it difficult to read. Most of these objects will be read from about 15-30 feet away but still it's not an excuse, so I went about correcting this a few ways.


  • First; I took a step back and thought about how to procedurally present these objects; this means both in asset construction (for kitbashing in Unreal) as well as the overarching story I am trying to tell. (As a base overview, cdc is forced through government regulations to stop making anti-viruses; world continues to descend into general post apocalyptic elements.) Story treatment will be added later in a visual format.
  • Once I decided on a direction, I decided to then take my idea from concept to Marvelous Designer.


Behind the Drapery is the blockout I used for marvelous for sewing details and draping things appropriately. It's assembled in a way that I can kitbash these assets in unreal, including the cushions, so I can often recycle and re-use assets in a manner you find pretty often in use today. 

First from afar the folds needed to read, as this entire scene will have 3 lighting conditions. There are about 3 re-used instances of this couch, so while the drapery is detailed, it needs to be in a way that makes it not super obvious, close or far proximity.

Differing viewpoint of beanbag/floorpillow with seamless tiling alpha added through surface noise.

Ref mesh for Marvelous Designer

Marmoset quick renders for how the folds read in low poly. (Pre-bake.)


While none of these assets are spectacular by any means, its the extra effort and deciding that my couch and supporting assets looked awful. Sometimes we need to swallow a tough pill and realize that low effort hurts more than ourselves, especially in the industry. While this depends of course on varying circumstances like time etc, you can save people alot of trouble by just making the effort to tell a better story and have quality assets.

Next Steps; the uvs are already done thanks to uv master in ZBrush, so next I need to compile these assets appropriately in maya, have two different shaders (lambert) for the color ids in Substance Painter, and place the uvs accordingly on 2 maps while making sure to generate separate uv maps (sets) for lightmaps in unreal as it's a good practice to know and do your own in my opinion. 

Now that I've taken a step back I am much happier and more refreshed with my piece and it's now no longer set a tone of laziness for when I run into other baking/texturing errors down the line. 10/10 times the extra effort is always worth more than getting annoyed due to someone pointing out bad work.

Cheers,

Corey


Inspiration Boards and Reference Pinning Apps

General / 30 December 2017
Mocked up a quick combo of reference using an amazing app I found called Reference Warrior.

You can find it here; https://www.referencewarrior.wilierco.com/

and looks something like this. A quick 10-15 min self guided tour gets you up and running doing what you need in other programs like Kuadro and PureRef. Both are fantastic programs, but I am stubborn and picky so I was pleasantly surprised when I found this amazing program, and it's still in beta. 


Inspiration Board: Capped using Greenshot (Screencap program; legit, ;) ). Edited in Photoshop. This is the general sculpting detail and material definition and texel density I will be aiming for. Most of these references belong to the talented artists that worked on Dying light with some other various references gathered from pinterest. All rights reserved to the amazing artists, this is none of my work except for the image compilation and explanation of how said programs generally work.

My vacation to Uv Land!

General / 29 December 2017

Uv Land is just as dangerous as zombie land and sometimes I feel like a zombie bill murray when working on uvs but its definitely a necessity to have assets with proper texel density and properly aligned uvs to get good detail in my next stage of my workflow. Zbrush. In the past I used to toss some surface noise and let my material and lighting tell the story, and while it does work, it no longer pushes me in a way I feel is productive to art. 

What I did differently: Broke down assets into modular level pieces in which I could toss both tileable surface noise as well as individually sculpt details. Some pieces will have general alpha stamps in their normals as well but for now it's onto zbrush, then doing most of the heavy lifting in Substance Painter before finally exporting out everything into Unreal and doing decal work and then a cinematic flythrough. I'm really excited to move beyond the modeling stage as I often get so caught up in storytelling that I am left with hundreds and sometimes thousands of props but an unfinished scene due to having no desire to uv thousands of pieces. With that said, this new workflow should clean up those inconsistencies and it should also be much easier on engine with cinematic limitations since I will be instancing much of the foliage such as the ivy growing in attached screenshots (maya has 50k super high poly blockouts, it's already in engine properly lod-ed out and with appropriate poly count =)). Enjoy and happy weekend guys!

General house with uv pieces Kitbashed together for concepting in Unreal.

General wireframe breakdown with tileable uv shader to check for stretching and seams. Screenshots that follow are of same parameters.

General house and street asset breakdown for uv-ing as well as test kitbash assembly for unreal 4. All assets are mine.

Final screencap in maya hopefully. Onto Zbrush and pretty Unreal Engine! Happy weekend all!